121
Editing
Function setup
Other
s
Intr
oduction
Librar
y
Recording
Pla
ybac
k
5
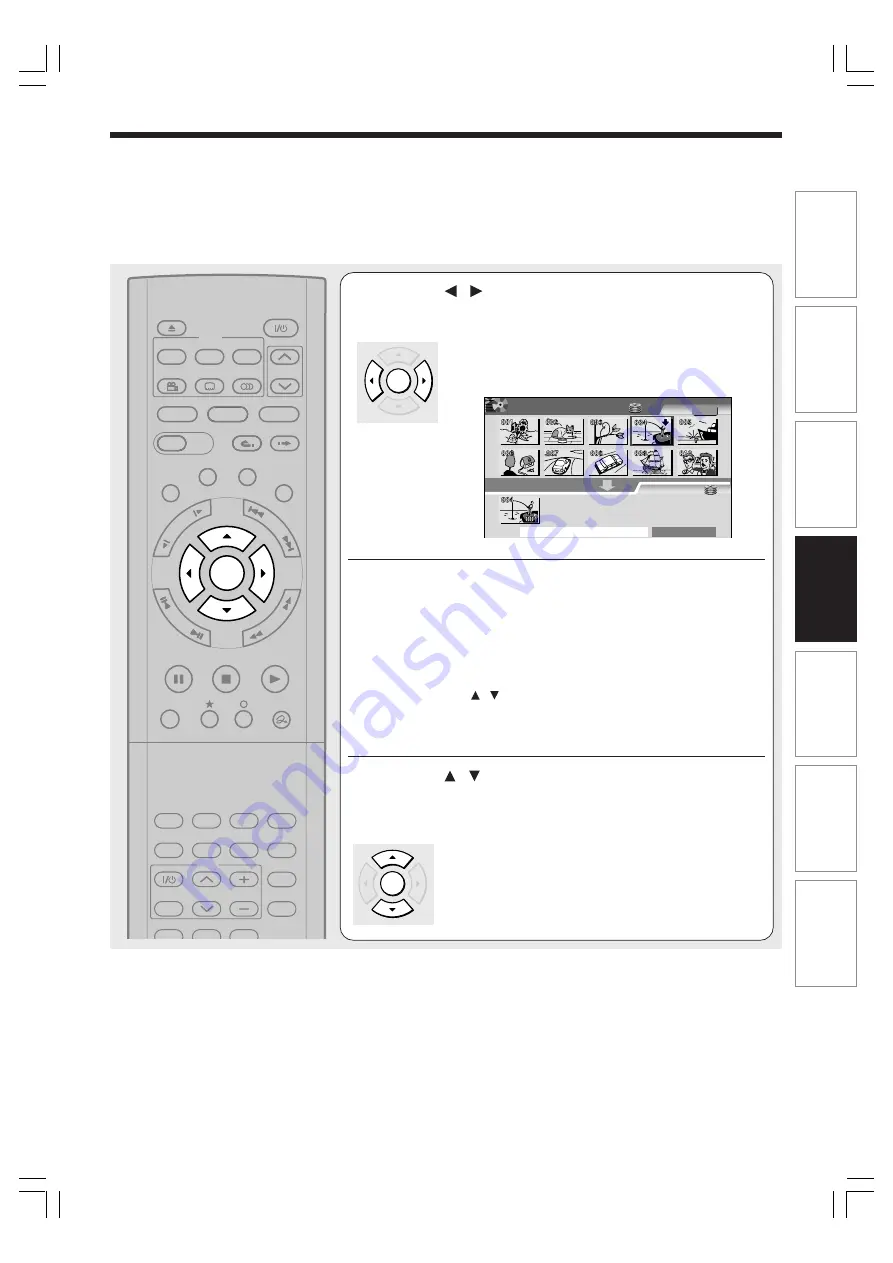
Press / to select the location to put the
part and press ENTER.
It is fixed at the left side at the beginning. Press the
ENTER button. The selected part moved into the
location of the cursor.
6
Perform steps 3 to 5 and select the second
title.
You cannot select the same title.
To cancel the registered part:
1) Select the part that you want to cancel, and press the QUICK
MENU button to display the Quick Menu.
2) Press the / buttons to select “Cancel selected title” (or
“Clear all selected items” for cancelling the selection of
multiple items at a time).
3) Press the ENTER button.
7
Press / to select “Start combining”and
press ENTER, then select “Yes” and press
ENTER.
The combining process starts.
Notes
• You cannot stop the combining process after it has started.
• You cannot combine titles if their length will exceed 8 hours.
• You cannot combine a protected title or a title containing still pictures.
• The title name of the first title is given to the title after combining.
• The second title is combined into the first title, maintaining the chapter divisions and chapter names.
• Titles and chapters show their names for about 2 seconds at the bottom of the screen when they are selected.
TIMESLIP
HDD
DVD
EASY
NAVI
INSTANT SKIP
INSTANT REPLAY
PLAY
STOP
PAUSE
REC
LIBRARY
REC MENU EDIT MENU
CONTENT MENU
ANGLE
OPEN/CLOSE
SUBTITLE
AUDIO
CHANNEL
QUICK MENU
TOP MENU
MENU
RETURN
DVD
FR
AM
E/A
DJU
ST
PIC
TU
RE
SE
AR
C
H
SK
IP
S
LO
W
ENTER
TV/VIDEO
CHANNEL
VOLUME
REMAIN
DIMMER FL SELECT
ZOOM
P in P
TIME BAR CHP DIVIDE
DISPLAY
INPUT SELECT
PROGRESSIVE
TV
SAT.CONT. SAT.MONI.
TV/DVR
ENTER
ENTER
A
B
Combine ORG Title
Title
Object :HDD
Original
Start combining
Title:
HDD
EDIT
MENU
e.g.
For source, only 2 titles (original)
can e selected. After combined,
the second title is included into the
first one.
RD-XS34SB_Ope_E_p118-125
12/18/04, 5:48 PM
121


