236
Main Unit Firmware Code Updating Instructions
1. Updating through a LAN Port (The Quickest and Most Easiest Method)
The firmware code can be easily updated when the main unit is connected to a LAN.
The Network Firmware Update Tool can also be used by connecting to the machine using a
crossover
cable
, if the unit is not connected to a LAN.
1)
Install the Network Firmware Update Tool to your PC
The option CD-ROM includes the Network Firmware Update Tool and the Main Unit Firmware Code.
Please refer to the following Operating Instructions to install the Network Firmware Update Tool.
Operating Instructions:
\xFirmware\Tools\NwFirmup\NwFirmup OI.pdf (Refer to the
NW Firmware Update Tool OI
on the CD)
Setup:
\xFirmware\Tools\NwFirmup\Setup\Setup.exe
2)
Preparing the Firmware Code
Double click the appropriate Destination Shortcut Batch File and copy the Firmware Code File on the
CD-ROM to the Firmware Data Folder in your PC. Note that the files in the Archive will be extracted
automatically into the designated folder when the Archived file (.exe) is Double-clicked.
Example:
From:
Destination Shortcut Batch File: D:(CD-ROM Drive) \ xFirmware \ USA.bat
Firmware Code File:
UF-8000_xx_xxxxxx.exe
To:
Firmware Data Folder:
C:\ Pcc \ Fup \ Data
3)
Preparing the Main Unit for the Firmware Upgrade
Make sure the unit's Key Operator Password is the same as the tool's password.
Make sure the unit is in an idle state (e.g. not making copies, not printing, etc.).
4)
Upgrading the Main Unit's Firmware Code
Start the Network Firmware Update Tool and select the following
Firmware Code Folders
in the
C:\Pcc\Fup\Data
folder, and then follow the display instructions to upgrade the Main Unit's Firmware
Codes.
Parent Firmware File Folder
Sub Firmware File Folder
\ UF-8000_xx_xxxxxx
\
SC_STD
\ UF-8000
A
xVxxxxx_xx
\
SC_PCL
\ UF-8000
B
xVxxxxx_xx
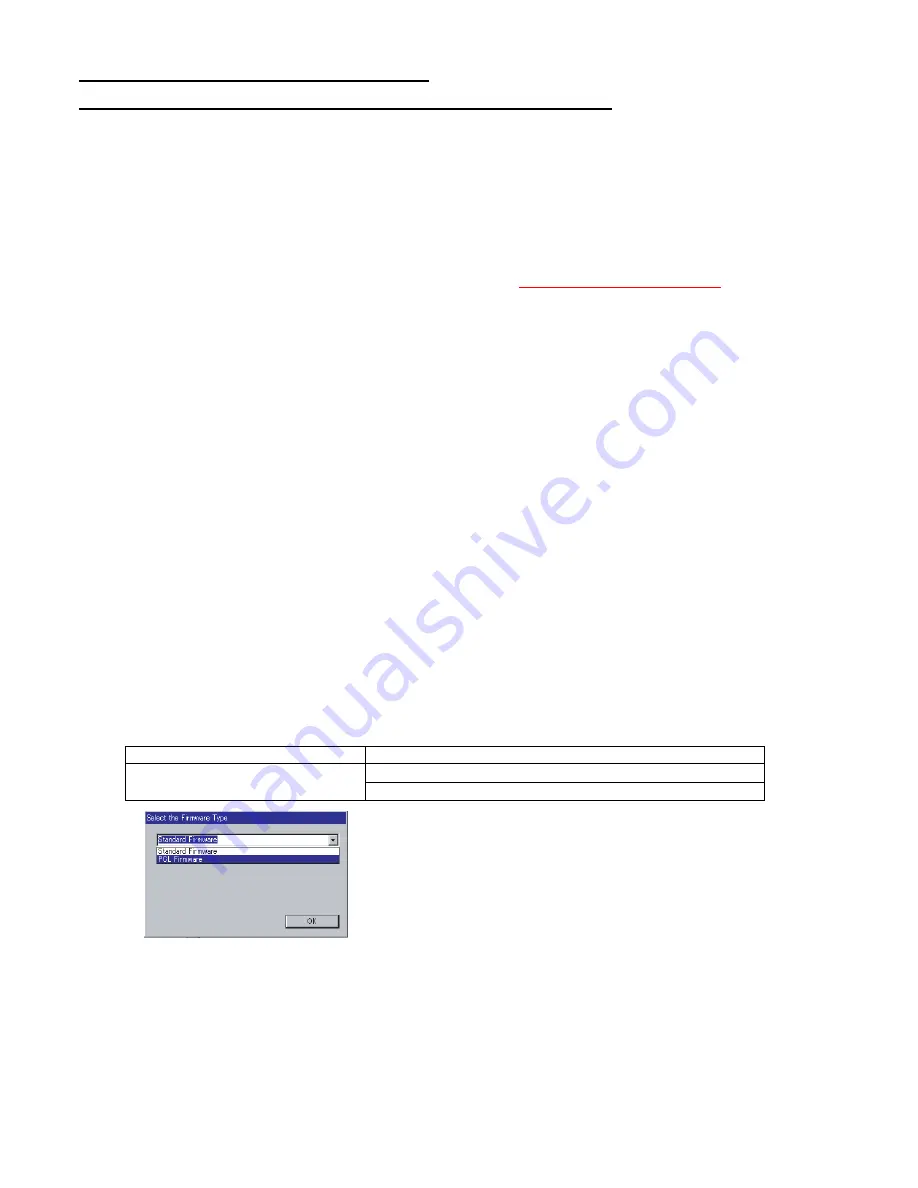
When you select the Parent Folder, the following
Firmware Type window appears. Proper Sub File Folders
are selected automatically by selecting the Firmware
Type.
The transferring order is set up automatically.
Summary of Contents for e-STUDIO190F
Page 5: ...5 ...
Page 21: ...21 1 2 Control Panel For Americas e STUDIO190F ...
Page 119: ...119 Sensor and Switch Location ...
Page 185: ...185 6 3 Printer Receive Mechanism 6 3 1 Component Layout and Paper Path ...
Page 234: ...234 7 Installation Refer to Quick Guide For Facsimile and Copy Functions ...
Page 297: ...297 memo ...
Page 299: ...299 memo ...


