e-STUDIO202S SIMULATION, TROUBLE CODES 10 - 16
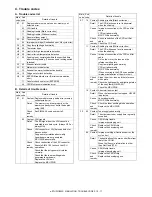
63
02
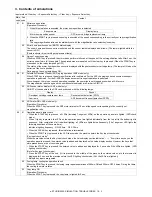
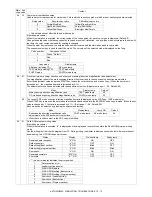
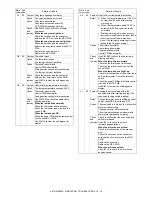
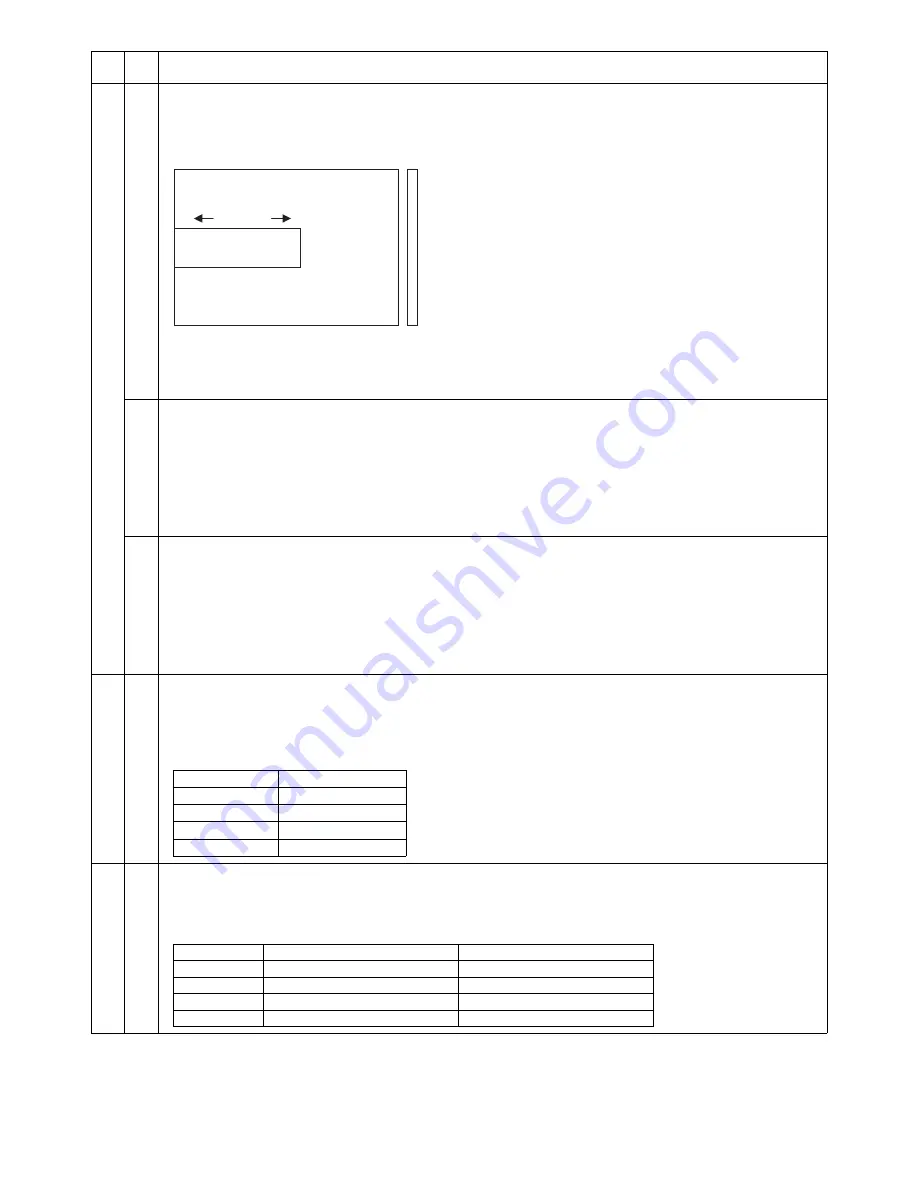
Black level automatic correction
The black level target value for using in the black level adjustment of the white balance is obtained.
When this simulation is executed, the current correction value is displayed in 12bit hexadecimal number in 3 digits.
Place the gray gradation chart (KODAK GRAY SCALE) used as the correction document face-down at the center of the left
edge of the platen so that the density 10 side (black side) is on the left side of the OC.
When START key is pressed, the mirror base unit scans the chart to calculate the correction value.
After completion of correction, the revised correction value is displayed on the LCD/7seg.
∗
When the black level adjustment is failed, the JAM lamp is lighted.
Default: 0
12
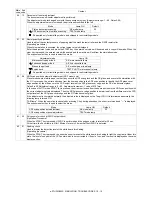
Light quantity stabilization wait time setting
In the light quantity stabilization process on white balance, the wait time before entering the light quantity level stabilization
process is set. (Note: The light quantity level of the previous light quantity stabilization is used as the target. When the light
quantity level reaches the level during the wait time, the wait time set with this simulation is ignored and the stabilization
process is started.
When this simulation is executed, the currently set value is displayed.
Enter the adjustment value with UP/UP key, and press START key to save the entered value.
Set range: 0 – 99 (Corresponding to the light quantity stabilization wait time 0 – 99 sec)
Default: 15 (15 sec)
13
Light quantity stabilization band setting
When the difference between the minimum value and the maximum value of the light quantity levels sampled for 3.2 sec in
100msec cycle in the light quantity stabilization process on white balance is smaller than the set value of this simulation, it is
judged that the light quantity is stabilized. (Note: The magnification ratio of the AFE gain setting is automatically reflected on
the stabilization band.)
When this simulation is executed, the currently set value is displayed.
Enter the adjustment value with UP/UP key, and press START key to save the entered value.
Set range: 1 – 99 (Light quantity stabilization band: Corresponds to 1 – 99 of 4,095 gradations)
Default: 16
64
01
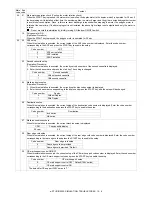
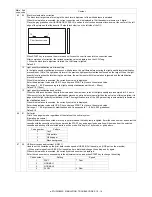
Self print
Print of one page is made regardless of the status of the optical system.
(Operating procedure)
When this simulation is executed, warm-up is performed and the ready lamp is lighted. Enter the code number, and select the
cassette with the cassette select key and press the START key, and paper feed operation will be made from the selected
cassette and printing of the selected pattern will be made. Printing is in 1by2 mode, or grid pattern.
67
50
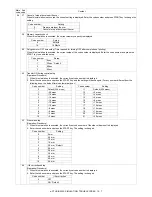
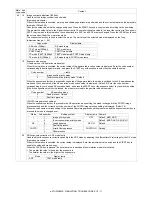
USB receive speed adjustment (USB1.1)
Used to set the limitation on the print data receive speed of USB2.0 (Full speed) port (USB port on the machine).
→
When print images from USB2.0 (Full speed) port are disturbed, change the setting and try again.
When this simulation is executed, the currently set code number is displayed.
Enter the code number corresponding to the adjustment value, and press START key to change the setting.
Main
code
Sub
code
Content
Chart back surface
1
10
Code number
Pattern
0
1by2
1
Grid pattern
2
White paper
3
Black background
Code number
Setting
Speed
1
FAST
↑
Fast
2
NORMAL1
3
NORMAL2
4
SLOW
↓
Slow


