e-STUDIO202S UNPACKING AND INSTALLATION 5 - 2
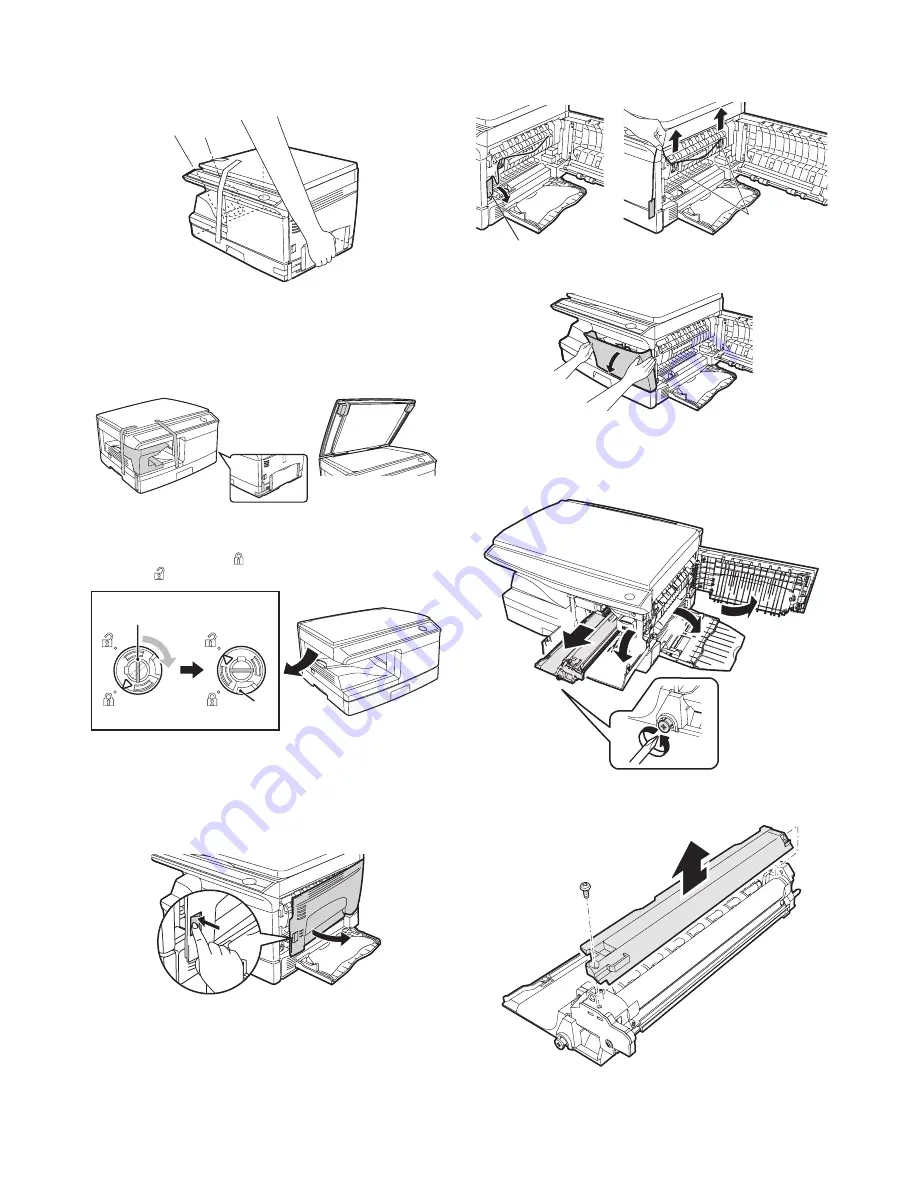
4. Unpacking
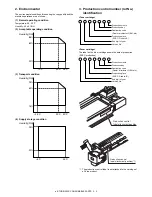
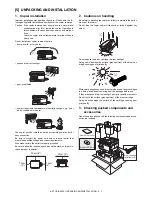
Be sure to hold the handles on both sides of the unit to unpack the
unit and carry it to the installation location.
5. Removing protective packing
materials
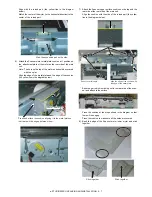
1) Remove all pieces of tape shown in the illustration below.
Then open the original cover and remove protective materials.
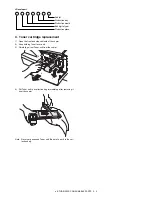
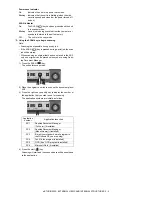
2) Release the scan head locking switch.
The scan head locking switch is under the document glass.
If the switch is locked (
), the unit will not operate. Unlock the
switch (
) as shown below.
To lock the scan head locking switch, hold up the catch in illus-
tration (A) and turn the center knob counter-clockwise 90
degrees until you hear a click.
6. Developer unit installation
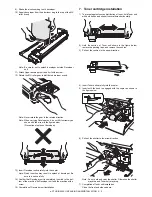
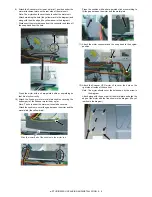
1) Open the multi-bypass tray, and then open the side cover.
2) Remove the CAUTION tape from the front cover and remove
the two protective pins from the fusing unit by pulling the
strings upward one at a time.
3) Push gently on both sides of the front cover to open the cover.
4) Remove the locking tape of the developer unit.
5) Remove the screw which is fixing the copier and Developer
unit.
6) Remove Developer unit slowly from the copier.
7) Remove the screw (1 pc).
8) Remove Upper developer unit.
(A)
Lock
Unlock
Grasp here and turn in
the direction of the arrow.
CAUTION tape
Protective pins
2
4
5
3
1

