EX-93821/EX-93823 Flat Panel PC
Page 52
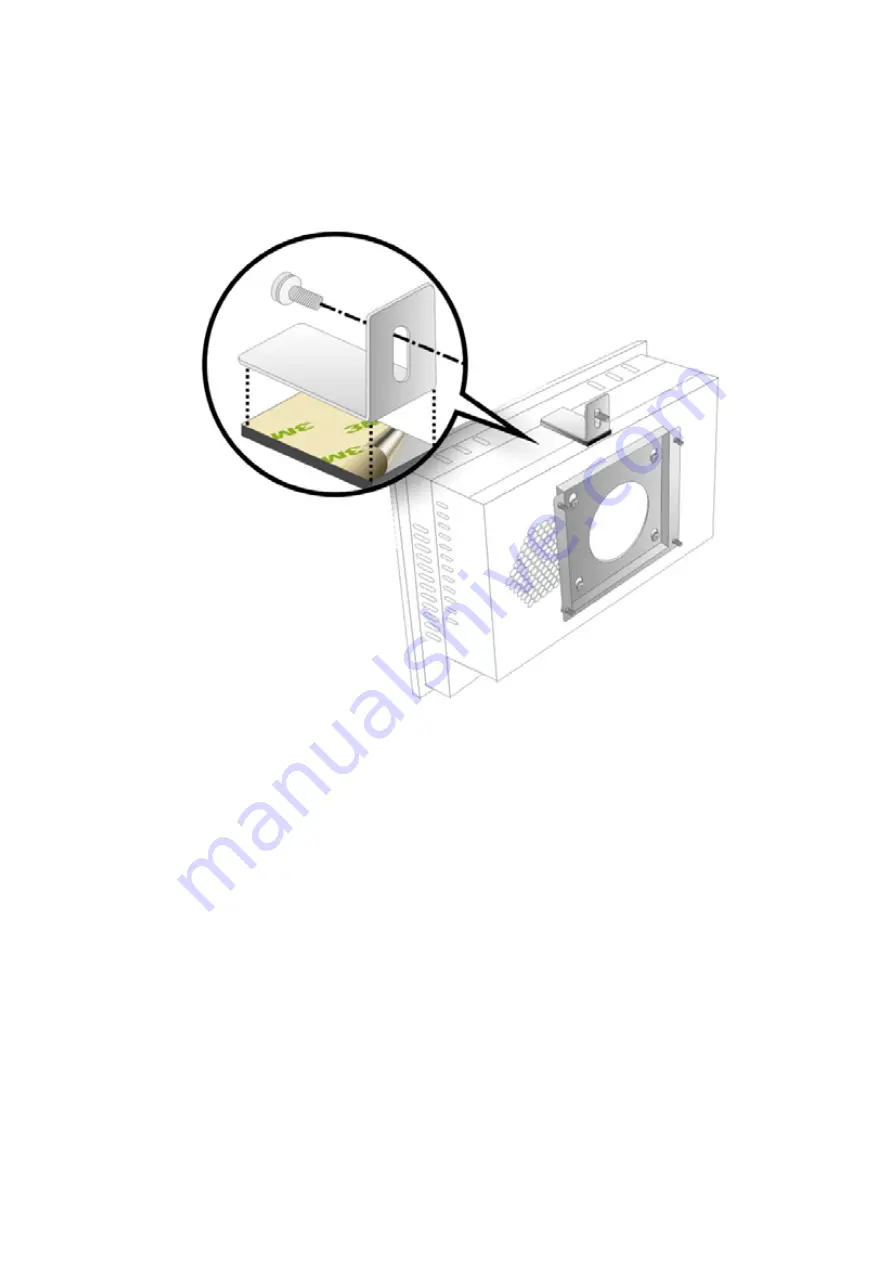
from the wall-mounting bracket accidentally.
Step 0:
Figure 3-13: Secure the Chassis
3.10.2 Panel Mounting
To mount the EX-93821/EX-93823 flat panel PC into a panel, please follow the steps
below.
Step 1:
Select the position on the panel to mount the flat panel PC.
Step 2:
Cut out a section from the panel that corresponds to the rear panel dimensions
of the flat panel PC. Take care that the panel section that is cut out is smaller
than the overall size of the metal frame that surrounds the flat panel PC but just
large enough for the rear panel of the flat panel PC to fit through (
Figure 3-14
and
Figure 3-15
).
Summary of Contents for EX-93821
Page 1: ...Page 1 EX 93821 EX 93823 Flat Panel PC...
Page 13: ...Page 13 1 Introduction Chapter 1...
Page 27: ...Page 27 2 Motherboard Chapter 2...
Page 35: ...Page 35 3 Installation and Configuration Chapter 3...
Page 59: ...Page 59 4 Gasket Replacement Chapter 4...
Page 61: ...Page 61 5 AMI BIOS Setup Chapter 5...
Page 98: ...EX 93821 EX 93823 Flat Panel PC Page 98 3 3 V 12 V VBAT V 5VSB V...
Page 99: ...Page 99 A Safety Precautions Appendix A...
Page 103: ...Page 103 B BIOS Configuration Options Appendix B...
Page 107: ...Page 107 C Software Drivers Appendix C...
Page 116: ...EX 93821 EX 93823 Flat Panel PC Page 116 THIS PAGE IS INTENTIONALLY LEFT BLANK...
Page 117: ...Page 117 D Hazardous Materials Disclosure Appendix D...
Page 121: ...Page 121 E Index...


