Maintenance, Service, and Repair
F2/F3 Transmission
Page 5
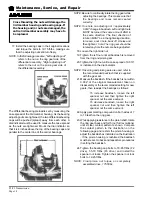
Replace the Axle Bearing
NOTE: The axle must be removed from the vehicle
to replace the axle bearing. Refer to section
Rear Axle: Remove and Install
for
information regarding removing the axle.
NOTE: A 10-ton press is required to replace the axle
bearing.
NOTE: The axle bearing will be damaged when it is
removed.
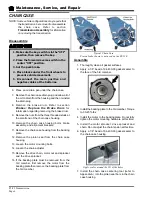
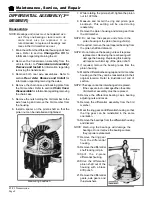
1. Place the axle in a press and remove the bearing
and bearing retainer.
2. Lightly lubricate the axle shaft.
3. Install a new bearing and bearing retainer and
press into place.
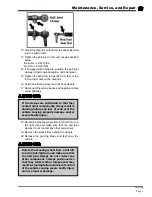
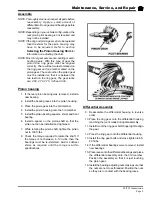
NOTE: Some axle configurations have an
o-ring around the axle bearing. The bearing
should be orientated so that the o-ring is
farthest away from the axle hub. See the
illustration below.
Old axle bearings may explode while being
removed. Place a cage around the axle
bearing that will contain all debris if the
bearing explodes. Failure to place a cage
around the axle bearing could result in
severe bodily injury or property damage.
The axle bearing retainer will be damaged
when it is removed. Do not reuse the axle
bearing retainer. Reinstalling the original
bearing retainer may result in the axle
falling out of the transmission resulting in
severe bodily injury or property damage.
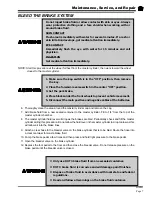
REAR AXLE
Remove and Install
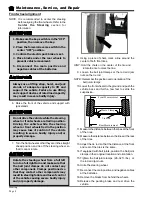
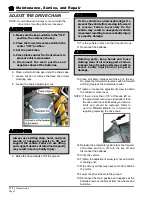
6. Raise the drive wheel off of the ground.
7. Remove the wheel assembly.
8. Place a small oil drain pan under the end of the
axle housing.
9. Remove the four axle retaining bolts. Secure the
brake assembly, do not let it hang by the brake
hose.
10. Using a slide hammer, remove the axle from the
axle housing.
11. Remove the bearing and axle seal from the
housing.
12. Install the axle in reverse order using a new seal.
13. Reconnect the main positive and negative at the
batteries, remove the blocks from the wheels, and
test drive.
1. Make sure the key-switch is in the “OFF”
position, then remove the key.
2. Place the forward-reverse switch in the
center “OFF” position.
3. Set the park brake.
4. Place blocks under the front wheels to
prevent vehicle movement.
5. Disconnect the main positive and
negative cables at the batteries.
Always use a lifting strap, hoist, and jack
stands, of adequate capacity to lift and
support the vehicle. Failure to use lifting
and support devices of rated load capacity
may result in severe bodily injury.
Summary of Contents for ET-015-00
Page 2: ......
Page 14: ...TAYLOR DUNN...
Page 28: ...TAYLOR DUNN...
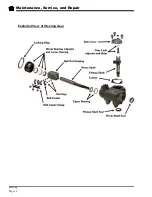
Page 48: ...Maintenance Service and Repair Steering Page 12 Exploded View of Steering Gear...
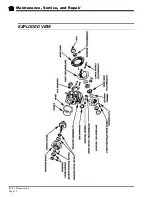
Page 60: ...Maintenance Service and Repair F2 F3 Transmission Page 12 EXPLODED VIEW...
Page 71: ...Maintenance Service and Repair Brakes Page 11 Rear Brake left side shown...
Page 72: ...TAYLOR DUNN...
Page 80: ...TAYLOR DUNN...
Page 90: ...TAYLOR DUNN...
Page 94: ...TAYLOR DUNN...
Page 100: ...TAYLOR DUNN...
Page 114: ...TAYLOR DUNN...
Page 116: ...TAYLOR DUNN...
Page 130: ...Illustrated Parts Parts Page 14 Rear Axle Axle tube 4 5 6 7 3 2 Rear Brakes...
Page 132: ...Illustrated Parts Parts Page 16 Rear Suspension 1 2 3 4 5 6 7 8 9 10 11 12 13 14 Drive Shaft...
Page 134: ...Illustrated Parts Parts Page 18 Motor direct drive Motor Mount direct drive...
Page 142: ...Illustrated Parts Parts Page 26 Instrument Panel dash...
Page 144: ...Illustrated Parts Parts Page 28 Speed Control Panel 1 2 3 4 5 6 7 8 9 10 11 12 4...
Page 152: ...Illustrated Parts Parts Page 36 Charger 2 1 15 12 11 4 3 5 8 10 6 7 9 13 14 16...

