TASCAM 788 Operational Tutorial • 8/2000 Edition
Recording & Editing Functions
15
Section III
Recording & Editing Functions
(Continued)
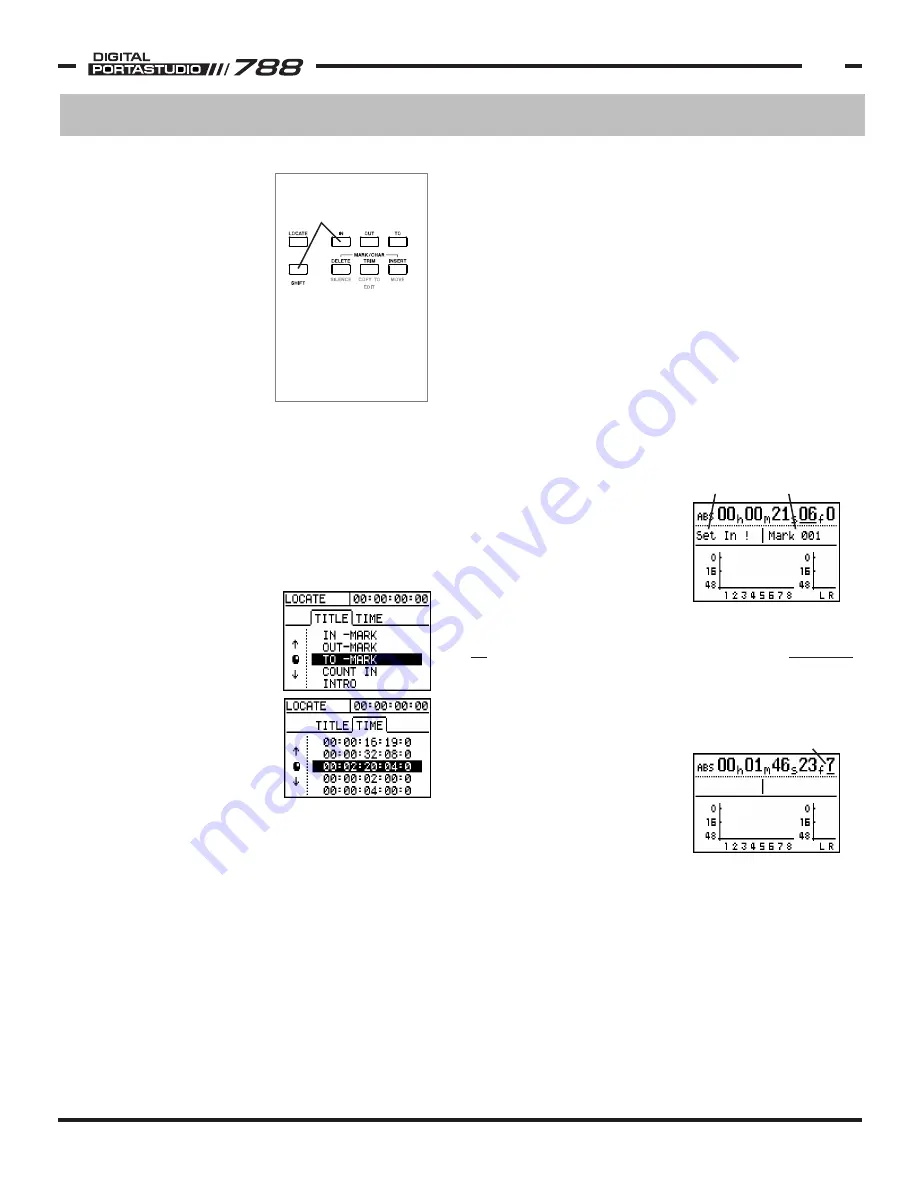
There are three locate points
on the surface of the 788
labeled IN, OUT, and TO.
These can be used as
standard locate points,
although these do have a
specific application with
editing and auto-punching.
(These functions will be
addressed in the sections on
editing and auto-punching.)
The rest of the locate points
are stored in the LOCATE
menu of the 788.
Storing Locate Points
To store a locate point in the IN, OUT, or TO points,
press SHIFT plus the IN, OUT, or TO button. To recall
the point, just press the IN, OUT, or TO button.
To store a locate point in any of the other locate
points, press SHIFT and LOCATE. The locate point
will be stored in the next available memory point.
Recalling Locate Points
To recall IN, OUT or TO locate
points, simply press their
dedicated buttons on the
surface of the 788. To recall
any of the other locate points,
press LOCATE, dial up the
locate point you want to
recall, and press ENTER/YES.
If you want to know the
time location of any of
the locate points, you can
use the LEFT and RIGHT
ARROW keys to toggle between the locate point titles
and times.
Trimming & Deleting Locate Points
If the locate point is close to what you want, but not
exactly where you want, you can adjust the position
of it. Highlight the locate point you want to adjust
and press TRIM. The screen will go to the JOG
window, showing a waveform view so you can more
accurately place the locate point. To save your new
location, press ENTER/YES. If you want to get out of
this screen without changing anything, press EXIT/NO.
The normal resolution of the
locate points would be to the
frame. This would typically
yield a 1/30th of a second
accuracy. If you want more
resolution, you can adjust to
sub-frame accuracy using 10
sub frames to a frame. This
yields a 1/300th of a second
accuracy.
The time display shows hours, minutes, seconds, frames,
and sub-frames. One of these time denominations will
be underlined; the one that is underlined can be adjusted
by the JOG/DATA wheel. To move the cursor around, use
the arrow keys. This gives you editing resolution accurate
to the sub-frame.
The other way to get to sub-frame accurate locate points
is to use the JOG/DATA capabilities mentioned earlier
in this section. You can enter the JOG/DATA mode by
pressing STOP+PLAY together, then pressing the RIGHT
CURSOR key until you are zoomed in at 32x aspect ratio.
That scrubs at the sub-frame level.
While 999 locate points will probably mean you won't
ever run out of locate points, it might be more to
sort through than you realistically want. If you want
to delete a locate point, highlight it in the locate
menu and press DELETE.
Other Location Functions
The locate points will receive a generic name like
"Mark_001". You can give them more descriptive names
like "NorikzSolo", or whatever you want. To name a
locate point, press LOCATE to get into the LOCATE menu,
highlight the locate point you want to name and press
SHIFT and MENU/TITLE. You can give it a 10 character
name.
See Section V, "Assigning Names" on p23 for complete
naming capabilities and instructions.
As you play through the song,
you may notice that the home
screen will show you some
location information. The
upper left area will flash
messages confirming a location
point has been stored. The
section to the right will display
the last locate point that was
passed.
MORE LOCATE RESOLUTION
To store the current time
to the IN point, press
SHIFT+ IN.
The OUT and TO locate
registers are set in the same
way. You can also press
SHIFT + LOCATE to store
points in the next available
locate memory point in the
LOCATE menu.
Confirmation
Messages
Last Locate
Point Passed
Time locations can be fine
adjusted to sub frame
accuracy. Scroll to the sub-
frame column, and adjust
with the JOG/DATA wheel.


