Options and accessories
User Guide
printable area of the paper and stores the width measured in this process. The
measuring process varies, depending on the paper source selected.
The measurement is made
► after power-on and before the first print job;
► after paper end and before the subsequent print job; after
► changing the paper source (e.g. from Tractor 1 to Tractor 2).
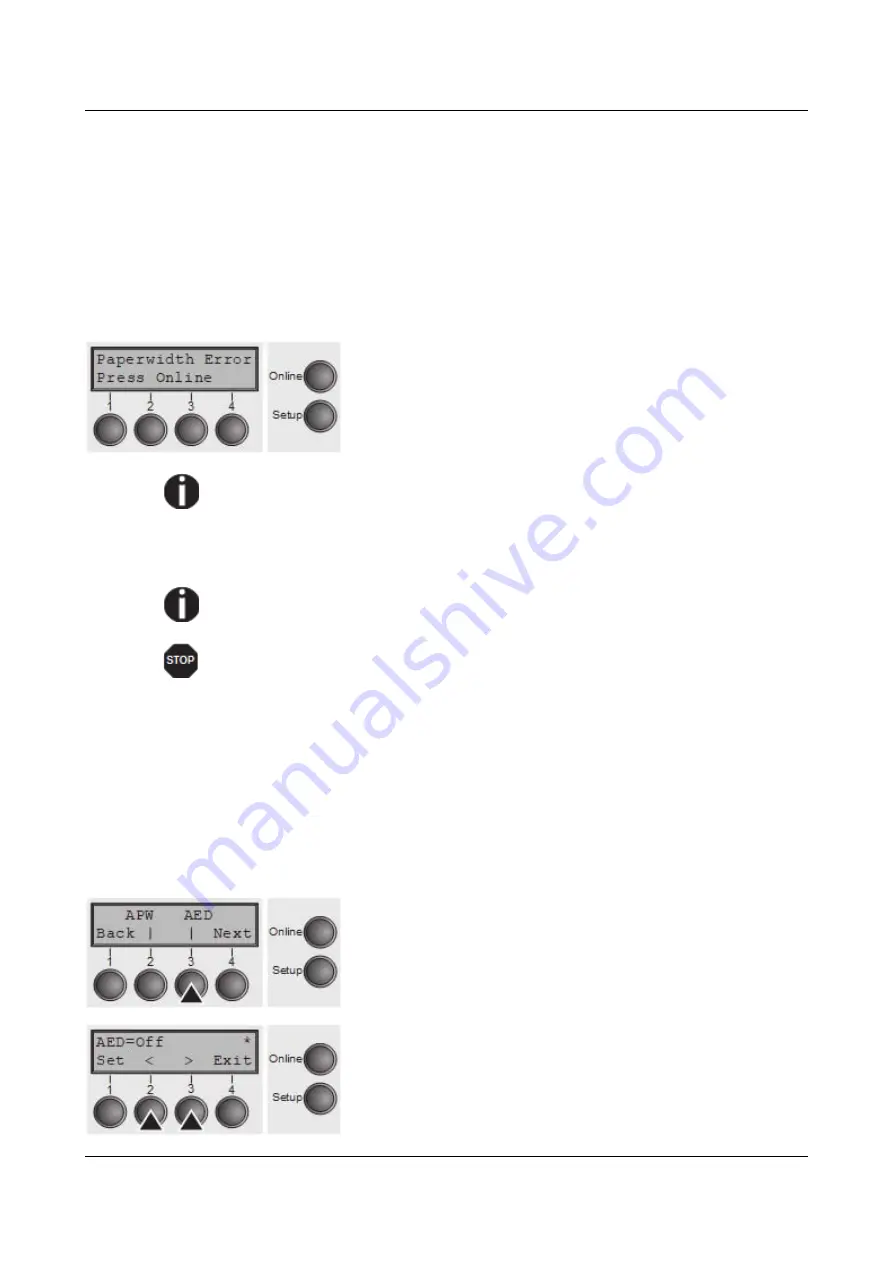
When you submit a print job which exceeds the paper width, the following
message appears in the display:
The print job is stopped at the measured paper-end
position after printing the first line.
You can now either cancel the print job or load suitable
paper. In the latter case, the printer will resume the print
job upon pressing the
Online
key.
If you press the
Online
key without having changed the paper, another line
is printed until reaching the measured paper-end position.
The sensor interprets dark areas with a width of 13 mm or more as the
right-hand paper edge.
If the sensor does not detect any black area, the maximum possible
printing width is used as the printable area.
If there is a sensor malfunction (e.g. because of dirt, a defect or
misinterpretation of the paper width) it is necessary to deactivate the APW
function (
APW=Off
), since otherwise the printout will be too narrow or there
will be no printout at all. In this case contact your service technician.
Confirm the setting by pressing the
Set
(1) key.
Automatic detection of the top paper margin (AED)
This menu option only appears, if a cut device is installed. It corrects possible
inaccuracies of the paper positioning at the cut edge if the paper path is changed
after a cutting action.
Select the
AED
(3) menu.
Setting options:
On
/
Off
Default setting:
Off
Confirm the setting by pressing the
Set
(1) key. Change to
the next parameter group with the
Next
key (4).
106
Summary of Contents for 2810
Page 1: ...User guide Matrix printer 2810 2820 ...
Page 17: ...User Guide Options and accessories Printer at a glance 9 ...
Page 18: ...Options and accessories User Guide Printer in tractor mode 10 ...
Page 52: ...Options and accessories User Guide 46 ...
Page 62: ...User Guide Options and accessories 59 ...
Page 83: ...User Guide Options and accessories 81 ...
Page 90: ...Options and accessories User Guide Menu settings example 88 ...
Page 96: ...User Guide Options and accessories 95 ...
Page 108: ...User Guide Options and accessories 107 ...
Page 129: ...User Guide Options and accessories MTPL standard character set 129 ...
Page 130: ...User Guide Options and accessories MTPL international substitution characters 131 ...
Page 131: ...Options and accessories User Guide OCR A character set 132 ...
Page 132: ...User Guide Options and accessories OCR B character set 133 ...


