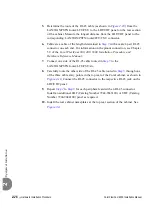
2-40
Hardware Installation Procedure
Coral FlexiCom 6000 Installation Manual
Eq
uipment Insta
llation
2
3.
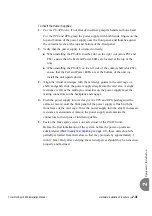
Gently press the levers outward toward the top and bottom of the card. The
card is released from the connections to the backplane.
4.
Extract the card from its slot.
For initial installation, partially extract each card from its card slot, so that the
cards protrude from the card cage approximately 1 inch (2.5cm).
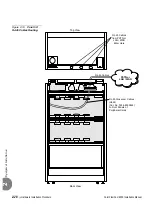
Figure 2-14
Control
Card Slots for a
redundant system
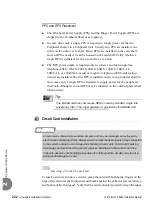
Never force the insertion of a Common Control card in a slot other than the
one designated for that card. Irreparable damage may occur if a Common
Control card is placed in an incorrect slot with power applied.
Inserting Control Cards
The Control shelf is shipped with the 32GC(s), the MCP-ATS (s), and the Power
Supply Unit(s) already set in their appropriate slots and fastened into place. The
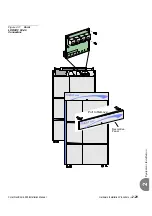
CLA-ATS is shipped separately and must be installed separately, see
for the installation procedure for the CLA-ATS card.
All the control shelf cards must be partially extracted from the Control Cage
before system initialization.
32G
C
32GC
CLA
(optional)
-A
TS
C
L
A-A
T
S
(option
a
l)
PS 3
PS 2
PS
1
MC
P
-A
T
S
MC
P
-A
T
S
1 2 3
PS
Fuses
FAN-1
FAN-2
FAN-3
Fuse
Fuse
Fuse
LEFT
control
RIGHT
control
(o
ptio
na
l)
SAU
SAU

