PAGE 3
Section 11
•
Advanced Features
types, you’ll need to add some hardware
items to get up and running. Just as
before, a wireless ethernet bridge is
required (though this time an 802.11g
unit).
Connecting to the Network
The Server uses Automatic IP Settings
(DHCP) by default so that once it is
connected to your switch it will obtain all
the networking information it needs to
talk to other devices across the network.
A good way of checking to see if this has
been done correctly is to put a CD into the
Server, if the track listing is found then this
proves that a connection to the internet
has been successful and therefore the
network settings are valid. In practice you
will not need to make any adjustments
to the network settings as DCHP will take
care of this automatically.
You may decide however to change the
IP address or gateway setting if there
is a conflict or the connection is slow. If
you need to do so follow the instructions
below.
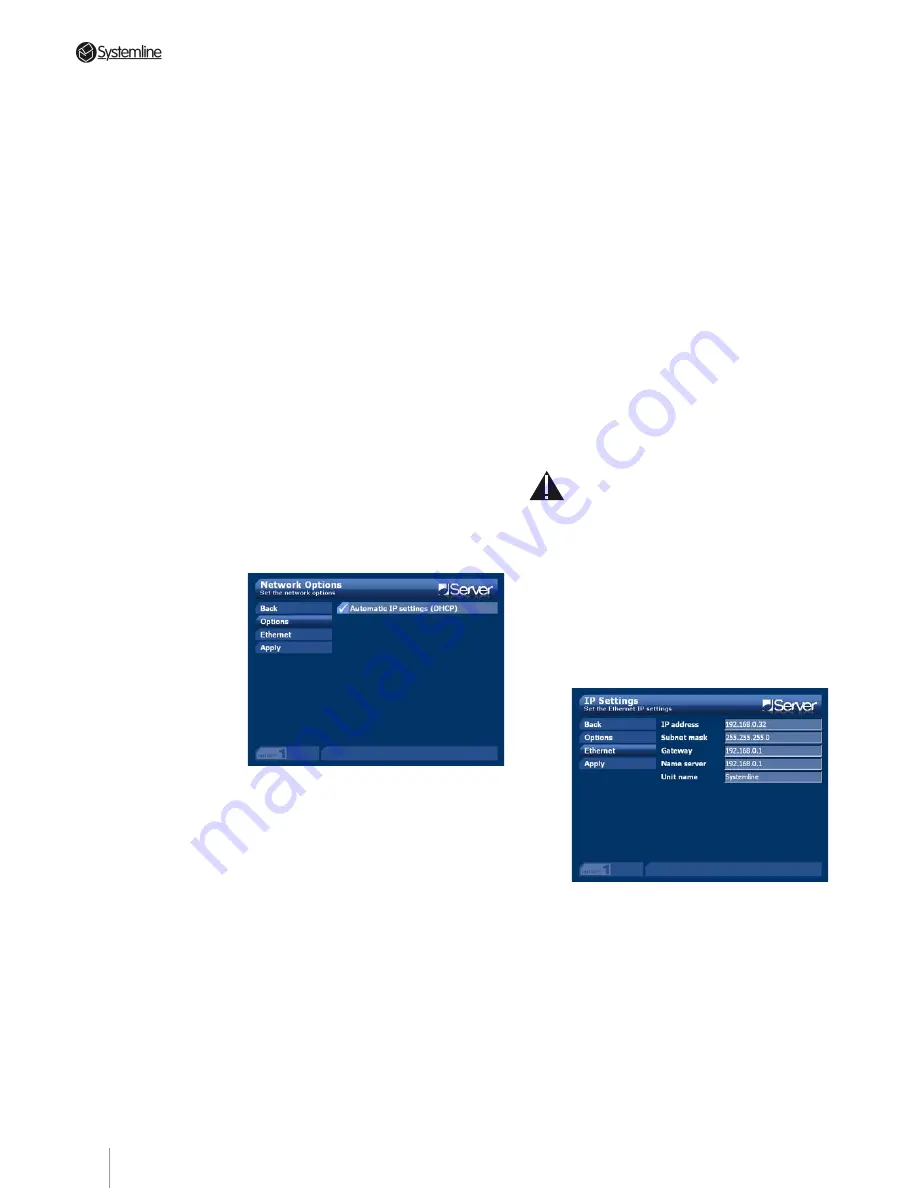
From the HOME menu highlight
SETTINGS and press OK. Next highlight
NETWORK and press OK. You will be
taken to the networking screen where
there are the following options:
Back
– use this option to reverse one step
in the User Interface menu hierarchy
Options
– use this option to see all the
network options available. The only
option available at present is DHCP. This
is enabled by default and will already
have set up your ethernet settings. To turn
off AUTOMATIC IP settings highlight the
option and press OK. Make sure that the
option is unticked. Once you have done
this your ethernet settings will remain the
same until you manually alter them.
Ethernet
– under this option you will
see several editable data fields that will
already be filled in — assuming that you
have a switch and that the unit has been
plugged in to the network. If you wish to
change any of these settings they can be
accessed in the usual way by highlighting
the field and pressing OK. You will then be
able to type in the correct numbers using
the handset or keyboard.
Device Name
– you will notice that by
default the unit has been given the
name ‘Systemline’. You can change this
to something more unique if you wish.
Remember that you will have to use
this name to access the media files on
the Server from another computer. It is
necessary to change this name if you wish
to Network two or more Servers,
Note:
You should only attempt to change
these settings if you are experienced
with computer networking and are sure
you know what you are doing. If in doubt
about the network settings on your Server
please consult your dealer or installer
Apply
– use this option to apply the
changes you have made to the network
settings. You will see a message telling
you that the network settings are being
updated.
Summary of Contents for 3 Output Music Serve
Page 1: ...3 Output Music Server Installation User Guide...
Page 2: ......


