PAGE 1
Section 4
•
Initial Settings
4.1 Navigating the User
Interface
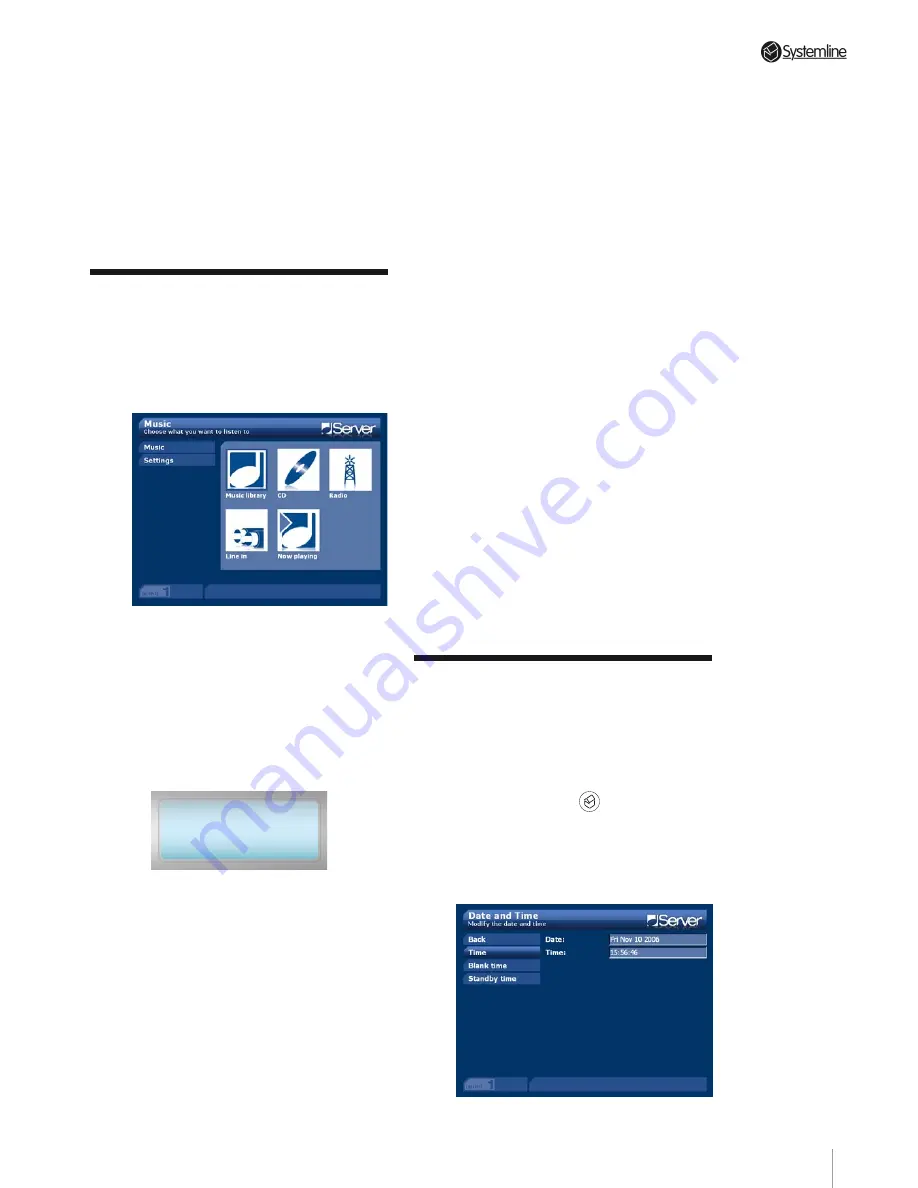
With the Server powered up, press the
HOME key on the handset. You will be
presented with the following screen:
Using the four cursor keys on the handset
you will find that you can navigate the
interface quite easily, as each selection
is highlighted with a dark blue border or
background. To activate any particular
selection, simply press the OK key on
the handset. The same technique is used
throughout the entire user interface.
>Music library
Music
CD
iRadio
If you are using the front panel buttons
you will find that the LCD display provides
the same information as the video
display but as a vertical list of options.
The currently selected option is indicated
by the > cursor symbol. Because of the
limitations of the size of the display
sometimes not all of the choices available
on the video screen can be shown at one
time. In this instance if there are more
selections above or below the currently
indicated selection then continuing to
move the cursor up or down will force
those extra selections to roll into view.
Similarly if there are extra selections
available to the left or right, these can
be accessed by pressing the left or right
cursor buttons. The existence of left or
right options is indicated by the direction
of the arrow in the top line of the display.
It is recommended that during setup you
use a computer keyboard for navigation
as it makes some of the setup procedure
far more straightforward. You will find
that the separate cursor keys and those in
the number pad can be used to navigate
the interface and that the return or enter
keys can be used to select your option.
For a full list of keyboard functionality and
shortcut keys see Appendix 12.1 at the
end of this manual.
4.2 Setting the Time
Options
Time and Date
With the Server powered up, press the
handset HOME key (
1
2
3
4
5
6
7
8
9
0
2
1
3
ABC
DEF
GHI
JKL
MNO
PQRS
TUV
WXYZ
) and navigate
to SETTINGS option. Press the OK key to
activate your option. Scroll down the list
of options to the TIME option. Press OK to
select this option. You will be presented
with the following screen:
4 Initial Settings
A User Interface Tutorial
There are a number of initial settings that it is useful to make right away that will make
subsequent use of the Server easier and more rewarding. Whilst making these settings you
will become familiar with the user interface which enables quick and easy operation of your
Systemline Server.
Summary of Contents for 3 Output Music Serve
Page 1: ...3 Output Music Server Installation User Guide...
Page 2: ......


