


FAAST 7100X
INSTALLATION AND MAINTENANCE INSTRUCTIONS
© Pertronic Industries Ltd
8
FAAST XS (7100X) Installation Guide Iss 1.0, 201606
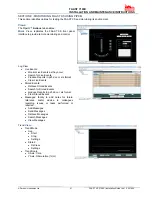
4.1 General Settings:
The General Settings screen provides the
miscellaneous settings that are configured. The
following configuration settings can be seen under the
General Settings:
•
Fan
Speed
•
Flow
Boundary
•
AirFlow
Delay
•
Trend
Period
•
Address
•
Alarm
Tone
•
Fault
Tone
•
Acclimate
4.2 Network:
•
MAC
•
IP
Address
•
Subnet
Mask
•
Gateway
•
DNS
Primary
•
DNS
Secondary
•
DHCP
Status
•
Device
Name
4.3 Email
The Email menu screen provides the options for a
detailed look of the email
settings in the device.
Use the
scroll (
) keys to select an option and then select (
) key
to confirm the selection
•
Device
Account
•
Addresses
4.4 ModBus:
•
Mode
•
IP
Address
•
Port
•
Address
4.5 Alarm Settings:
•
Alarm
Threshold
•
Night
Mode
•
DST
Setting
•
Alarm
Delays
•
Relay Settings
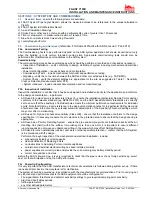
4.6 Information:
The Information screen provides the text information
that is configured on the device from PipeIQ. The fields
include Facility Name and Location, Device Location
and Contact Person.
Use the scroll (
) keys to advance
up or down the information
5. Event History:
The Event History can be viewed through the LCD
screen. The Event History
screen displays the event
number currently being displayed, the total number
o
f
events available, and the event detail for the currently
displayed event.
Use the scroll (
) keys to advance up or
down the events
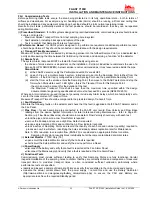
6. Message Log:
The Message Log history can be viewed through the
LCD screen. The Message
Log screen displays the
message number currently being displayed, the total
number of messages available, and the message.
Use
the scroll (
) keys to advance up or down the messages.
7. LCD Setting:
The LCD settings menu allows the user to adjust the
language, backlight and
contrast settings for the LCD.
This feature can be locked out and require the
user to
enter a 4 digit access code to enter the LCD menu. This
four digit
access code is configurable through PipeIQ.
When a user selects the LCD Settings menu from the
main menu screen with the lock feature enabled, the
enter password screen will be displayed. Once in the
settings menu use the
scroll (
) keys to select an option,
then select (
) key to confirm the selection
7.1 Language:
The Language screen allows the user to change the language
on the LCD. 16 languages are available
7.2 BackLight:
The Backlight screen is used to adjust the brightness of
the backlight.
Use the scroll (
) keys to increase or
decrease the brightness, then select (
) key to register the
setting
7.3 Contrast:
The Contrast screen is used to adjust the contrast of the
text.
Use the scroll (
) keys to increase or decrease the
contrast
7.4 Display TimeOut:
The Time Out information set for the unit is displayed
8. Diagnostics:
Information on system diagnostics is displayed
•
FW
Version
•
Sensor
Processor
•
Comms
Processor