Chapter 5
Installing Additional Cards into the Netra ct Server
49
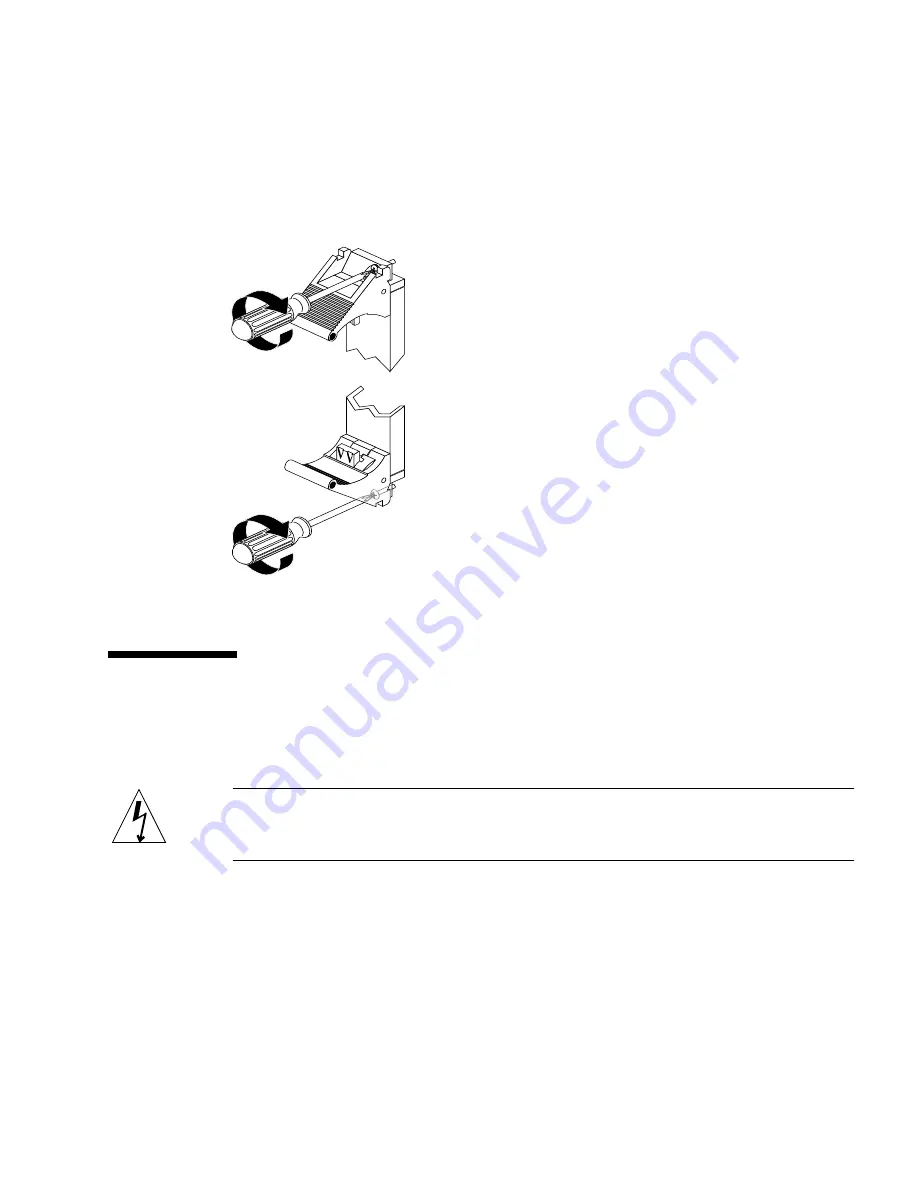
8. Using a No. 2 Phillips screwdriver, tighten the two captive screws inside the card’s
ejection levers, one on top and one on the bottom (
FIGURE 5-7
).
Tighten the screws to a torque of 0.28 N.m (2.5 in.-lb).
FIGURE 5-7
Tightening the Ejection Lever Captive Screws
Installing Additional I/O Cards in the
Rear-Access Model Server
Caution –
An energy hazard is present if any I/O slots are left uncovered. If you
remove a card from an I/O slot, you must fill it with either a replacement card or a
filler panel.
The I/O rear transition card for the Netra ct 800 server and the Netra ct 400 server
consists of two separate cards:
■
The front I/O card
■
The I/O rear transition card
The front I/O card contains the ASICs for the associated I/O card and is installed
from the front of the server; however, no cables connect to the front I/O card.
Summary of Contents for Netra ct
Page 18: ...xviii Netra ct Server Installation Guide September 2002...
Page 20: ...2 Netra ct Server Installation Guide September 2002...
Page 36: ...18 Netra ct Server Installation Guide September 2002...
Page 58: ...40 Netra ct Server Installation Guide September 2002...
Page 168: ...A 150 Netra ct Server Installation Guide September 2002...


