34
Getting Started
Chapter 1
SR865A DSP Lock-in Amplifier
17. Press [Play Pause/
reset
] briefly (don’t hold it) to
re-start the scan.
The
Run
LED turns on indicating that the scan
is running.
18. Touch the white scale tile {Time} to display the
horizontal scale palette (bottom right of screen).
Touch
repeatedly to zoom in to 10 S/div.
Touch the highlighted white scale tile again to
dismiss the scale palette.
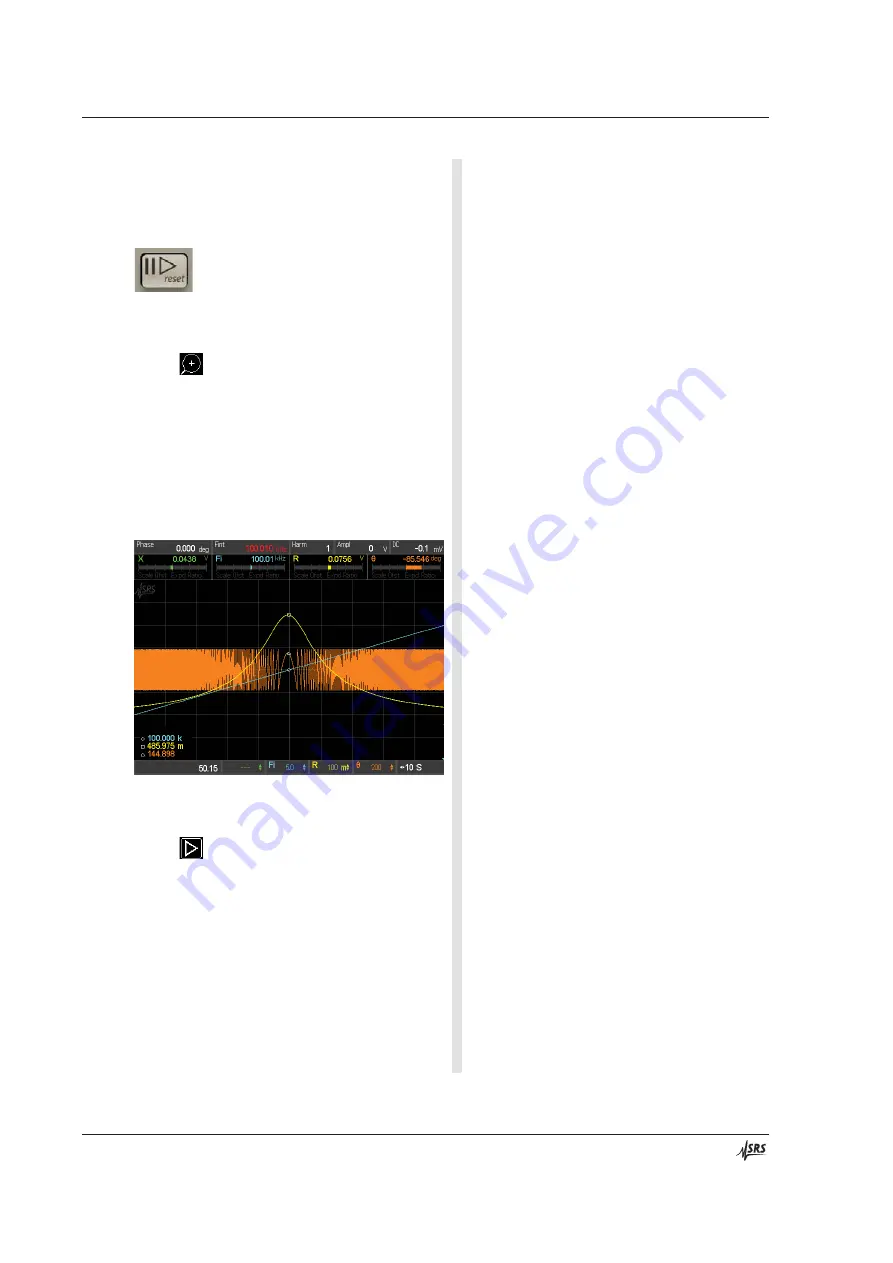
This scan is 100 s in length so set the graph to
10 divisions of 10 s to show a complete scan.
Wait for the scan to finish.
When the scan finishes, the
Done
LED turns
on.
19. Use the <Cursor> knob to move the cursor to the
peak of R (yellow).
When the scan in progress reaches the end
value the strip chart pauses.
The frequency will hold at the end value
(100.010 kHz) as displayed in the info bar.
The cursor is active when the strip chart is
paused.
20. Touch the white scale tile {Time} to display the
horizontal scale palette (bottom right of screen).
Touch
start the strip chart again.
Touch the highlighted white scale tile again to
dismiss the scale palette.
Notice that data collection continued while the
chart was paused. Restarting the chart realigns
the time history so the current time is the right
edge again.
In this case, the frequency has been constant at
100.010 kHz the entire time we have been
examining the paused scan.
21. Press and hold [Play Pause/
reset
] to reset the
scan back to the begin value.
This resets the scan parameter back to the begin
value. The
Done
LED turns off.
22. Press [Play Pause/
reset
] briefly to start the scan
again.
This starts the scan again. The
Run
LED turns
on and the frequency ramps upward.
Summary of Contents for SR865A
Page 5: ...Safety and Preparation For Use iii SR865A DSP Lock in Amplifier...
Page 6: ...iv Safety and Preparation For Use SR865A DSP Lock in Amplifier...
Page 54: ...36 Getting Started Chapter 1 SR865A DSP Lock in Amplifier...
Page 118: ......
Page 172: ......
Page 186: ...168 The FFT Display Appendix B SR865A DSP Lock in Amplifier...
Page 192: ......


