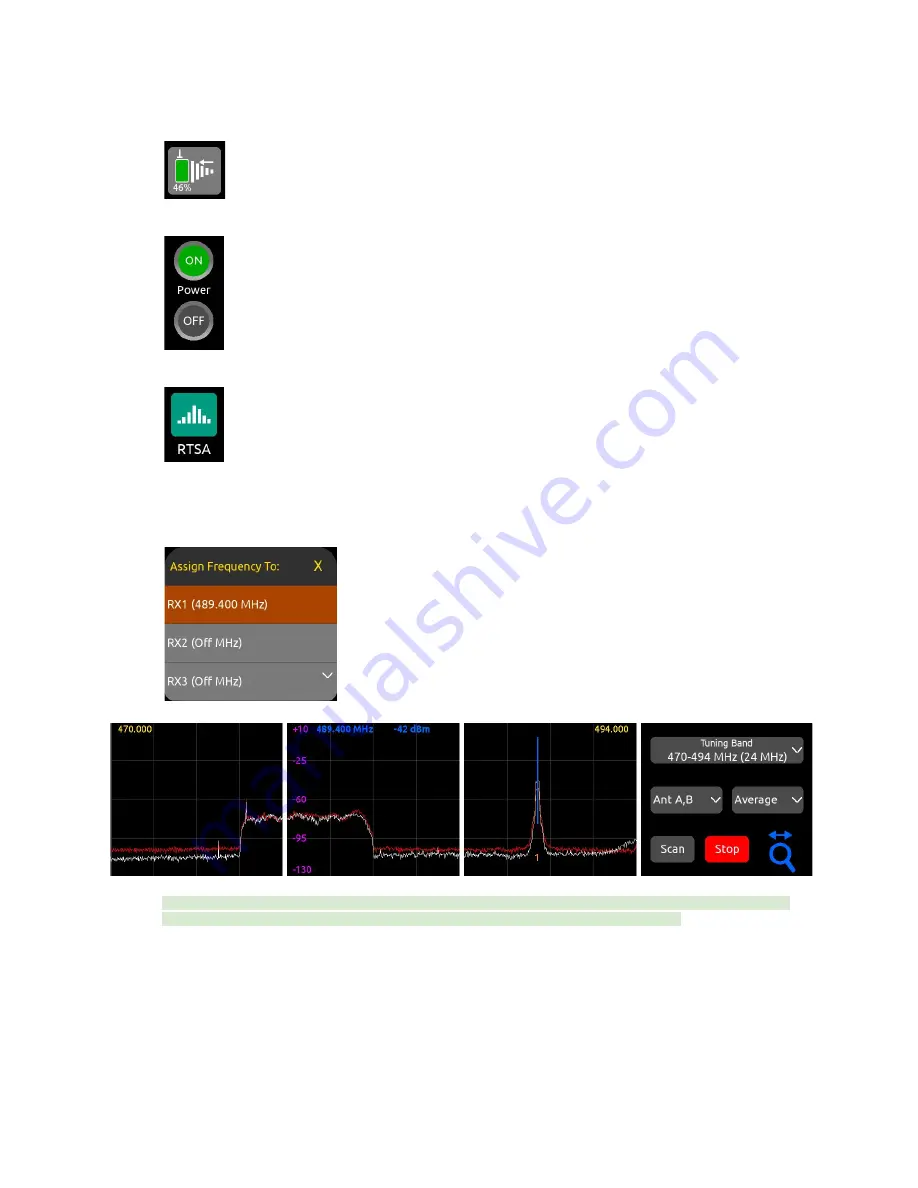
15. In the 1RX View, ensure the transmitter is well within range by checking that the 2.4 GHz NexLink signal strength indicator
in the leftmost screen shows good signal strength.
16. If the A20-Mini transmitter is not already on, tap the Power ON button in screen 3 of the 1RX View.
17. Press the triangle button to access the Main Menu, then tap the RTSA icon.
18. In the RTSA, rotate the HP knob (or tap the top half of the plot) to move the blue vertical frequency marker to a clean
frequency (i.e. where there is low background RF noise). Press the HP knob to display the ‘Assign Frequency To:’ list then
tap RX1 to assign the clean frequency to receiver channel 1. The frequency is automatically pushed to the transmitter and
its RF signal appears in the trace.
Tip:
Before assigning frequencies, it is highly recommended to perform a scan of the local RF environment using Scan
Mode to identify and choose a clear Tuning Band.
See RTSA > Scan Mode for further information.
19. Tap the orange ‘1’ below the transmitter signal to jump to the 1RX View for channel 1, tap the Gain button and rotate the
HP knob to bring up the gain until you see audio signal from the lav connected to the A20-Mini. Press the HP knob to
store the gain value.
20. Put your headphones on and listen. Rotate the HP knob clockwise to increase the HP gain.
Congratulations! You have your first wireless channel ready to go.
A20-Nexus
User Guide
18


