


1-14
58
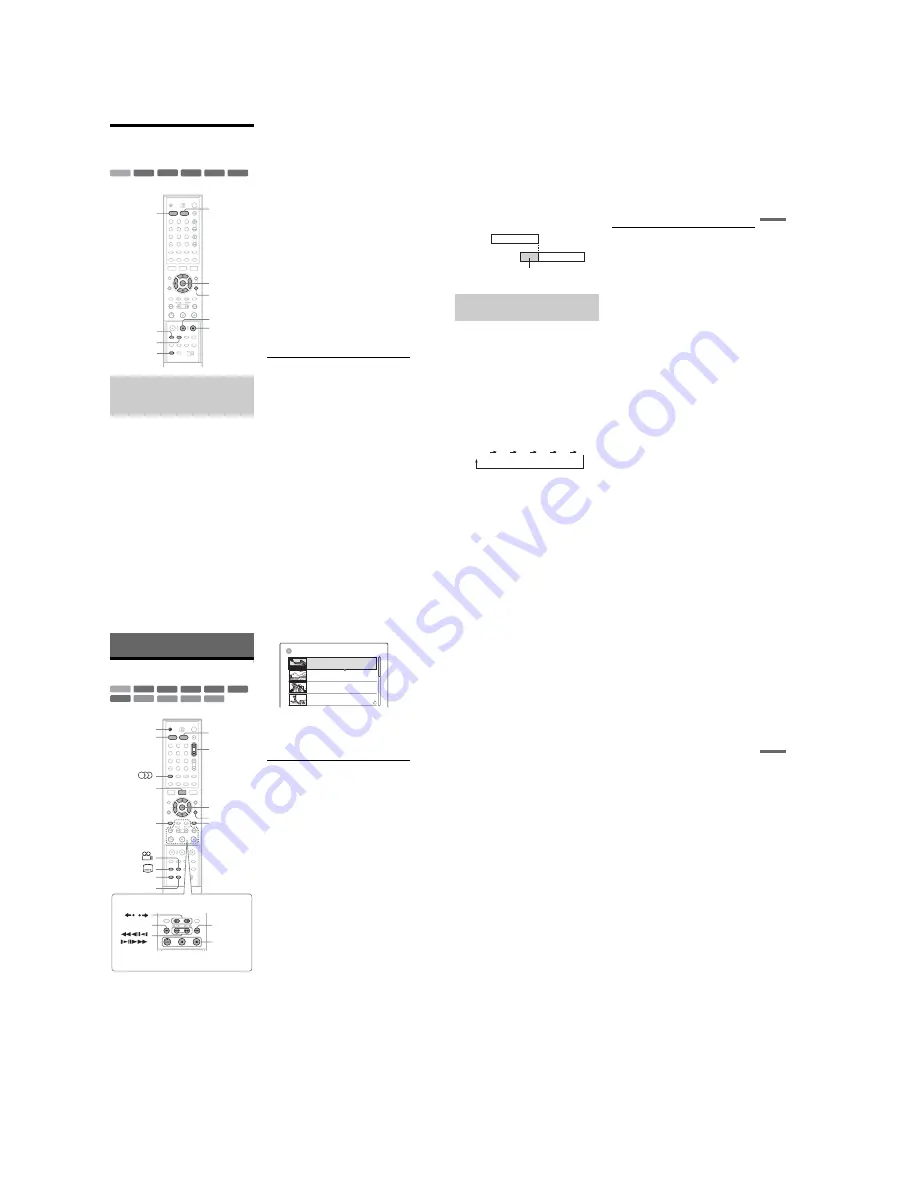
Recording From Connected
Equipment
You can set the recorder to automatically record
programmes from connected equipment that has a
timer function (such as a satellite tuner). Connect
the equipment to the LINE 3 jack of the recorder
(page 28).
When the connected equipment turns on, the
recorder starts recording a programme from the
LINE 3 jack.
1
Before recording, select HDD or DVD.
If you select DVD, insert a recordable DVD
(see “Inserting a Disc” on page 29).
2
Set “Synchro Rec” in “Features” setup to
“Record to HDD” or “Record to DVD”
(page 100).
3
Press INPUT SELECT repeatedly to select
“L3.”
4
Select the line input audio when recording
a bilingual programme on DVD-RWs (VR
mode).
Press TOOLS to select “Line Audio Input,”
and press ENTER. Then select “Bilingual,”
and press ENTER.
5
Press REC MODE repeatedly to select the
recording mode.
For details about the recording mode, see
page 48.
6
Set the timer on the connected equipment
to the time of the programme you want to
record, and turn it off.
7
Press SYNCHRO REC.
The SYNCHRO REC indicator lights up on
the front panel. The recorder is ready to start
Synchro-Recording.
The recorder automatically starts recording
when it receives an input signal from the
connected equipment. The recorder stops
recording when the connected equipment
turns off.
To stop recording
Press
x
REC STOP or SYNCHRO REC.
To cancel Synchro Rec
Press SYNCHRO REC.
The SYNCHRO REC indicator on the recorder
turns off.
b
Notes
• The recorder starts recording only after detecting the
video signal from the connected equipment. The
beginning of the programme may not be recorded
regardless of whether or not the recorder’s power is on
or off.
• During Synchro-Recording, other operations such as
normal recording cannot be done.
• To use the connected equipment while the recorder is
standing by for Synchro-Recording, cancel Synchro-
Recording by pressing SYNCHRO REC. Be sure to
turn off the connected equipment and press
SYNCHRO REC to reset Synchro-Recording before
the timer recording starts.
• The Synchro Rec function does not work with some
tuners. For details, see the tuner’s operating
instructions.
Recording from connected
equipment with a timer (Synchro
Rec)
-RW
VR
-RW
VR
+
RW
-
R
+
R
-RW
Video
+
R
HDD
REC MODE
<
/
M
/
m
/
,
,
ENTER
x
REC STOP
SYNCHRO REC
INPUT SELECT
1
2
3
4
5
6
7
8
9
0
DVD
HDD
X
REC PAUSE
TOOLS
59
Ti
me
r
Re
co
rd
in
g
• While the recorder is standing by for Synchro-
Recording, the Auto Clock Set function (page 89) does
not work.
If the timer settings of a Synchro-Recording
and another timer recording overlap
Regardless of whether or not the programme is a
Synchro Rec programme, the programme that
starts first has priority and the second programme
starts recording only after the first programme has
finished.
You can record from a connected VCR or similar
device. To connect a VCR or similar device, see
“Connecting a VCR or Similar Device” on
page 26. Use the DV IN jack on the front panel if
the equipment has a DV output jack (i.LINK jack).
1
Press HDD or DVD.
If you select DVD, insert a recordable DVD
(see “Inserting a Disc” on page 29).
2
Press INPUT SELECT to select an input
source according to the connection you
made.
The front panel display changes as follows:
3
Select the line input audio when recording
a bilingual programme on DVD-RWs (VR
mode).
Press TOOLS to select “Line Audio Input,”
and press ENTER. Then select “Bilingual,”
and press ENTER.
4
Press REC MODE repeatedly to select the
recording mode.
For details about the recording mode, see
page 48.
5
Press
X
REC PAUSE to set this recorder to
record pause.
6
Insert the source tape into the connected
equipment and set to playback pause.
7
At the same time, press
X
REC PAUSE on
this recorder and the pause or play button
on the connected equipment.
Recording starts.
To stop recording, press
x
REC STOP on this
recorder.
If you connect a digital video camera with a DV
IN jack
See “DV Dubbing” on page 84 for an explanation
of how to record from the DV IN jack.
z
Hint
You can adjust the settings for the recording picture
before recording. See “Adjusting the recording picture
quality and size” on page 53.
b
Notes
• When recording a video game image, the screen may
not be clear.
• Any programme that contains a Copy-Never copy
guard signal cannot be recorded. The recorder
continues to record, but a blank screen will be recorded.
Recording from connected
equipment without a timer
7:00
8:00
9:00
10:00
First
programme
will be cut off
Second
programme
L2
L1
L4
L3
DV
programme
position
60
Playback
Playing
1
Press HDD or DVD.
• If you select DVD, insert a disc (see
“Inserting a Disc” on page 29).
• If you insert a DVD VIDEO, VIDEO CD, or
CD, press
H
. Playback starts.
2
Press TITLE LIST.
For details about the Title List, see “3. Playing
the Recorded Programme (Title List)” on
page 32.
Example: DVD-RW (VR mode)
3
Select the title, and press ENTER.
The sub-menu appears.
4
Select “Play,” and press ENTER.
Playback starts from the selected title.
To use the DVD’s Menu
When you play a DVD VIDEO, or a finalised
DVD+RW, DVD-RW (Video mode), DVD+R, or
DVD-R, you can display the disc’s menu by
pressing TOP MENU or MENU.
To play VIDEO CDs with PBC functions
PBC (Playback Control) allows you to play
VIDEO CDs interactively using the menu on your
TV screen.
When you start playing a VIDEO CD with PBC
functions, the menu appears.
Select an item using the number buttons and press
ENTER. Then, follow the instructions in the menu
(press
H
when “Press SELECT” appears).
The PBC function of Super VIDEO CDs does not
work with this recorder. Super VIDEO CDs are
played in continuous play mode only.
To stop playback
Press
x
.
To playback quickly with sound (Scan Audio)
When you press
M
during playback of a title
recorded in the HDD, you can play quickly with
dialogue or sound (“x1.5” appears).
No sound is output when you press
M
two or
more times to change search speed.
+
R
DVD
VCD
CD
DATA CD
-RW
VR
-RW
Video
+
RW
-
R
HDD
DATA DVD
1
2
3
4
5
6
7
8
9
0
>
H/X/x
Z
TITLE LIST
<
/
M
/
m
/
,
,
ENTER
TOOLS
MENU
PROGRESSIVE
TOP MENU
/
/
.
INPUT SELECT
HDD
DVD
PROG
+/–
12
11
10
9
AAB
TITLE LIST
ORIGINAL
GB
4.3 / 4.7
World Sports
Mystery
Travel
28.10. 2005 13:00
(0H30M) LSP
GB
0.9
DEF
AAB
GHI
Tennis
26.10. 2005 20:00 (0H30M) SEP
25.10. 2005 9:00
(1H00M) SLP
19.10. 2005 20:00 (1H00M) SEP
Wed
Tue
Wed
Fri
GB
0.3
GB
0.8
GB
0.6
61
P
lay
ba
ck
To resume playback from the point where you
stopped (Resume Play)
When you press
H
again after you stop
playback, the recorder resumes playback from the
point where you pressed
x
.
To start from the beginning, press TOOLS to
select “Play Beginning,” and press ENTER.
Playback starts from the beginning of the title/
track/scene.
The point where you stopped playing is cleared
when:
– you open the disc tray (except for HDD).
– you play another title (except for HDD).
– you switch the Title List menu to Original or
Playlist (HDD/DVD-RW in VR mode only).
– you edit the title after stopping playback.
– you change the settings on the recorder.
– you turn off the recorder (VIDEO CD/CD/
DATA DVD/DATA CD only).
– you make a recording (except for HDD/DVD-
RWs in VR mode).
– you switch between JPEG and MP3.
b
Note
You cannot resume playback during TV Pause.
To play restricted DVDs (Parental Control)
If you play a restricted DVD, the message “Do
you want temporarily change parental control to
*?” appears on your TV screen.
1
Select “OK” and press ENTER.
The display for entering your password
appears.
2
Enter your four-digit password using the
number buttons.
3
Press ENTER to select “OK.”
The recorder starts playback.
To register or change the password, see “Parental
Control (DVD VIDEO only)” on page 99.
To lock the disc tray (Child Lock)
You can lock the disc tray to prevent children from
ejecting the disc.
When the recorder is turned on, hold down
x
until
“LOCKED” appears in the front panel display.
The
Z
(open/close) button does not work while
the Child Lock is set.
To unlock the disc tray, hold down
x
until
“UNLOCKED” appears in the front panel display
when the recorder is turned on.
One Touch Play
If you use the SMARTLINK connection, you can
easily start playing.
Press
H
. The recorder and your TV
automatically turn on and the TV’s input is
switched to the recorder. Playback starts
automatically.
One Touch Menu
If you use the SMARTLINK connection, you can
easily display the Title List.
Press TITLE LIST. The recorder and your TV
automatically turn on and the TV’s input is
switched to the recorder. The Title List appears.
z
Hints
• You can also use the
H
button in step 3 (page 60) to
start playback.
• Even if you select “Factory Setup” in “Options” setup
(page 102), the Child Lock remains set.
,
continued
Summary of Contents for RDR-GXD310
Page 6: ...MEMO 6 ...
Page 36: ...1 30E MEMO ...
Page 103: ...MEMO 5 10E ...
Page 109: ...6 6E MEMO ...


