


Chapter 5: Activating, Commissioning and
Configuring the System Using SolarEdge
Inverter SetApp
If applicable, you can connect communication options at this stage, as described in
Once all connections are made, the system should be activated and commissioned using the SolarEdge
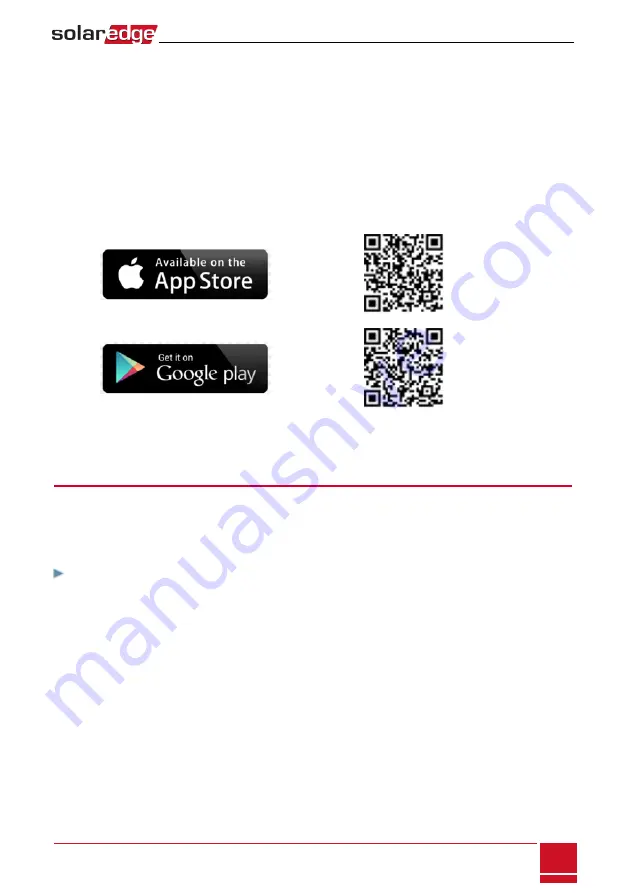
Inverter SetApp mobile application. You can download the app from the iTunes and Google Play app
stores prior to reaching the site.
Internet connection is required for the download and for the one-time registration, however not
required for using the SetApp.
Step 1: Activating the Installation
During system activation, a Wi-Fi connection is created between the mobile device and the inverter and
the system firmware is upgraded.
Before activation - download, register (first time only) and log-in to SetApp on your mobile device.
Internet connection is required for the download and for the one-time registration.
To activate the installation:
1. Turn ON the AC circuit breaker on the main distribution panel.
2. Move the inverter ON/ OFF/ P switch to the ON position.
3. Move the Connection Unit DC switch to the ON position.
4. Open SetApp and follow the instructions on the screen (scan the inverter bar-code; move the
ON/OFF/P switch to P position and release within 5 sec. back to ON (1) position). SetApp creates a Wi-
Fi connection, upgrades the inverter CPU firmware and activates the inverter.
5. When the activation is complete, do one of the following:
l
Select
Activate Another Inverter
to continue activating additional inverters
l
Select
Start Commissioning
for pairing and other system configuration. The Commissioning
screen is displayed. Refer to the next section for more information.
Chapter 5: Activating, Commissioning and Configuring the System Using SolarEdge
Three Phase Inverter with synergy technology Guide MAN-01-00402-1.1
35


