SECTION 3 - INSTALLATION
Page S3-25
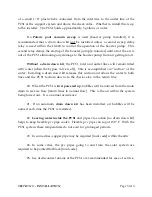
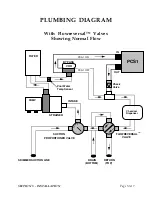
K. Complete rigid pvc pipe run to eaves connecting to flex pvc at eaves
1. place straight SXS coupling outside of eaves, not inside
a.
Minimize cemented joints in the attic
[union-flex only joint]
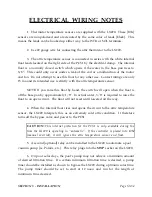
L. Run electrical wiring for PCS1 power from LX220 to outlet box in attic
1. follow wiring codes and instructions
2. PCS1 simply Òplugs into outletÓ [unplugs for any service work]
M. Run temperature sensor wire [22 gauge vinyl jacketed] to attic thermistor
1. install attic sensor near peak and out of PCS1 air flow stream
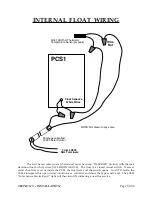
2. Connect temp sensor in series with white float wires from PCS1
a. float is normally closed switch that opens if water is 3/8Ó+
NOTE
:
Electrical wiring should now be completed.
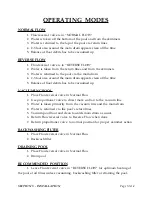
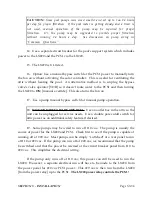
N. Close off all excessive ventilation and power ventilators.
1. board up any large ventilation holes previously created [power, etc.]
2. only passive ventilation holes should be present.
a. rule of thumb, 1 sq ft for every 350 sq ft of attic is required.
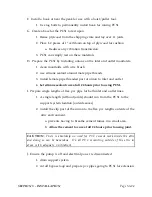
O. Place straps around the PCS1 and raise it into the attic with a hoist/puller.
1. Two strong men can lift the 134 lb PCS1 into the attic.
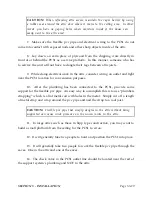
CAUTION
:
The PCS1 is bulky and the fins are razor like. Take due care when
manually raising the PCS1 into the attic. If manually lifting, the bulk of the
unit along with the sharp fins can pose a significant danger. Especially if the
PCS1 is dropped or loss of control is experienced. This can result in a back or
other injury. The larger the access opening, the easier the unit can be man-
handled. Small openings with minimal clearances require a higher degree of
control than manual lifting may afford.
P. Place the PCS1 onto the attic platform and into the desired position.
1. airflow from the PCS1 should be open and not restricted
2. a plenum with flexible duct work can get around air obstructions
Summary of Contents for PCS1
Page 7: ...SECTION 1 SYSTEM ARRIVAL Page S1 1 SECTION ONE SYSTEM ARRIVAL...
Page 22: ...SECTION 2 HEATING DATA Page S2 1 SECTION TWO HEATING DATA...
Page 28: ...BTUS Vs GPM BTUS Vs T SECTION 2 HEATING DATA Page S2 7...
Page 34: ...SECTION 3 INSTALLATION Page S3 1 SECTION THREE INSTALLATION...
Page 65: ...Attic Installation Photos SECTION 3 INSTALLATION Page S3 31...
Page 66: ...Attic Installation Photos SECTION 3 INSTALLATION Page S3 32...
Page 88: ...SECTION 4 SERVICE Page S4 1 SECTION FOUR SERVICE...
Page 99: ...Common Questions Page 1 of 10 COMMON QUESTIONS...
Page 109: ...Dictionary of Terms Page 1 of 4 DICTIONARY OF TERMS...


