Configuring an AUTOTEST
42
© Copyright 2019 Softing IT Networks
Configuring an AUTOTEST
6.1
Setting up WireXpert
After configuring the system settings, follow these steps to set up an AUTOTEST.
1.
Press the
[SETUP]
button
Project Settings
a.
Site
– Create or select a Site
b.
Operator
– Create or select an Operator
c.
Label Source
– Select cable labelling scheme. Load labels from USB flash drive if using List
Based Testing (LBT).
d.
AutoSave
– Enable option for WireXpert to auto save every PASS result.
2.
Press the
[SETUP]
button
Quick Setup
to select pre-defined test limit settings using matching
generic UTP/FTP cable and connector.
3.
Manual Setup – Press the
[SETUP]
button
Test Settings
a.
Test Limit
– Select a test limit
b.
Cable
– Create a custom or select cable from list. Select
[Generic]
if unsure.
c.
Connector
- Create a custom or select connector from list. Select
[Generic]
if unsure.
d.
Test Options
General
i.
Locator
– Enable option to display the worst NEXT and Return Loss (RL) fault
information in an AUTOTEST result. Default has been set to OFF.
ii.
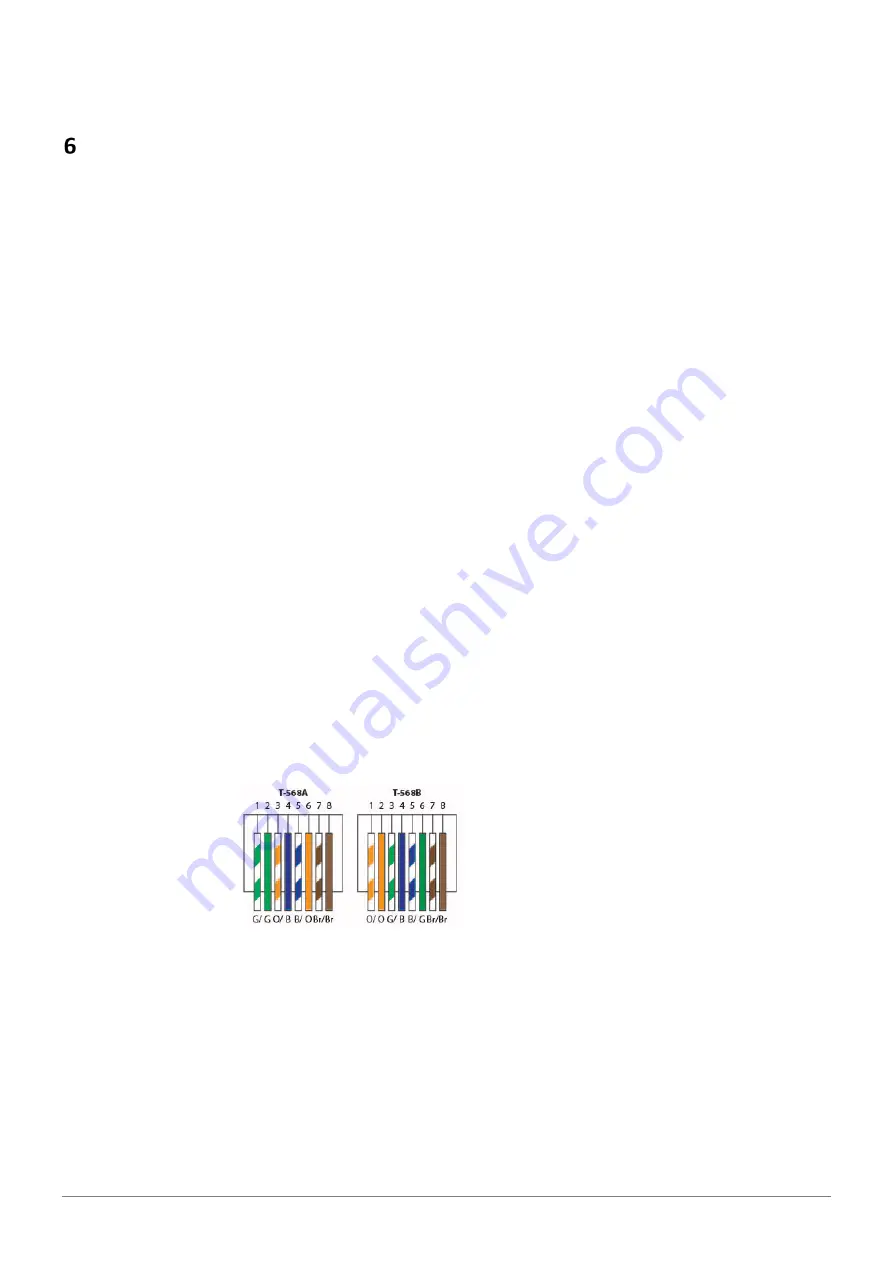
Cable Pairing Type
– Select if cable under test is paired using the T568-A or T568-B
standard. Option will be disabled when a TERA Channel or TERA Link adapter is
connected to WireXpert.
iii.
Autotest on Connection
– Enable option to perform AUTOTEST on, i.e., as soon as the
connection between LOCAL and REMOTE units is established. Default option has been
set to OFF.
iv.
Direct Attach
– Enable option only if performing Direct Attach installation test. Default
option has been set to OFF.
v.
AC Wire map
– Enable option to bypass testing DC parameters. Default option has been
set to OFF.
vi.
Crossover
– Enable option and select wiremap(s) if cable under test is a crossover cable.
Option is only available when Application Standards is selected as the Limit Standard.


