


2 Getting Started
2.1 Storage Media
2.1.1 Insert the Memory Card
Insert memory card with the contacts facing forward see the picture
as below:
2 Getting Started
2.1 Storage Media
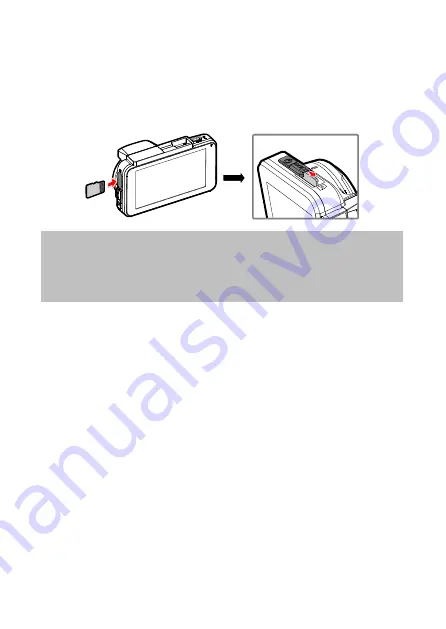
2.1.1 Insert the Memory Card
Insert memory card with the pins facing forward
see the picture as
below:
2.1.2 Remove the Memory Card
If the device is power on, please power off first and wait for
the
device to switch off completely
before removing the memory
card. Please refer
Manual Power On/Off
(2.5.2).
Note:
1.
Do not remove or insert the memory card when the device is turned on.
This may damage the memory card.
2.
Support SDHC class 10 and memory storage 16GB or above (support up
to 32GB).
3.
Please format the micro SD cards before the initial use
see section 4.2
Menu items, Format
.
Carefully
Insert the memory card into the device
until the lock can be smoothly slid. The card will
protrud
e
in normal use,
damage may occur if
pressed too hard.
1
1
2.1.2 Remove the Memory Card
If the device is powered on, please power off first and wait for the
device to switch off completely before removing the memory card.
Please refer
Manual Power On/Off
(2.5.2).
Note:
1. Do not remove or insert the memory card when the device is
turned on. This may damage the memory card.
2. Support SDHC class 10 and memory storage 16GB or above
(support up to 32GB).
3. Please format the micro SD cards before the initial use see
section 4.2 Menu items, Format.
11
DVR-5HD V2.2 09/17