46 • EN
Return to contents
( S6800 & S8100 V1.0 EN 3/21 )
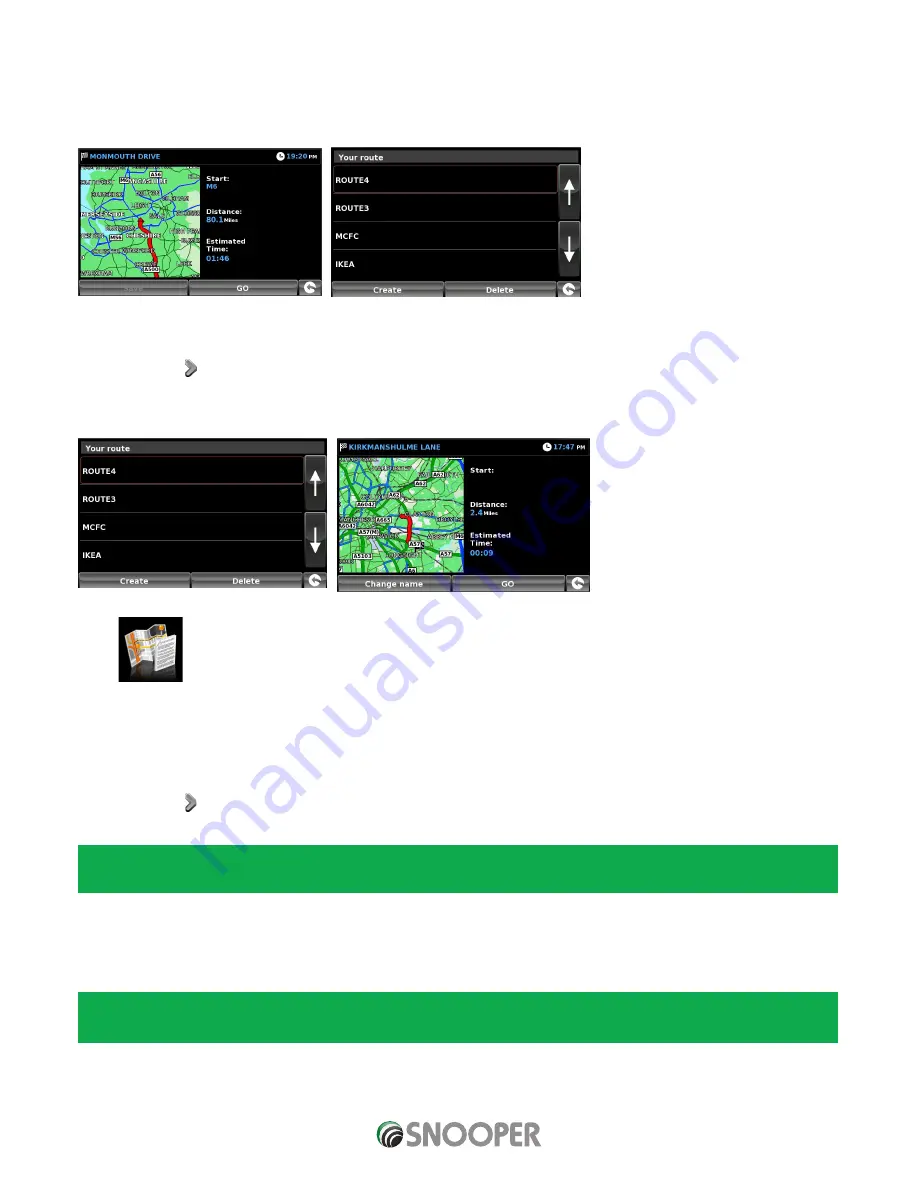
7. Once the journey has been built press ‘Done’. A summary of the journey is displayed and you now have the option to ‘Save’ (by
pressing the ‘Save’ button) or start navigating by pressing ‘GO’ .
8. If you choose to save your route you can now change the name of your route. Once the name has been edited press ‘Save’.
9. Additional ‘My Routes’ can be created, saved and added by following steps #1-9
3.15.2 Navigating using My route
●
●
Press the centre of the screen to enter the ‘Navigate to’ menu.
●
●
Press the arrow twice.
●
●
Press ‘Your route’.
●
●
Select which My Route you want to use by pressing on the name; a summary screen will appear. To start navigating press ‘Go’.
3.16 Route Description
After a route has been calculated and the journey has commenced, you can access the summary display again by using this function.
To view the summary screen:
●
●
Press the centre of the screen to enter the ‘Navigate to’ menu.
●
●
Press the arrow twice.
●
●
Press the ‘Route description’ icon.
In order to use this function on Snooper you will need to have entered and calculated a route.
If the ‘Route description’ icon is greyed out a route has NOT been entered.
From the summary display you can either press ‘Go’ to start navigation, ‘Simulation’ to see the actual route that will be taken,
‘Route Option’ to change the parameters of the route or ‘Guide’ which will list the turn by turn instructions of the journey. The
‘Summary Screen’ will tell you the distance to your destination, estimated time of arrival and the estimated time it will take to
complete your journey.
The summary screen is only displayed for approximately 10 seconds before the unit automatically returns to providing you
with turn-by-turn instructions.


