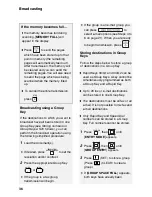

Receiving Faxes to E-mail
41
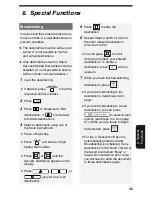
6. Special
Fun
c
tions
Receiving Faxes to E-mail
You can have incoming faxes from
specified fax numbers (or all fax
numbers) automatically converted to e-
mail and forwarded to designated e-mail
recipients.
♦
This provides a convenient means of
forwarding received faxes to someone
who is out of the office.
♦
This function can also be used to
send copies of all received faxes to an
administrator for centralized
document storage.
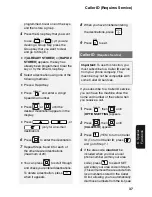
Storing (or clearing) groups of
originating fax numbers and
forwarding e-mail addresses
To use the Receive Fax to E-mail
function, you must first store one or
more groups of originating fax numbers
and forwarding e-mail addresses.
♦
One originating fax number and one
forwarding e-mail address can be
stored in each group. When a fax is
received, the machine will check each
stored group, and if the originating
number of the received fax matches a
fax number in one of the groups, the
machine will forward the fax to the e-
mail address in that group.
♦
You can also omit entry of an
originating fax number in a group and
have faxes from all originating fax
numbers forwarded to the e-mail
address.
♦
Up to 10 groups can be stored.
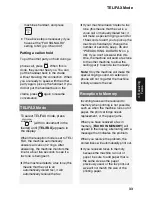
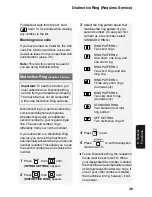
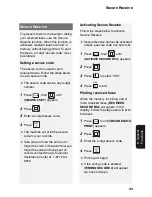
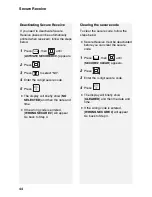
1
Press ,
then
until
[
RCV
FAX TO E-MAIL
]
appears.
2
Press ,
then
to
show
[
FORWARDING ADDRESS
] /
[
1=SET, 2=CLEAR
]
3
Press
to select “SET”.
•
To clear a previously stored group,
press .
4
Enter a 2-digit number from “01” to
“10” (this number is used to identify
the group you will store).
•
If you are clearing a group, enter the
2-digit number of the group you wish
to clear and go to Step 8.
5
Enter the originating fax number.
•
If you wish to have faxes from all
originating fax numbers forwarded,
go directly to Step 6 without entering
a fax number.
6
Press .
7
Enter the e-mail address to which
you wish to have the faxes
forwarded.
•
For information on using the letter
keys, see page 6.
8
Press .
9
Return to Step 4 to store (or clear)
another group, or press
to exit.
FUNCTION
STOP


