PN-L803C/80TC3 SERVICE MENU/VARIOUS SETTING TOOL OPERATING PROCEDURES 4- 30
15. WHITE BALANCE SETTING TOOL OPERATING PROCEDURE
15-1. WHITE BALANCE SETTING TOOL
OPERATING CONDITIONS
The operating conditions of the White balance setting read tool of
the information display are as follows.
OS
(32bit/64bit)
- Windows 8/8.1
- Windows Vista
- Windows 7
Communication
port
- RS-232C port which is recognized as COM
port (with communication speed: 9600,
19200, 38400bps)
- LAN(100 BASE-TX / 10BASE-TX)
■
When connected to the information display
with a LAN cable
Connect the monitor and the PC by the cross cable or the straight
cable through the hub. When the monitor and the PC is connected
directly by the cross cable, the settings for the monitor and the PC
needs to be done.
When the monitor is connected to the network, ask your system
administrator about how to set the PC for connecting the monitor.
(MEMO)
This tool cannot be operated correctly when the monitor is in the
power waiting state or the signal waiting state. In this case, send
the input signal to the monitor or set the power management to
OFF.
15-2. START-UP OF THE WHITE BALANCE
SETTING TOOL
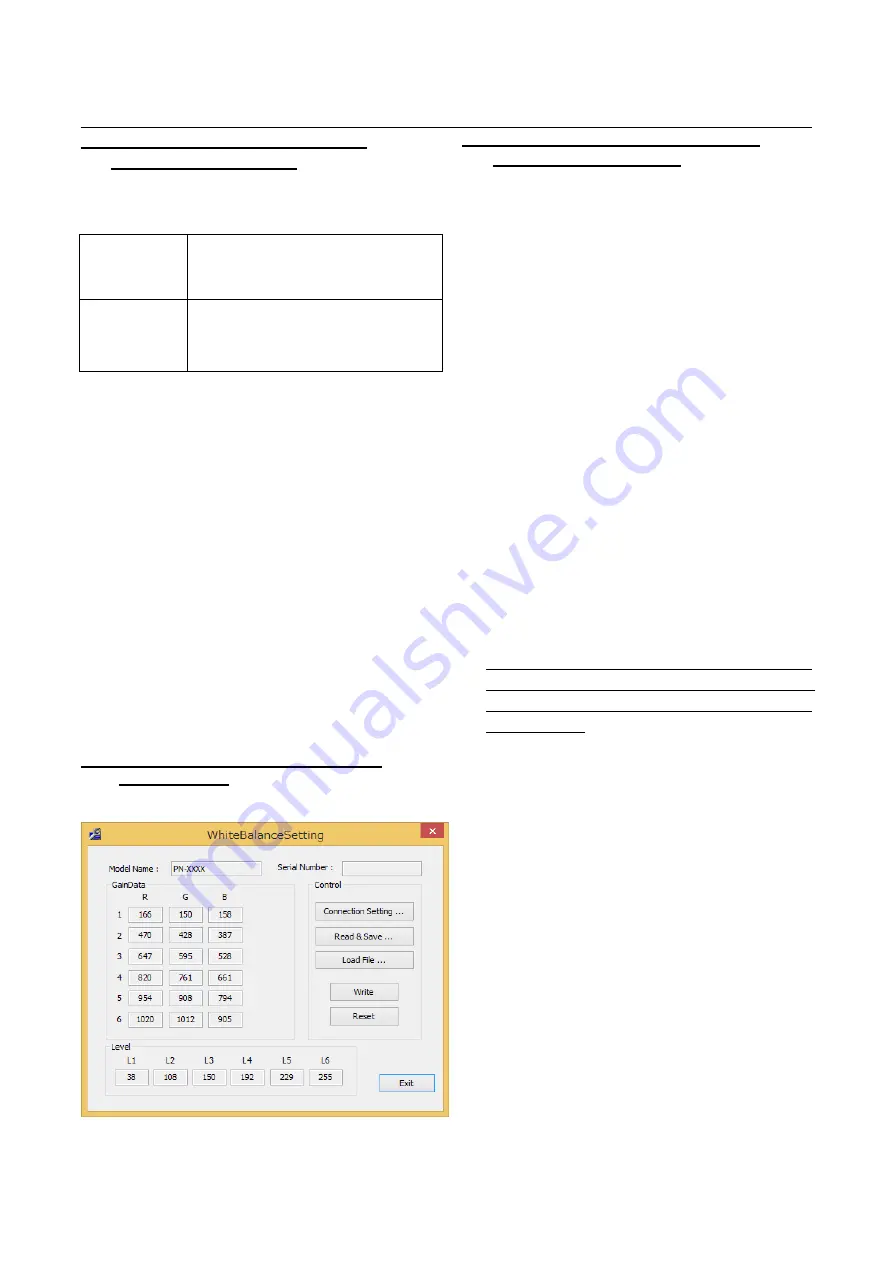
Press [White Balance] button of the Service Tool Launcher.
15-3. USE INSTRUCTIONS OF THE WHITE
BALANCE SETTING TOOL
■
How to read the settings
The procedures of writing the settings that have been previously
readout with use of the White Balance Setting Tool are as follows.
1) Press [Connection Setting...] button to configure the
communication settings.
2) Turn ON the power of Information Display.
3) Press [Read& Save] button to select the setting file.
4) When all settings have been read out, the set values are
displayed and the dialogue box of file save appears. At this
point, the default file name is “[Model Name]_[Serial Number]
_[Date(YYYYMMDD)].wni”.
After confirming the file name, press [Save] button to save the
settings.
5) Confirm that the “K” mark does not appear on the upper left of
screen.
If the “K” mark is displayed, please perform the writing
procedures once again.
6) Confirm that the “Level” values from the read settings are the
same as the values in the above illustration. If the Level values
that you’ve got don’t agree with the above settings, the setting
data cannot be taken over. In this case, refer to the
procedures: “WHEN REPLACING
THE PANEL OR WHEN AN OLD PWB DOES NOT
OPERATE” and perform the reset of settings to set the default.
(Normally, this case doesn’t happen unless changes are
made individually.)
<CAUTION>
-
When the following messages: “This Monitor is not Support. Is
write processing continued?,” “Writing data is not for this
monitor.
Is write processing continued?,” “Serial Number is different
between monitor and writing data. Is write processing
continued?,” or “Model Name is different between monitor and
writing data. Is write processing continued?” are displayed, the
data you are trying to write may not be the one which the
display previously read out.
Check if it is the right data, and perform the writing once again.
Summary of Contents for PN-80TC3
Page 183: ...PN L803C 80TC3 TROUBLESHOOTING 7 10 FUSE POSITION MAIN PWB F2200 F2300 F2102 F2302 F2101 ...
Page 184: ...PN L803C 80TC3 TROUBLESHOOTING 7 11 5V POWER SUPPLY PWB F2100 F2100 ...
Page 191: ...PN L803C 80TC3 HARDWARE DESCRIPTIONS 8 7 3 BLOCK DIAGRAM Block diagram ...
Page 202: ...PN L803C 80TC3 HARDWARE DESCRIPTIONS 8 18 5 PARTS LAYOUT Main PWB TOP ...
Page 203: ...PN L803C 80TC3 HARDWARE DESCRIPTIONS 8 19 BOTTOM ...
Page 204: ...PN L803C 80TC3 HARDWARE DESCRIPTIONS 8 20 LED Power Supply PWB TOP ...
Page 205: ...PN L803C 80TC3 HARDWARE DESCRIPTIONS 8 21 BOTTOM ...
Page 206: ...PN L803C 80TC3 HARDWARE DESCRIPTIONS 8 22 Key PWB TOP BOTTOM ...


