


HOW TO USE THE FAX FUNCTION
4-8
Chain Dialling
The Chain Dialling function allows you to combine an Automatic Dialling number set for Chain
Dialling (see “Storing Numbers for Automatic Dialling” in Chapter 2) with another Automatic
Dialling number or digits entered manually with the number keys to dial one phone number up
to 50 digits long. The following are some examples of how this can be done:
• Enter Speed Dial numbers that you have programmed for Chain Dialling. For example, if
you have stored the first part of a fax number in Speed Dial number 22 and the second
half in Speed Dial number 27, press the SPEED/SEARCH key and “22”, then the
SPEED/SEARCH key and “27”. Then press the FAX START key to begin transmission.
• Press a Rapid key that is set for Chain Dialling and then manually enter a number by
pressing the appropriate number keys. Press the FAX START key after the final
number key to begin transmission. (You can use this method, for example, when you
have stored a long distance access code into a Rapid key, and want to dial this in
combination with a number that is not stored as an automatic dialling number.)
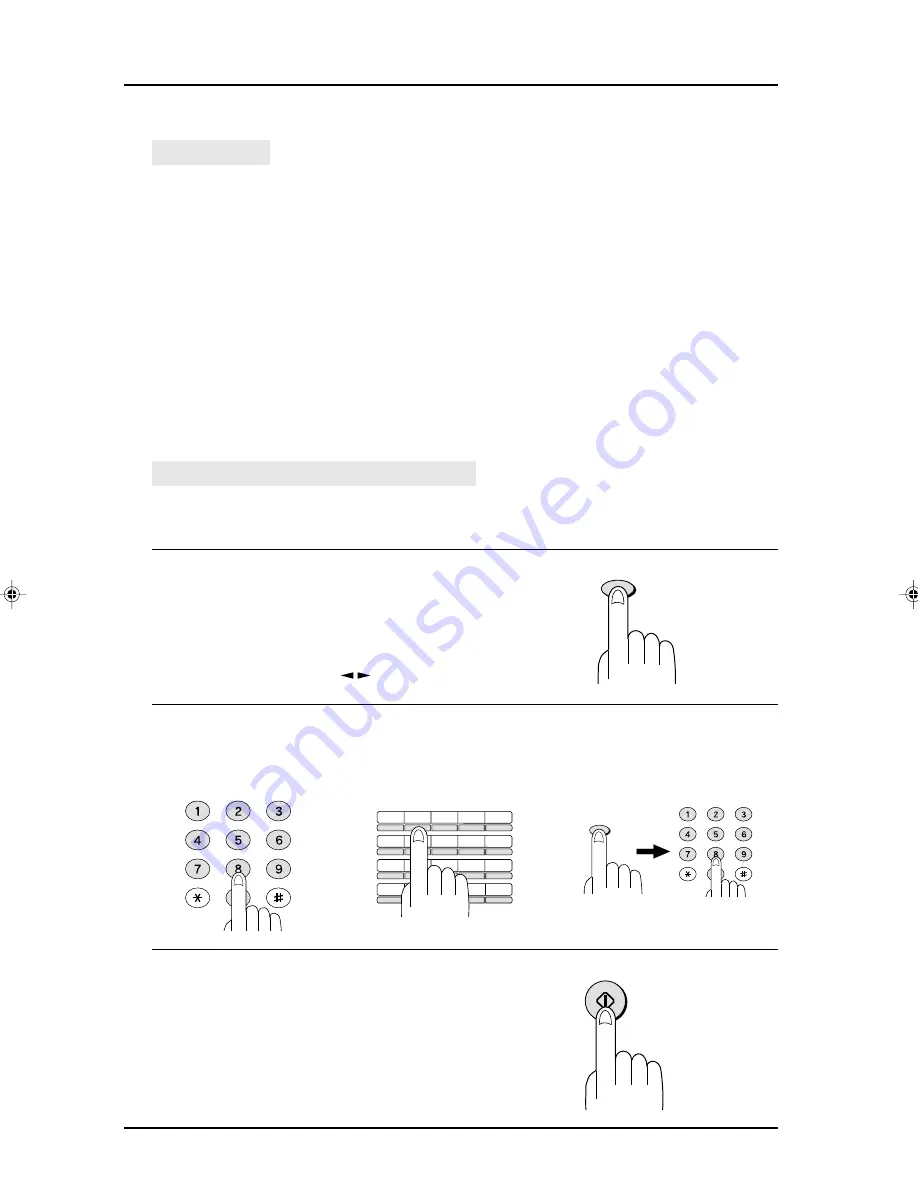
Normal Dialling Using the SPEAKER Key
When dialling normally with the SPEAKER key, press the SPEAKER key and dial
using the numeric keys. You can hear the line and fax tones from the other machine
through the speaker, allowing you to confirm the response of the other machine.
1
Set the document in the SPF and
press the SPEAKER key. (Refer to
“Setting the Document” earlier in
this chapter for details.)
• To adjust the volume, press the left
and right arrow keys ( ).
2
Dial the number by pressing the
number keys, pressing a Rapid Dial
key, or entering a Speed Dial
number.
3
When you hear the fax reception
tone of the other machine, press the
FAX START key.
Sending Documents
SPEAKER
GHI
PQRS
ABC
JKL
TUV
DEF
MNO
WXYZ
01
02
03
04
05
06
07
08
09
10
11
12
13
14
15
16
17
18
19
20/POLL
SPEED/SEARCH
GHI
PQRS
ABC
JKL
TUV
DEF
MNO
WXYZ
FAX START
04_THE FAX.p65
3/22/00, 2:39 PM
8
Summary of Contents for AR-F151
Page 7: ...1 3 INSTALLATION Parts Identification Fax control panel ...
Page 10: ...1 6 INSTALLATION Notes ...
Page 36: ...INITIAL SETTINGS 2 26 Notes ...
Page 70: ...TROUBLESHOOTING 5 4 Notes ...
Page 72: ...SPECIFICATIONS 6 2 Notes ...
Page 77: ...PRINTED IN CHINA 2000C KS TINSE0341QSZZ SHARP CORPORATION ...


