MX-7000 Installation and operation manual
P a g e
| 34
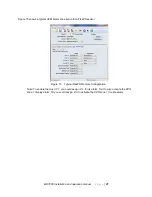
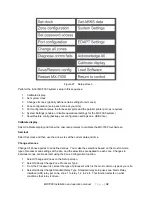
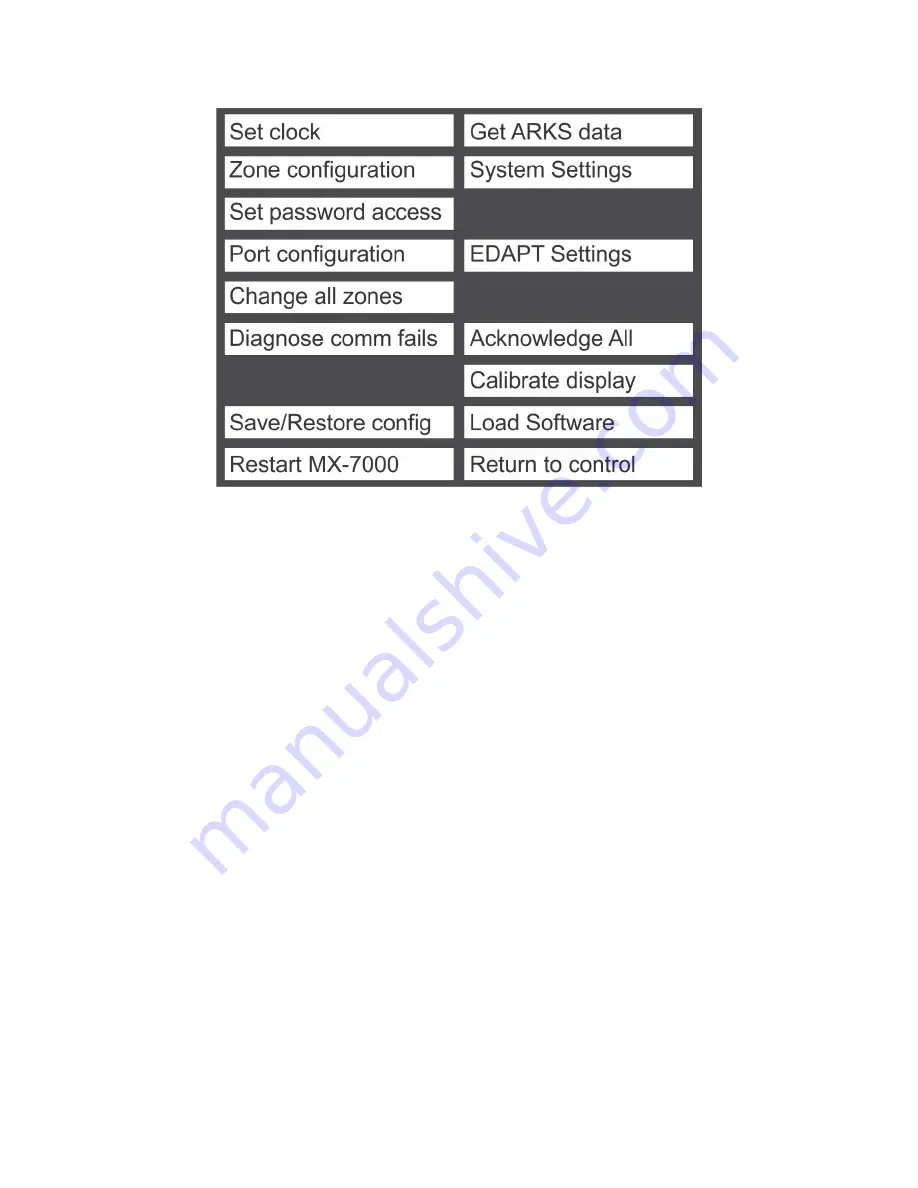
Figure 27 Setup screen
Perform the initial MX-7000 system setup in this sequence:
1. Calibrate display.
2. Set system clock.
3. Change all zones (globally define certain settings for all zones).
4. Zone configuration (setup each zone at your site)
5. Port configuration (setup the three serial ports and the parallel printer port, as required).
6. System Settings (enable or disable operational settings for the MX-7000 system).
7. Save/Restore config (backup your configuration settings on a USB drive).
Calibrate display
Select Calibrate display and follow the onscreen prompts to calibrate the MX-7000 touchscreen.
Set clock
Select Set clock and then use the arrows to set the current date and time.
Change all zones
Change All Zones applies to all defined zones. You make the selections based on the most common
type of processor and settings at the site, and the selections are applied to each zone. Changes to
individual zones, are made later using the Zone Configuration function.
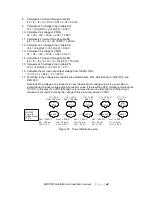
1. Select Change All Zones on the Setup screen.
2. Select Globally Change Zone Processor Type.
3. From the Processor list, select the type of processor which is the most common type at your site.
4. Select Globally Change Standard Relay Type. Standard relay setup uses one Alarm Relay
Interface (ARI) relay per zone, zone 1 to relay 1, 2 to 2 etc. This function selects on what
conditions that relay is driven.

