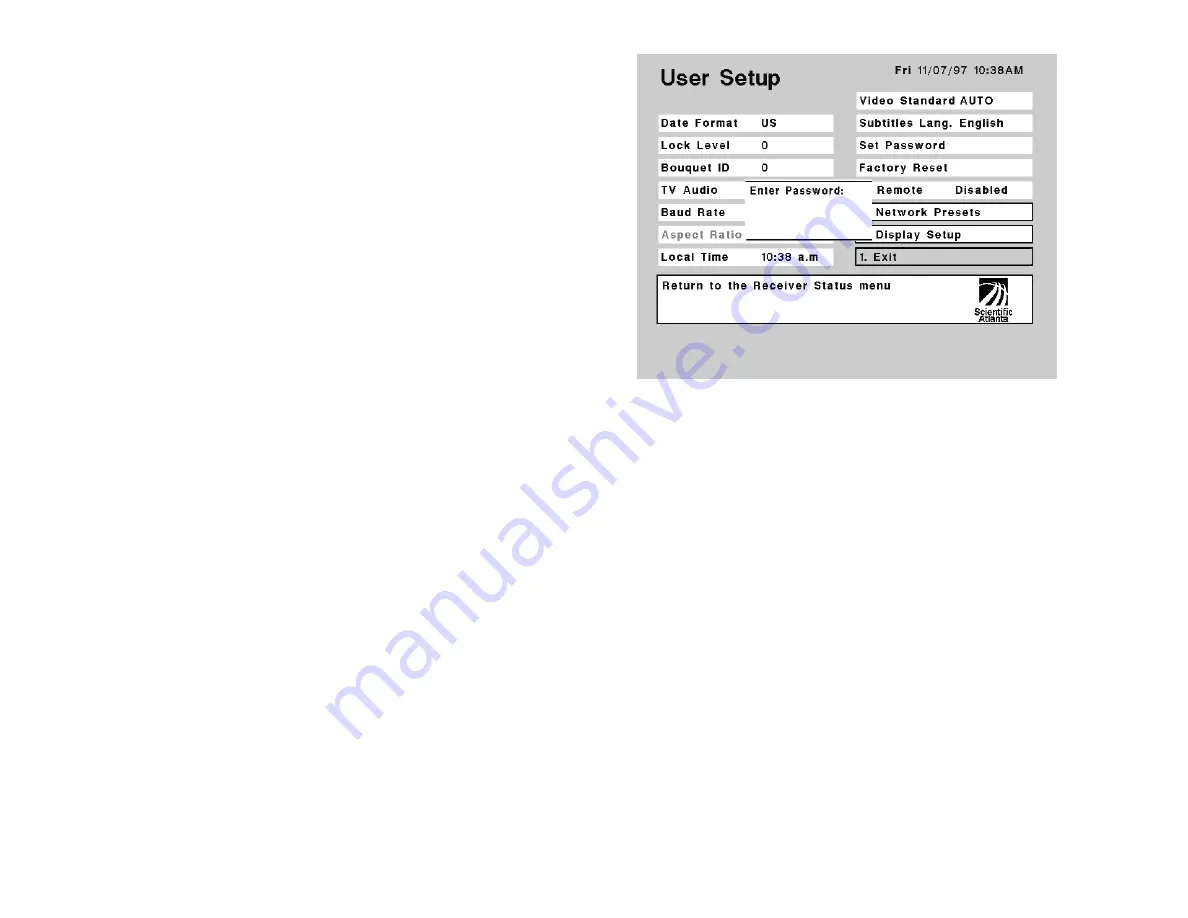
8VHU6HWXSPHQX
Setting up your Headend Satellite Receiver for normal operation requires that user-
related options be set from the User Setup menu. These settings are used for opti-
mizing receiver performance (see also “Receiver Setup menu” and “Search Setup
menu”).
To display the User Setup menu
Step 1. Display the Main Menu (Figure 5).
Step 2. Move to Receiver Status and press SELECT.
Step 3. Move to User Setup and press SELECT.
You can view or change the current setup. Your dealer/reseller or local service
provider can advise you about what receiver settings you may need to change.
Move to Exit and press SELECT (or press 1 and then SELECT) to return to the pre-
vious menu.
…
$ERXW/RFN/HYHOV
Four (4) user-selectable Lock Levels are available for protecting your Headend Satel-
lite Receiver and the current receiver settings against unauthorized use or modifica-
tion. A Lock Level 0 setting lets you make any changes to the current receiver setup.
Lock Levels 1 and 2 settings limit access to settings that cannot compromise the video
signal. A Lock Level 3 setting prevents any changes to the current receiver setup by
blocking access to menus or to the front panel (i.e., Alt Mode). A Lock Level 4 setting
can only be changed via remote terminal (Serial Remote Control commands) or PCC
uplink signal, and displays N/A (Not Applicable) if set. When the receiver configu-
ration is protected via Lock Levels 3 or 4, menus cannot be displayed. Note that after
setting the Lock Level to 3 and saving changes (menus only), exiting from the User
Setup menu automatically returns you to video.
When an attempt is made to change the current Lock Level setting (if set to Level 1,
2 or 3), a Password prompt displays. After the correct Password is entered, the
Lock Level setting is automatically reset to Level 0. Similarly, the correct Password
is also required before changing the Lock Level setting from Level 0 to Level 1 or
higher. If no password is entered (Lock Level 3 is set), or if no other button is
pressed within one (1) minute of the banner/prompt display, the current virtual
channel displays automatically.
If an incorrect Password is entered at the Password prompt, a message displays to
confirm the invalid Password, and access to the menu or option is denied (see
“
…
About the Password”). If a change made to the current Lock Level setting is not
saved, the previously-saved setting is restored. Table 2 summarizes Lock Level
settings and associated receiver options (see “Setting up the receiver”).
To change the Lock Level
Step 1. Move to Lock Level and press SELECT to replace the current setting.
Step 2. Enter a valid Lock Level (number) and then press SELECT. You can also press
the Ï/Ð arrow buttons to display available settings (Lock Levels are dis-
played from 0 through 3). The default setting is 0.
A pop-up displays for entering the current Password.
Step 3. Enter the current Password and press SELECT (for security, a default charac-
ter is substituted for each button pressed).
Step 4. Move to Exit and press SELECT, or press 1 and then press SELECT to change
the current setting.
A pop-up menu displays Save options.
Figure13. User Setup menu and Password prompt display


