EN
SATA vario top spray | 12
12
13
6.4 Operate pump at low air pressure (approx. 1 - 1.5 bars /
15 - 22 psi) until nothing but air is fed. Watch over double
stroke frequency.
6.5 Pre-clean suction tube, pump, material hose and gun by
circulating used thinner.
6.6 Completely drain used thinner (see point 5).
6.7 Now use clean cleaning agent and flush the entire unit,
material hose and spray gun until nothing but clean clean-
ing agent emerges. The double diaphragm pump is almost
maintenance-free. To avoid increased wear of control parts
caused by polluted compressed air, a sieve is integrated in
the pump air connection. For perfect operation of the sys-
tem, we recommend to pre-purify the air in the SATA filter
444, containing a water separator as well as fine filter car-
tridge, for oil-free spray air. Another cause for performance
drop can be clogging of the air connection sieve, the sieve
at the suction tube, or the sieve inside the gravity flow con-
tainer. Therefore these sieves should be cleaned frequently
Attention!
When using two-component materials, always respect
their life time. Only if the unit is flushed thoroughly and frequently,
flawless function is guaranteed. If operated in an inappropriate
manner, warranty for the unit automatically expires. Materials
tending to creating sediment must be kept in motion before and,
if required, during spraying. The pump must never suck in sedi-
ment. It is recommended to refill the materials from their original
container into another one for spraying.
The pump diaphragms are subject to fatigue caused by flexing
work, and to natural wear caused by abrasive materials.
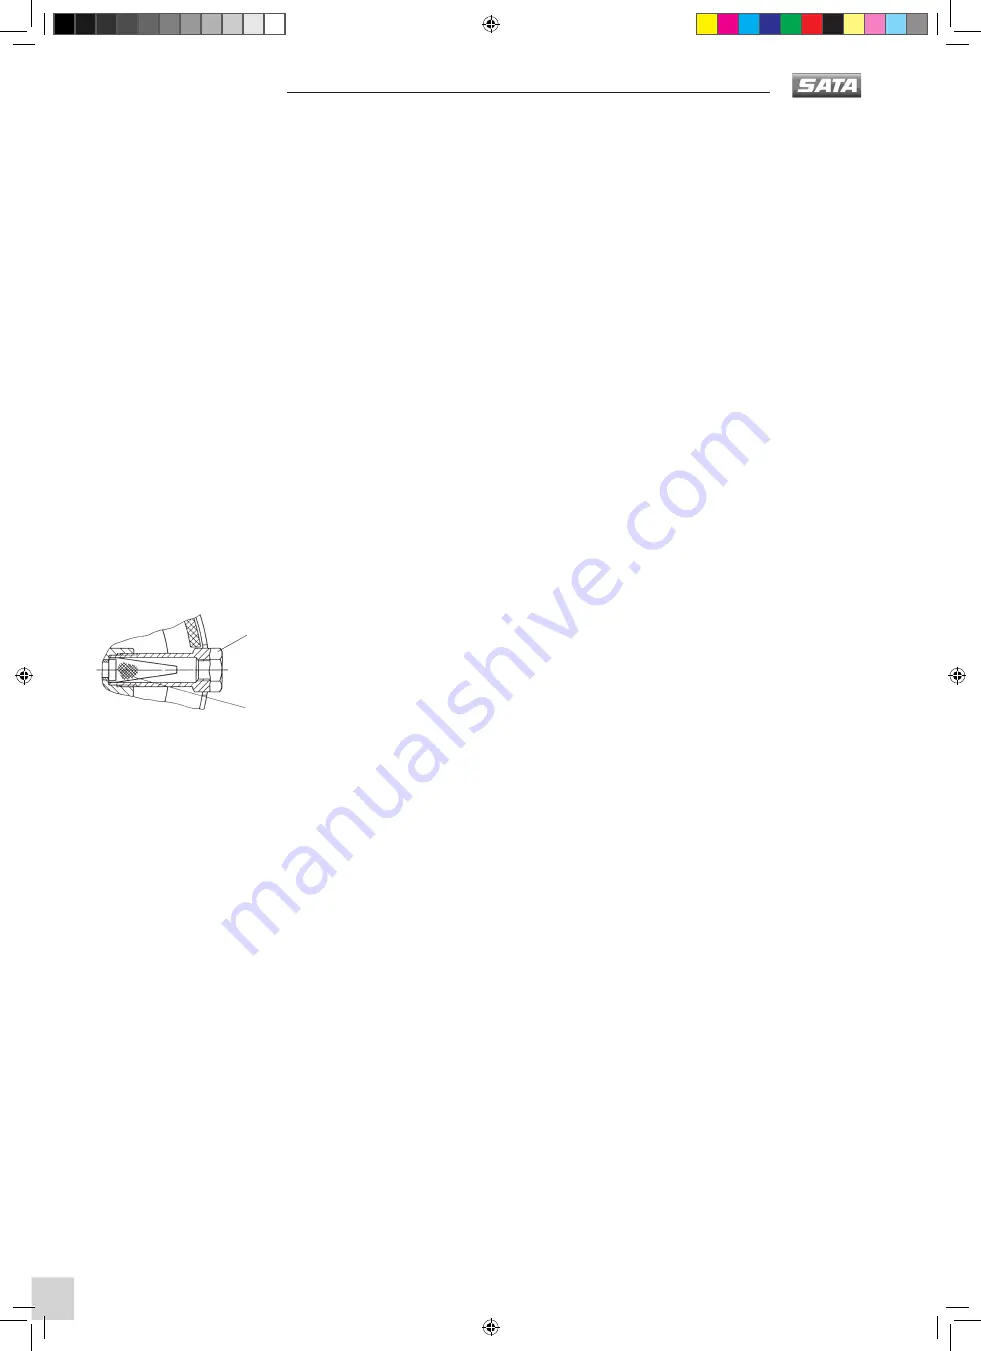
May be unscrewed for sieve
cleaning
Sieve Art. No. 63040
Depending on the material used and the maintenance frequency,
the diaphragms should, in the interest of the production, be
changed every 3 million strokes at the latest. Always make sure
material is refilled in time. When sucking in air ("running dry"),
the pump double stroke frequency may increase too strongly,
which may cause the diaphragms to tear. In this case, warranty
expires automatically. In case diaphragms have become torn,
check the control unit of the pump for possible material traces,
and, if found, remove them carefully. Never carry out dismantling
or repair work on the pump while under pressure. Always discon-
nect the unit from the air supply.
7. Repair Instructions for SATA vario top
spray
In case repair or inspection of the pump becomes necessary,
proceed as follows:
7.1 Ventilate all pressure from the pump. Always disconnect
the unit from the compressed air supply.
7.2 Remove pump from its trolley, resp. wall holder; unscrew
all fittings (air inlet, material inlet suction hose).
7.3 Put pump body flat onto a table and open housing lid
[7-3]
. Make sure paint residue or traces of rinsing fluid do
not trickle into the pump body.
7.4 Carefully remove all paint or solvent traces on the dia-
phragms
[7-4]
and the valve seats.
7.5 Remove ball guiding unit and ball of the suction valve
from the pump housing. Check ball for traces of wear.
7.6 Check valve seat for dirt and wear. If cleaning is neces-
sary, remove seat and clean outside the pump body. (This
is important; otherwise solvent may penetrate into the
pump!)
7.7 Turn pump around and proceed as described under points
5.4 - 5.6.
7.8 Check outlet valve for smooth moves. (Ball must be mov-
ing with ease.) If required, remove valve seat and clean
it outside the pump body. Check ball for possible surface
damage and wear; replace if necessary.
7.9 Check diaphragms for surface damage. If damaged or
in case of extreme wear, replace diaphragms as follows:
Turn diaphragms against ech other. One will become
loose from the carrier and may be unscrewed. Insert a
screw with a M8 nut into the now open drilling of the car-
rier, and fix it. Now loosen the second diaphragm by mak-
ing a swift turn to the left, and unscrew diaphragm.
7.10 Check the insides of the pump for possibly penetrated
paint or solvent traces. If so, or in case damage shows at
the slide seat, we recommend to return the pump to the
factory for repair.
7.11 Mount diaphragms: Attention! Fully screw in diaphragms
and tighten by turning them against each other; otherwise
pump will not initiate reverse function.
7.12 Screw in all valves. For this purpose, always use new
sealing rings.
7.13 Clean housing lid at the sealing edge which must be free
from damage of any sort. Put housing lid back onto pump
body; watch out for the holding pin. Tighten screws cross-
wise by means of a dynamometric key with a starting
torque of maximum 10 Nm. Attention: Always respect the
starting torque - it exerts essential influence on diaphragm
life time.
7.14 Turn pump around; proceed in the same way on the other
side
7.15 Fix pump to pump holder. Attention: Here, too, respect
starting torque of maximum 10 Nm.
7.16 Fix all fittings and connections.
7.17 Put unit back into operation as described in Operating
Instructions, paragraph 1 - 2.3.
Here, the SATA assembly instructions apply. Warranty repairs do
not prolong the warranty period. The warranty terminates upon
unauthorised inference.
20537-BAL SATA vario top spray.indd 12
16.06.2016 11:47:57


