User Guide
21
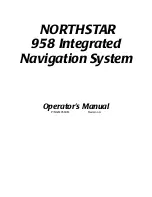
Highway
Chart
Echo Sounder
DSC
Navtex
Waypoint
Tide
Engine Faults
Routes
AIS
Satellites
Data
User Guide
22
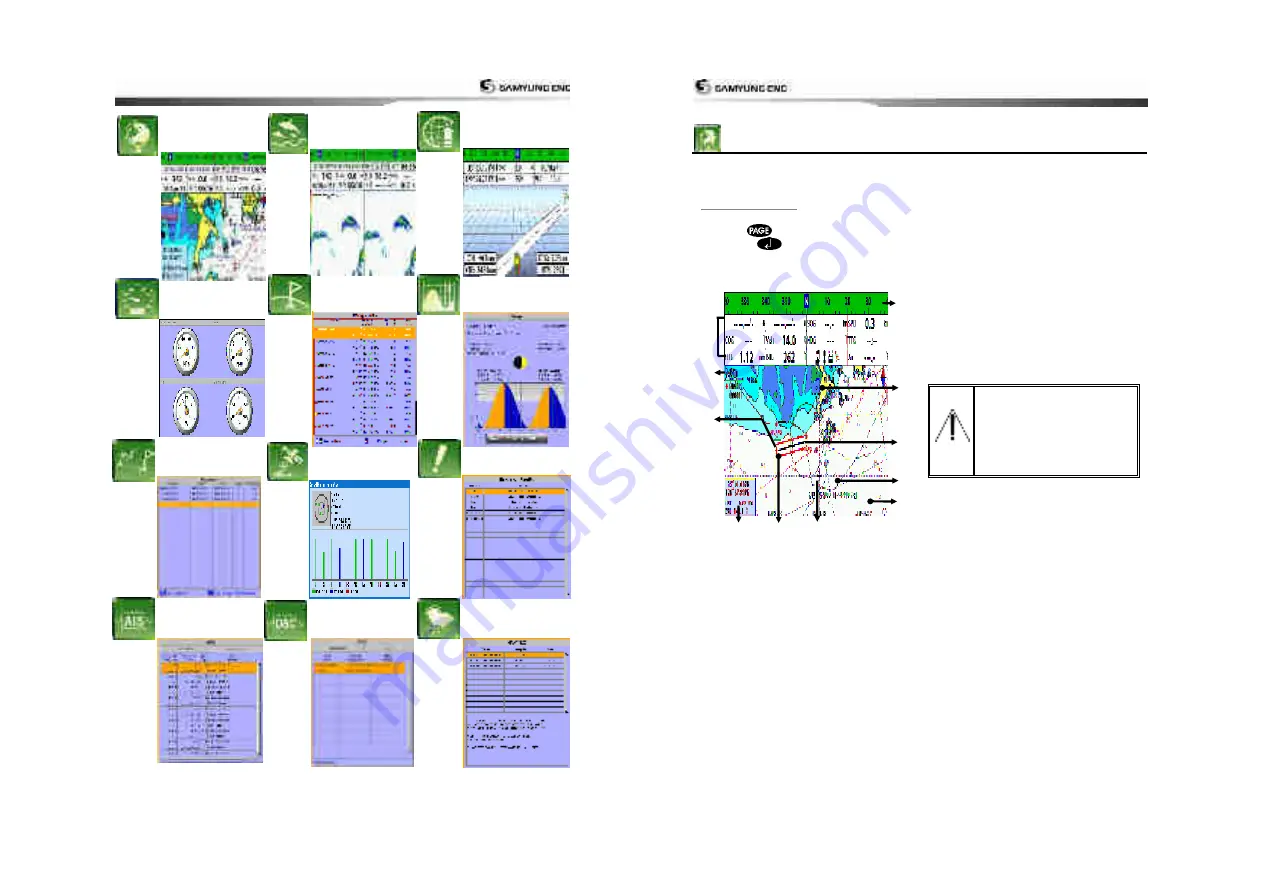
3-4 Chart
The
Chart
window mainly shows all relevant navigation data available on your preloaded maps,
including buoys, lights, cables, depth soundings, marinas, and tide station in an overhead view.
3-4-1 Chart window
To go to the
Chart
window
:
•
Press
and select
Chart
icon by
pressing
.
A typical Chart
window shows:
Data bar. To turn the data off or on or to
change what data is displayed
Compass
Chart scale
Boat position
Boat track
Boat course and CDI lines
Distance and bearing of cursor from boat
Land
Sea
The cursor
A typical waypoint
The built-in world chart
does not show enough
detail for navigation. When
you use the Chart Plotter to
navigate, always use a chart
card which covers the
region
.(NAVIONICS)
①
③
④
⑤
⑧
⑨
⑪
⑥
⑦
⑩
②
Summary of Contents for NF800
Page 1: ...User Guide 1 User Guide 2...
Page 32: ...User Guide 63 User Guide 64...
Page 33: ...User Guide 65...