


24
3. OPERATING INSTRUCTIONS & INSTALLATION
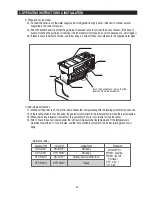
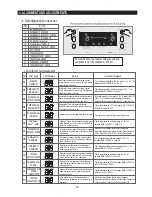
<Reference table>
Leveling S/W
ON(“LOW”)
ON(“LOW”)
OFF(“HIGH”)
OFF(“HIGH”)
Ice full S/W
ON(“LOW”)
OFF(“HIGH”)
ON(“LOW”)
OFF(“HIGH”)
Remark
·
MICOM Port
PIN #51: Leveling
PIN #51: Ice full
·
Port level
OFF : 4.5V
↑
ON : 0.5V
↓
Judgement
Not ready
Not ready
Not ready(Ice bucket with full of ice )
Ready
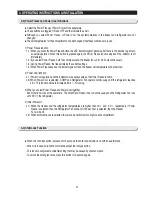
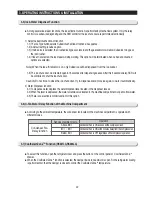
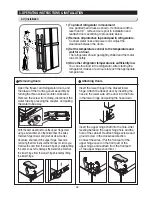
2) Preparation of Ice-maker
2-1) Connect the water line to the water supply valve of refrigerator to supply water. (See how to connect a water
supply line in the owner’s manual.)
2-2) Push the bucket back fully so that the guide-ice of ice maker should not touch the back of bucket. (If the back of
bucket is touched the guide-ice of ice maker, the ice maker will not make ice any more because of a ice full signal.)
2-3) It takes 6 hours to harvest a first ice, and throw away 2-3 times of these ice to make sure the supplied water clean.
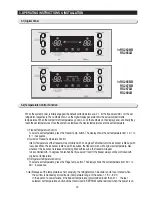
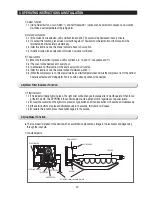
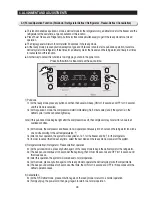
1) Initial Operation function
1-1) Whenever the power is on, the control board checks the ice tray leveling with the leveling switch within 2 seconds.
1-2) If the leveling switch is not off position, the geared motor will turn to the initial position to make the ice tray leveled.
1-3) When the ice tray is leveled, it will remain this position for 2 hours (1 cycle time for ice production).
1-4) After 2 hours, the sensor located under the ice tray will measure the tray temperature. If the temperature is
maintained lower than 1
℉
for 5 minutes, and the ice full switch is off position, the ice tray twisting process will
begin.
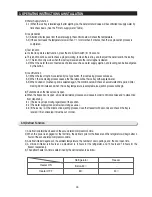
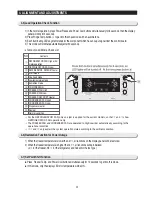
Push the bucket back fully so that the
lever should not be pushed up.
Summary of Contents for RS265BBWP
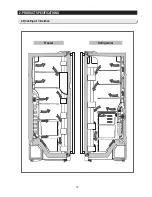
Page 18: ...18 Refrigerator 2 PRODUCT SPECIFICATIONS 2 9 Cooling Air Circulation Freezer...
Page 68: ...7 EXPLODED VIEW PARTS LIST 7 3 Cabinet 7 1 69...
Page 78: ...79 8 BLOCK DIAGRAM...
Page 79: ...80 9 WIRING DIAGRAM 9 1 RS265BB RS267BB RS267LB RS269LB...
Page 80: ...81 9 WIRING DIAGRAM 9 2 RS263BB RS265LB...
Page 82: ...83 10 PCB DIAGRAM 10 2 CONNECTOR ARRANGEMENT Main Board...
Page 83: ...84 11 CIRCUIT DIAGRAM...


