File No.
:
VersionA1
1
Internal
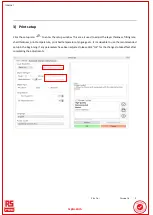
5) The next step is to adjust the platform to ensure it is level.
①
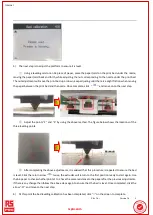
Using a leveling card or an A4 piece of paper, place the paper/card on the print bed under the nozzle,
moving the paper/card back and forth, while adjusting the nut corresponding to the nozzle under the print bed.
The nut adjustment will move the print bed up or down, keep adjusting until there is a slight friction when moving
the paper between the print bed and the nozzle. Once complete, click
“
”
and move on to the next step.
②
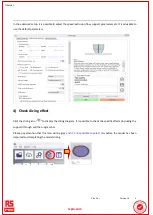
Adjust the points
“
2
”
and
“
3
”
by using the above method. The figure below shows the locations of the
three leveling points.
③
After completing the above adjustments, it is advised that this procedure is repeated to ensure the bed
is level: Click the return arrow
“
”
twice, the extruder will return to the first position ready to start again. Use
the A4 paper to check whether points 1 to 3 have the same resistance to the paper after the previous adjustments.
If there is any change then follow the above steps again to ensure that the bed is level. Once completed, click the
arrow
“
”
and move to the next step.
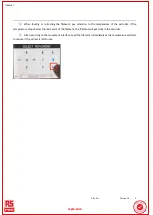
6) At this point the bed levelling calibration has been completed, click
“√”
on the screen to complete.
rrsp
sprro.c
o.com
om

