25
Video Operations
Assigning a Still Image to Channel 9 or 10
This takes a still image imported from a USB flash drive or captured from
final video output and assigns it to channel 9 or 10.
1.
Channel 9
Select the [MENU] button
g
“Input”
g
“ch.9,” then press the
[ENTER] button.
Input
A
Ch. 9 (Still Image) screen is displayed.
Channel 10
Select the [MENU] button
g
“Input” “Ch. 10”
g
specify
“Still Image” as the source assignment
g
press the [ENTER]
button.
Input
A
Ch. 10 (Still Image) screen is displayed.
NOTE
When the operation mode for output fades (p. 26) is set to “Fade
to Still Image” or “Output Freeze,” assigning a still image to channel
10 is not possible.
2.
Select a menu item, then use the [VALUE] knob to make the
detailed settings.
Menu item
Explanation
Still Image
Memory No.
You select the memory number where the still image is
saved and assign it to the channel.
* A “ ” symbol is displayed for memory numbers where a
still image is already saved.
Position H
This adjusts the horizontal display position of the still image.
Position V
This adjusts the vertical display position of the still image.
Color Correction You use the following items to perform color correction for
the still image.
Brightness
This adjusts the brightness.
Contrast
This adjusts the contrast.
Saturation
This adjusts the saturation.
Red
This adjusts the red level.
Green
This adjusts the green level.
Blue
This adjusts the blue level.
3.
Press the [MENU] button to quit the menu.
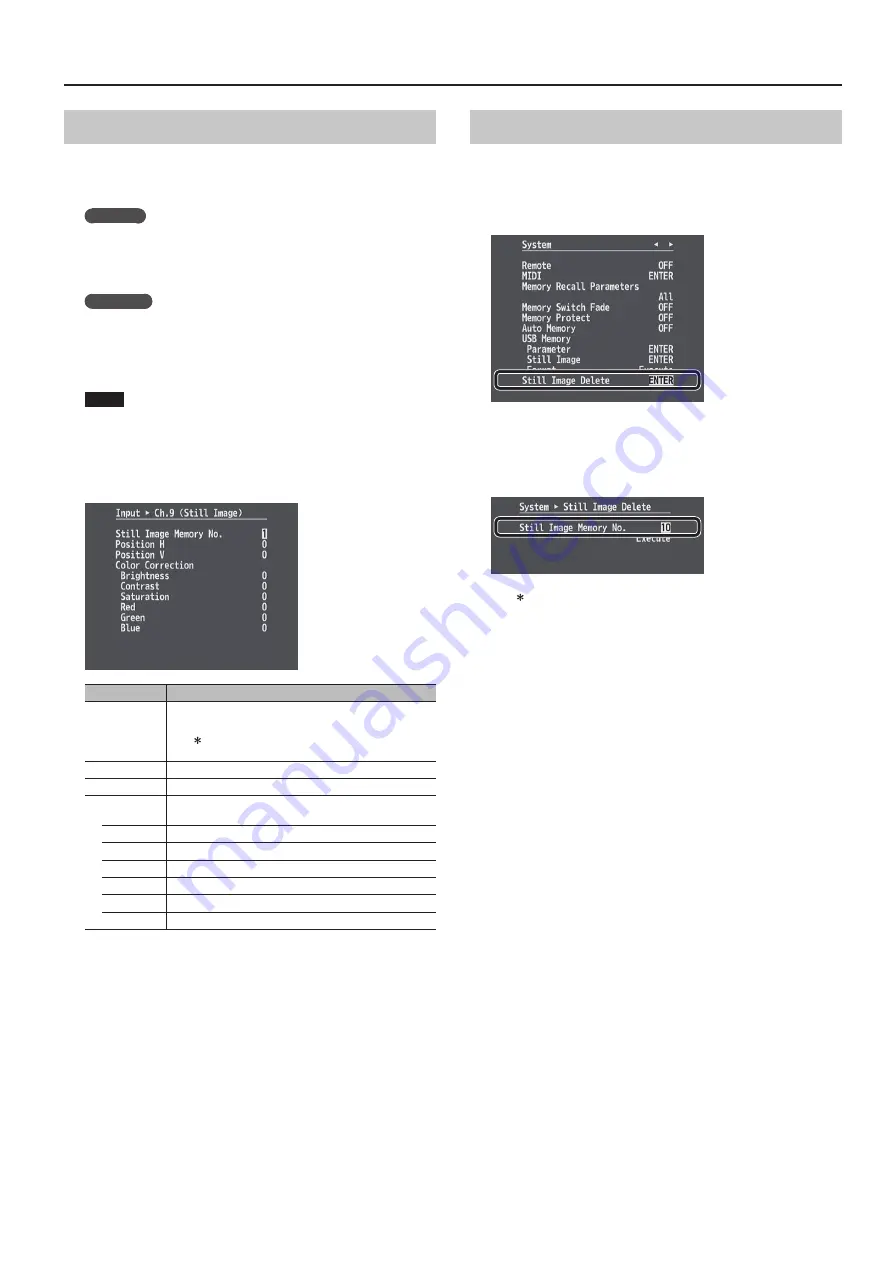
Deleting a Still Image
This deletes a still image saved in internal memory.
1.
Select the [MENU] button
g
“System”
g
“Still Image Delete,”
then press the [ENTER] button.
System
A
Still Image Delete screen is displayed.
2.
Select “Still Image Memory No.,” then use the [VALUE] knob
to select the memory number (1 through 16) for the still
image you want to delete.
* A “ ” symbol is displayed for memory numbers where a still image
is already saved.
3.
Select “Execute,” then press the [ENTER] button.
Deletion is executed.
4.
Press the [MENU] button to quit the menu.


