88
Using Insertion Effects
Setting the Insertion Effect Type,
Depth (Level), and Other Parameters
1
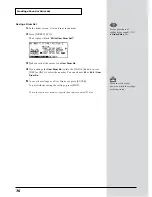
Make sure that the
Part Basic screen
is selected, and use
PART
[
] or
[
] to select the part to which you wish to apply an insertion effect
2
Although insertion effects are specified not for the instrument but for the
part, it is a good idea to first select the instrument to which the effect will be
applied. Press
VAR.
[
] (or
INST
[
]) to move the cursor to
VAR.
(or
INST
), and then rotate the [VALUE] knob, or press [DEC] or [INC] to select
the instrument to which you want set the effect.
3
Press [EFFECTS] to turn it on.
4
Press [
→
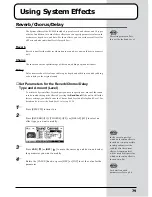
] ([F4]) to scroll the screen and press [EFX] ([F2]).
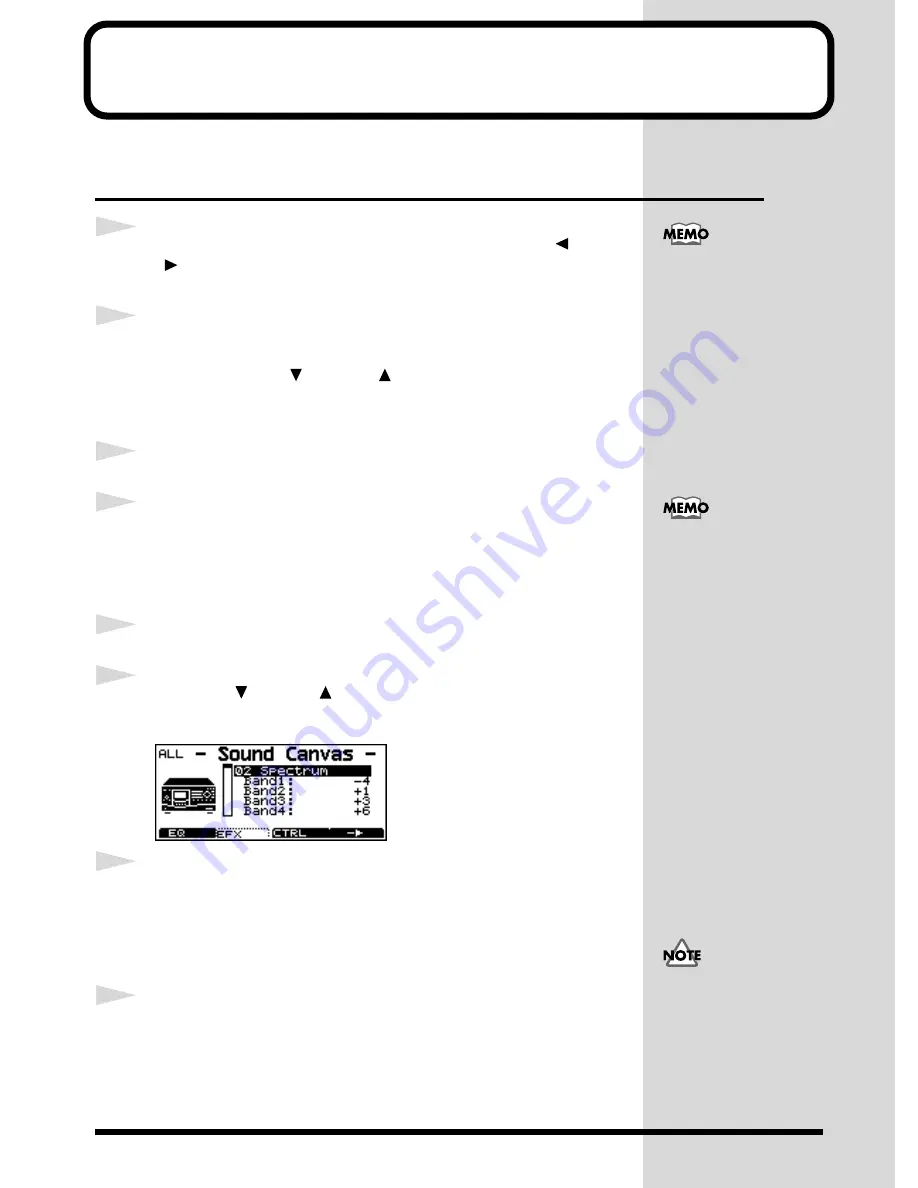
The first line of the parameters indicates the types of the insertion effect. If you
change it, the parameters of that effect are set to their most suitable values. You can
change each of these parameters by yourself.
5
Rotate the [VALUE] knob, or press [DEC] or [INC] to select the effect type.
6
Press
VAR.
[
] or
INST
[
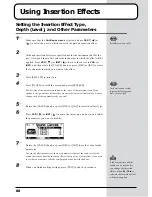
] to move the cursor up and down, and select
the parameter you want to modify
fig.9-72
7
Rotate the [VALUE] knob, or press [DEC] or [INC] to set the value for the
parameter.
Next to the effect parameters, there are parameters that set the send level of the
sound that comes after the insertion effects to each of the system effect. If you need
to set these parameters, take the same procedure as described above.
8
When you finish making settings, press [EXIT] to end the procedure.
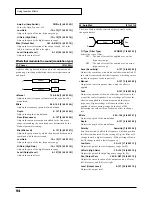
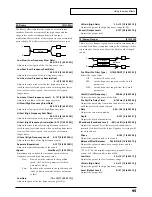
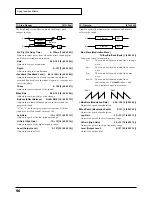
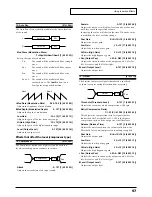
Part Basic screen (p.29)
For details about effect
types and effect param-
eters, refer to p.91.
It takes moment until the
sound can be heard after
you change the insertion
effects. When
00 : Thru
is
selected, the insertion effect
will not be applied.


