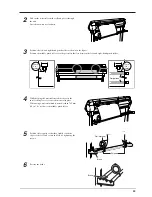
39
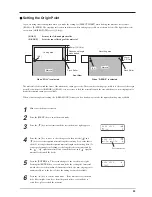
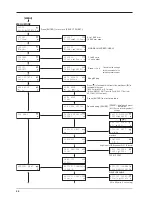
ALIGNPOINT
0mm 0mm
CROPMARK SETTING
COMPLETED !
CROPMARK SETTING
FAILED,SET AGAIN
4
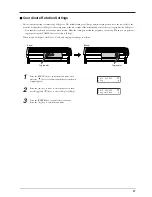
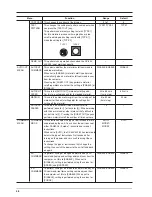
Use the [
], [
], [
], and [
] keys to move the
tool carriage to the left of the crop mark printed on the
material. Line up the alignment tool with the center of
the crop mark. After the alignment tool has been
positioned correctly, press the [ENTER] key. The
display then advances to the menu for setting the align
point.
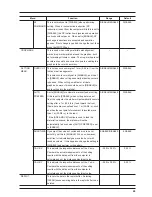
5
Use the [
], [
], [
], and [
] keys to move the
tool carriage to the crop mark printed at the lower right
of the material. Line up the alignment tool with the
center of the crop mark. After the alignment tool has
been positioned correctly, press the [ENTER] key.
7
When the settings are successful, use the [
] key to
quit the menu mode.
6
When the crop mark setting has been made success-
fully, the display shows screen (A), then returns to the
screen shown in step 2. Replace the alignment tool
with a blade. If the crop mark setting could not be
made, the display shows screen (B) before returning to
the screen shown in step 2. If this happens, reload the
material and make the setting again.
(A)
(B)
Summary of Contents for CX-300
Page 21: ...21 POWER ERROR LED goes out 4 Turn off the power ...
Page 63: ...63 MEMO ...
Page 64: ...R5 020403 ...

