14
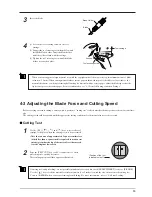
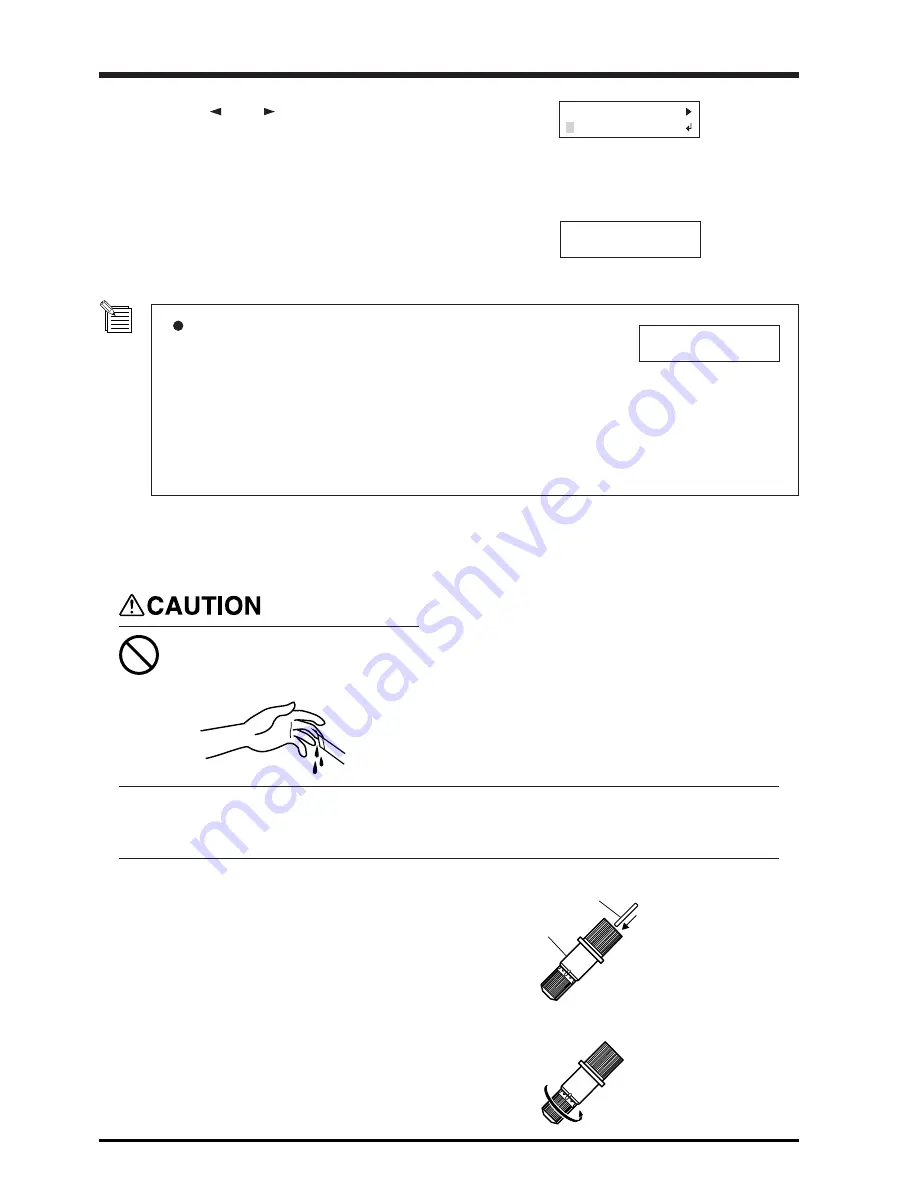
Pin
Blade holder
SELECT SHEET
ROLL PIECE
W1195mm L____mm
Change Pinch
Roller Position
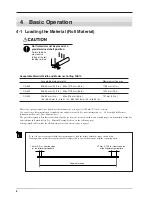
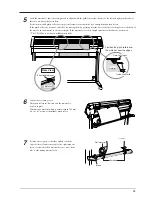
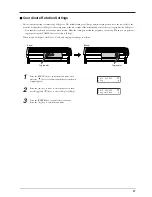
8
Use the [
] and [
] keys to select [ROLL], then
press the [ENTER] key.
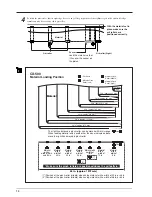
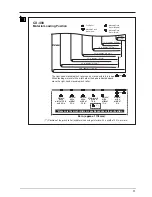
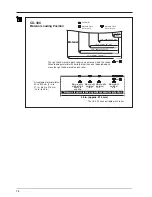
For more information about selecting material, see “5-
2 Details of the Origin-point Location and Cutting
Area.”
9
The SETUP LED lights up, and the horizontal width
of the material is detected and shown on the display.
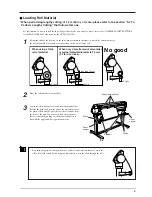
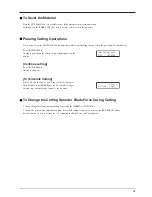
If a pinch roller is positioned over an area where there is no grit roller, the message
shown at right appears when you press the [ENTER] key.
If this occurs, lower the sheet loading levers and move the pinch rollers to the
proper positions above the grit rollers.
Reposition the material to match this new alignment, then lift the sheet loading
levers to hold the material in place.
When using roll material, before you perform cutting you need to pull out the
required length of material from the roll.
For more information, refer to “Material Test Feed” in “4-5 Starting Cutting”.
4-2 Installing a Blade
Do not touch the tip of the blade
with your fingers.
Doing so may result in injury, and the
cutting performance of the blade will be
impaired.
Be sure to support the tool mounting screw from below when installing the blade holder. If installed without
supporting the screw in this way, the blade tip may strike the blade protector, damaging the blade or blade
protector and impairing cutting quality.
NOTICE
1
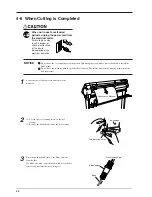
Insert the pin into the blade holder.
2
Tighten the cap all the way.
Summary of Contents for CX-300
Page 21: ...21 POWER ERROR LED goes out 4 Turn off the power ...
Page 63: ...63 MEMO ...
Page 64: ...R5 020403 ...


