33
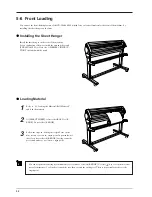
Pinch Roller
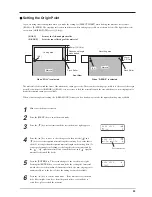
No cutting area
Pinch Roller
Front View
When “ROLL” is selected
When “R-EDGE” is selected
Material
Material
Cutting area
30 mm (1-3/16 in.)
Depends on length
when loaded
(0.0)
30 mm
(1-3/16 in.)
(0.0)
AREA MOVE
1.0m
AREA MOVE
1.0m 0.5m
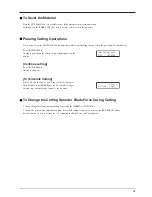
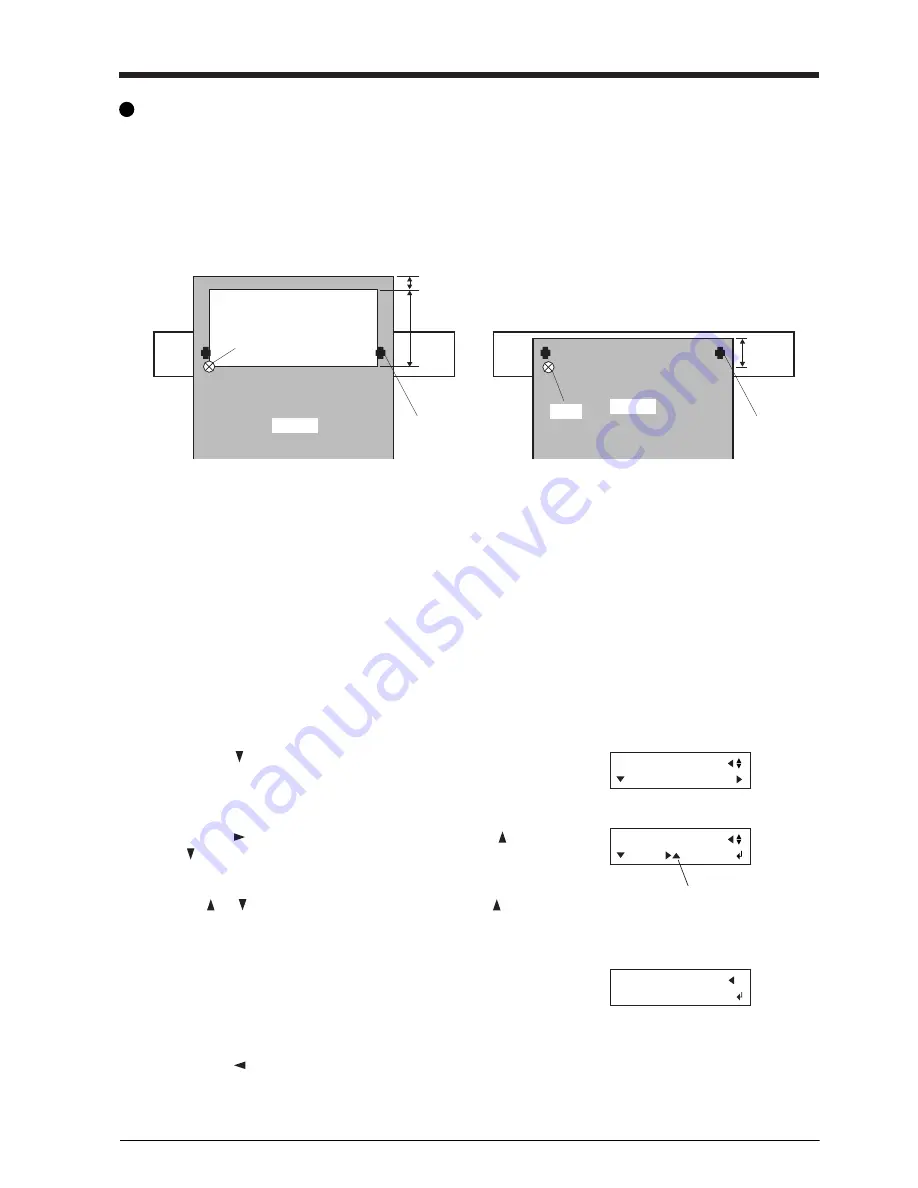
Setting the Origin Point
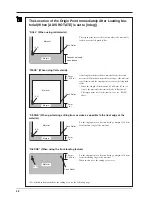
If you are using front loading, then when you make the setting for [SELECT SHEET] when loading the material, select either
[ROLL] or [R-EDGE]. The origin-point location and the area where cutting is possible are as shown below. (The figure shows the
case where [AXIS ROTATE] is set to [0 deg].)
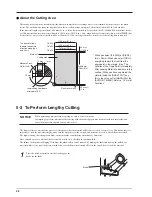
The material is fed toward the front of the machine as cutting proceeds. The area where cutting is possible is to the rear of the origin
point. Even when set to [R-EDGE] or [ROLL], it is necessary to feed the material toward the rear and then set a new origin point to
make the required cutting area available.
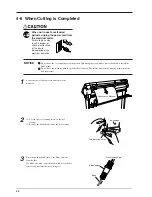
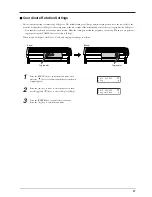
When you are using front loading, the [AREA MOVE] feature can be a handy way to make the required cutting area available.
[ROLL]
Set near the left-hand pinch roller
[R-EDGE]
Set at the inner left edge of the material
1
Make sure the brake is released.
2
Press the [MENU] key to enter the menu mode.
3
Press the [
] key several times until the screen shown at right appears.
4
Press the [
] key to move to the setting screen, then use the [
] and
[
] keys to set the required material length for cutting. Set a value that is
about 0.1 m longer than the required material length in the cutting data. (If
you are performing front loading, set the length to the value indicated by
the “
”. “
” signifies material feed toward the front, and “
” signifies
material feed toward the back.)
Set toward rear
AREA MOVE
START
5
Press the [ENTER] key. The screen changes to the one shown at right.
Pressing the [ENTER] key a second time feeds the set length of material
toward the rear of the machine. After material feed, the new origin point is
automatically set at the lower left of the cutting area made available.
6
Press the [
] key to exit the menu mode. If the material is crooked and
looks like it might come loose from the pinch rollers, or actually does
come loose, please reload the material.
Summary of Contents for CX-300
Page 21: ...21 POWER ERROR LED goes out 4 Turn off the power ...
Page 63: ...63 MEMO ...
Page 64: ...R5 020403 ...

