Operations 7
Switched Power Distribution Unit
23
EN
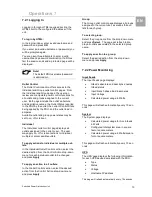
Setting the server address:
Enter the IP address or hostname in the Primary
and/or Secondary Host field and press Apply.
Configuring the authentication order:
Select Remote -> Local or Remote Only from
the drop-down menu and press Apply.
Setting the encryption key:
Enter a key and verify the new key the Encryption
Key and Verify New Encryption Key fields. Press
Apply.
For security, key characters are not displayed.
Configuring privilege levels:
Click on the Privilege Levels link at
the bottom of the page.
Changing an Privilege Level’s access
privilege level:
Click on the Edit link in the Action column for the
associated Privilege Level.
On the subsequent Privilege Level -
Edit page, select Admin, User, On-only, Re-
boot-only, Power-user or View-only from the
Access Level drop-down menu and press Apply.
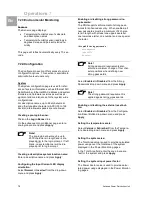
Granting or removing Environmental Monitoring
viewing privileges:
Click on the Edit link in the Action column for the
associated privilege level.
On the subsequent Privilege Level -
Edit page, select Yes or No from the Environ-
mental Monitoring drop-down menu and press
Apply.
Adding and Deleting outlet access:
Click on the Outlets link in the Access column for
the associated Privilege Level.
On the subsequent LDAP Group - Outlets page,
select or deselect outlets to be accessed by the
Privilege Level and press Apply.
Adding and Deleting outlet group access:
Click on the Groups link in the Access column for
the associated Privilege Level.
On the subsequent LDAP Group - Groups page,
select or deselect outlet groups to be accessed by
the Privilege Level and press Apply.
Adding and Deleting serial port access:
Click on the Ports link in the Access column for
the associated Privilege Level.
On the subsequent LDAP Group - Ports page,
select or deselect ports to be accessed by the
Privilege Level and press Apply.
The Email configuration page is used for setup
and maintenance Email log support.
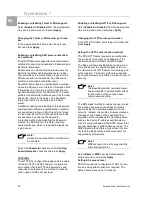
Enabling or disabling Email support:
Select Enabled or Disabled from the Email Notifi-
cations drop-down menu and press Apply.
Setting the SMTP server address:
Enter the IP address or hostname in the SMTP
Host field and press Apply.
Changing the SMTP server port:
Enter the port number in the SMTP Port field and
press Apply.
Setting the ‘From’ email address:
Enter the ‘from’ email address in the ‘From’ Ad-
dress field and press Apply.
Setting the ‘To’ email address:
Enter the ‘to’ email address in the Primary or
Secondary ‘Send To’ Address field and press
Apply.
Enabling or disabling event type notifications:
Select Enabled or Disabled from the In-
clude…Messages drop-down menus and press
Apply.
Features
The Features configuration page is used for acti-
vation maintenance of special features purchased
from Rittal. From this page an administrator may
review all activated features as well as activate
newly purchased features.
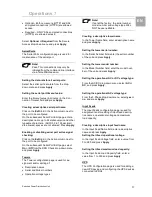
To activate a special feature:
In the Feature Key Value field, enter the activa-
tion key provided by Rittal and press Apply.

