2. Up arrow button/Down arrow button
Move the carriage to the upper or lower position. When pressing the down arrow button, the media thickness
sensor comes out and the carriage is lowered.
3. [Detect Medium Width]
Detects the width of the media automatically.
4. [Detect Medium Height]
Detects the thickness of the media automatically and moves the carriage to a height added the value specified
in [Printhead to Medium Height(d)].
5. [Step Correction]
Adjust the media feed quantity. See page 58 "Adjusting the Media Feed Quantity".
6. [Apply]
Click to apply the settings.
7. [Lifter Back Zero]
Reset the height of the carriage to return the carriage to zero.
8. [Move To Print Height]
Raises the carriage to a height added the values specified in [Medium Thickness(T)] and [Printhead to Medium
Height(d)].
9. Carriage position screen
Indicates the locations of the carriage, platen, and media.
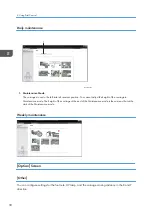
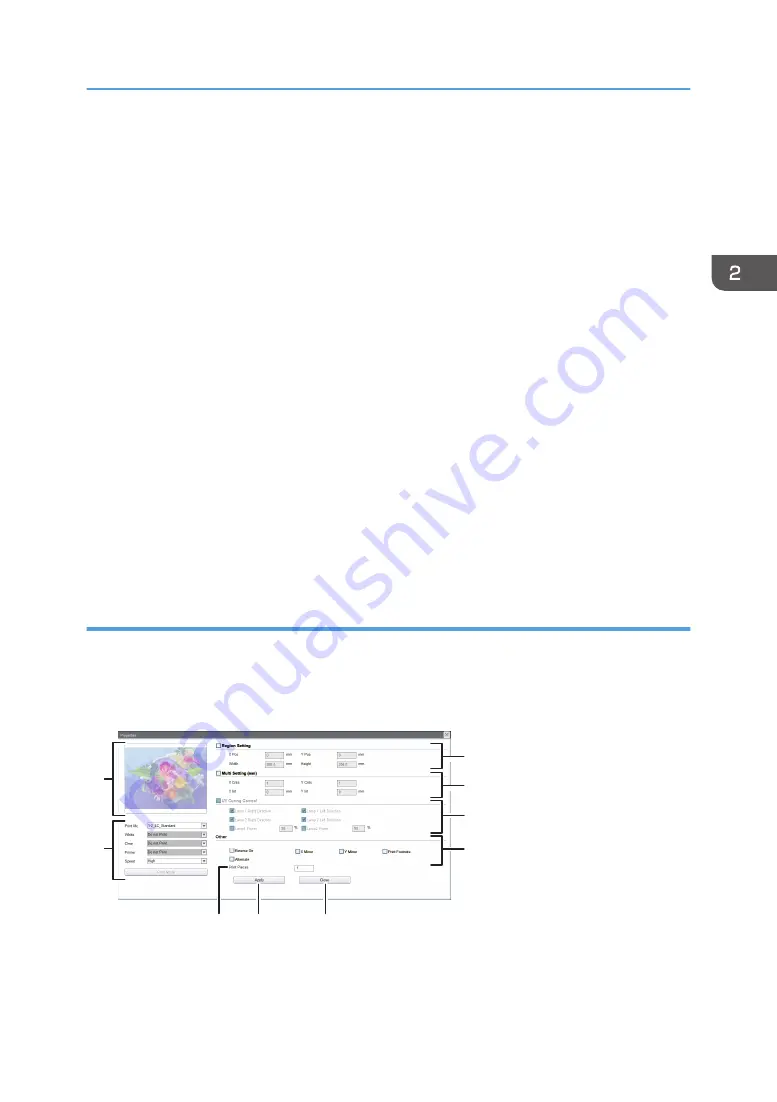
Details Setting screen
Select a task in the task list and click [Details Setting...] to display the [Details Setting...] screen. You can
configure settings for partial printing, multi-copy printing, and multicoat printing, etc. on the [Details
Setting...] screen.
1
8
9
2
3
4
5
6
7
M0DTOC5060
1. Region Setting
Specify a printing range to perform partial printing. See "Partial Printing", Operating Instructions.
How to Use the Print Control Screen
27
Summary of Contents for Pro TF6251
Page 2: ......
Page 5: ...Cleaning the Feed Roller 82 Cleaning the Pinch Roller 83 7 Appendix List of Print Modes 85 3 ...
Page 6: ...4 ...
Page 76: ...4 Troubleshooting 74 ...
Page 88: ...MEMO 86 ...
Page 89: ...MEMO 87 ...
Page 90: ...MEMO 88 EN GB EN US EN AU M563 7003A ...
Page 91: ... 2020 2021 Ricoh Co Ltd ...
Page 92: ...M563 7003A AU EN US EN GB EN ...


