104
5. Using On-Screen Menu
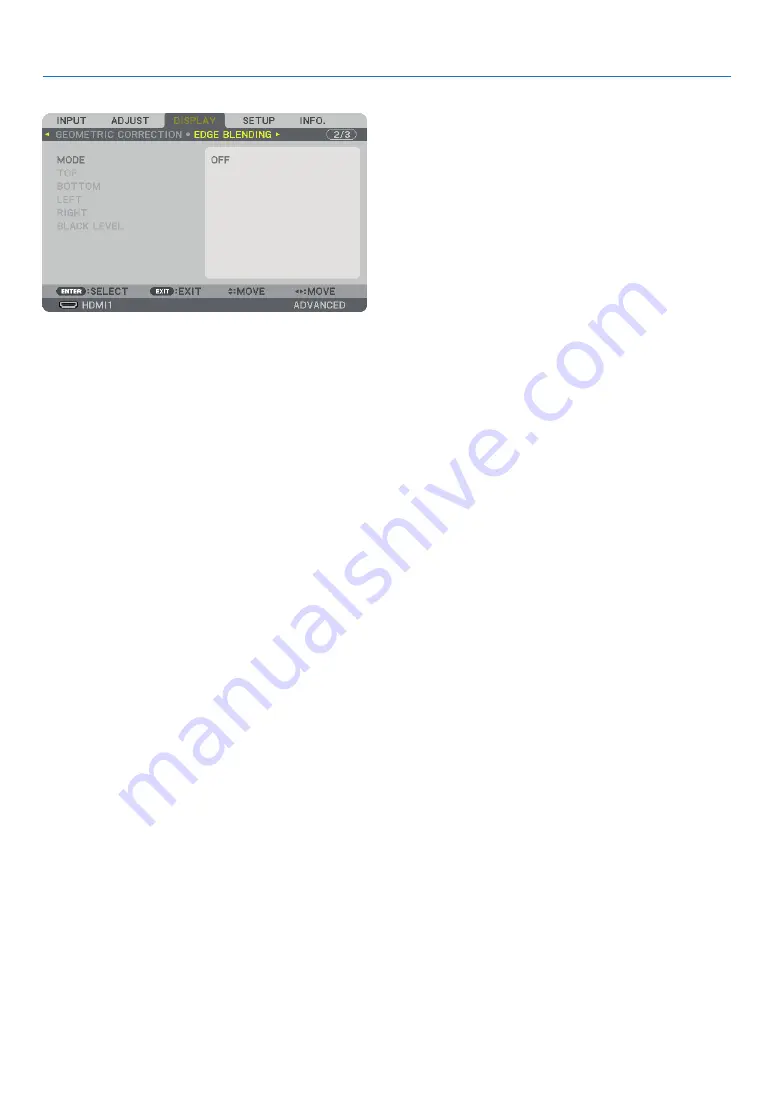
[EDGE BLENDING]
This adjusts the edges (boundaries) of the projection screen when projecting high resolution videos using a combination of several
projectors in the up, down, left and right positions.
MODE
This enables or disables the EDGE BLENDING function.
When MODE is set to ON, the TOP, BOTTOM, LEFT, RIGHT and BLACK LEVEL settings can be adjusted.
TOP/BOTTOM/LEFT/RIGHT
This selects the EDGE BLENDING locations on the left, right, top and bottom on the screen.
The following settings can be adjusted when an item is selected. (
→
page
69
)
CONTROL .......................Enable TOP, BOTTOM, LEFT and RIGHT functions.
MARKER .........................Set whether to display marker or not when adjusting the range and display position. When turned on, a
magenta marker for adjusting the range adjustment and a green marker for adjusting the display position
will be displayed.
RANGE .............................Adjust the range (width) of the edge blending.
POSITION .......................Adjust the display position of the edge blending.
BLACK LEVEL
Divide the screen into nine parts and keep the black level uniform for each projector.
The nine divisions screens are TOP-LEFT, TOP-CENTER, TOP-RIGHT, CENTER-LEFT, CENTER, CENTER-RIGHT, BOTTOM-LEFT,
BOTTOM-CENTER and BOTTOM-RIGHT. (
→
page
)
Summary of Contents for PJ WU6181 N
Page 266: ......
Page 267: ...2015 Ricoh Co Ltd...
Page 268: ...Printed in China RICOH PJ WU6181N WX6181N X6181N EN US Y076 6220A EN GB User s Manual...


