


3.
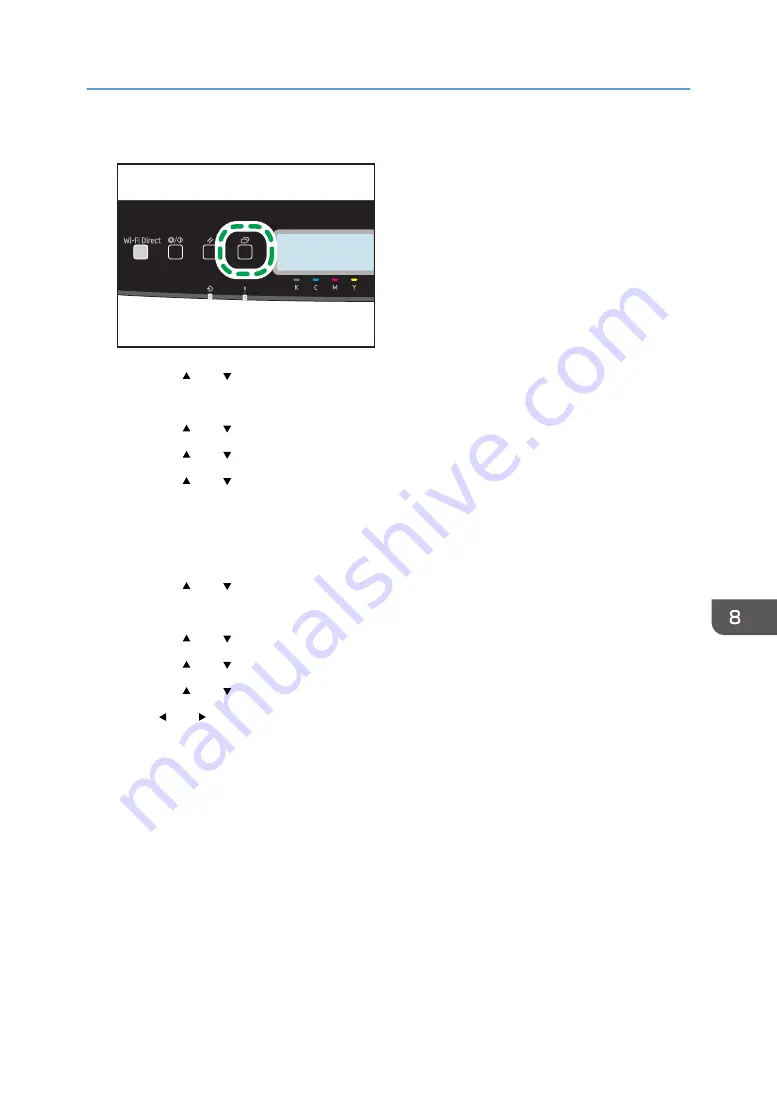
Press the [Menu] key.
ECB202
4.
Press the [ ] or [ ] key to select [Network Settings], and then press the [OK] key.
5.
Enter the administrator password.
6.
Press the [ ] or [ ] key to select [Wireless (Wi-Fi)], and then press the [OK] key.
7.
Press the [ ] or [ ] key to select [Enable Wi-Fi], and then press the [OK] key.
8.
Press the [ ] or [ ] key to select [Enable], and then press the [OK] key.
9.
Press the [Menu] key to return to the Initial screen.
10.
Turn off the machine, and then turn it back on.
11.
Press the [Menu] key.
12.
Press the [ ] or [ ] key to select [Network Settings], and then press the [OK] key.
13.
Enter the administrator password.
14.
Press the [ ] or [ ] key to select [Wireless (Wi-Fi)], and then press the [OK] key.
15.
Press the [ ] or [ ] key to select [WPS], and then press the [OK] key.
16.
Press the [ ] or [ ] key to select [PIN], and then press the [OK] key.
17.
Press [ ] or [ ] key to select [Connect], and then press the [OK] key.
18.
Check the PIN code.
19.
Enter the machine's PIN code (8 digits) on the router (access point)'s web page (The web
page accessed in Step 2).
20.
Execute WPS (PIN system) from the router (access point)'s web page.
21.
Check the result.
• Connection has succeeded:
Press the [OK] key, and then press the [Menu] key to return to the initial screen.
Configuring the Wi-Fi settings is complete.
• Connection has failed:
Press the [OK] key to return to the screen displayed in Step 16. Check the configuration for
the router (access point), then try the connection again.
Connecting the Machine to a Wireless Network
193
Summary of Contents for P C311W
Page 2: ......
Page 82: ...Default Normal Normal Curl Prevented 4 Configuring the Machine Using the Control Panel 80...
Page 92: ...4 Configuring the Machine Using the Control Panel 90...
Page 108: ...10 Close the Web browser 5 Configuring the Machine Using Utilities 106...
Page 134: ...5 Configuring the Machine Using Utilities 132...
Page 158: ...6 Maintaining the Machine 156...
Page 165: ...Main unit 1 DUE319 3 2 1 DUE288 2 DUE289 Removing Paper Jams 163...
Page 166: ...3 DUE290 Waste toner bottle ECC168 Paper feed unit DUE320 1 7 Troubleshooting 164...
Page 196: ...8 Configuring Network Settings 194...
Page 222: ...MEMO 220 EN GB EN US EN AU M0EN 8504A...
Page 223: ......
Page 224: ...EN GB EN US EN AU M0EN 8504A 2021 2022 Ricoh Co Ltd...