45
3
Using RICOH Gate
3
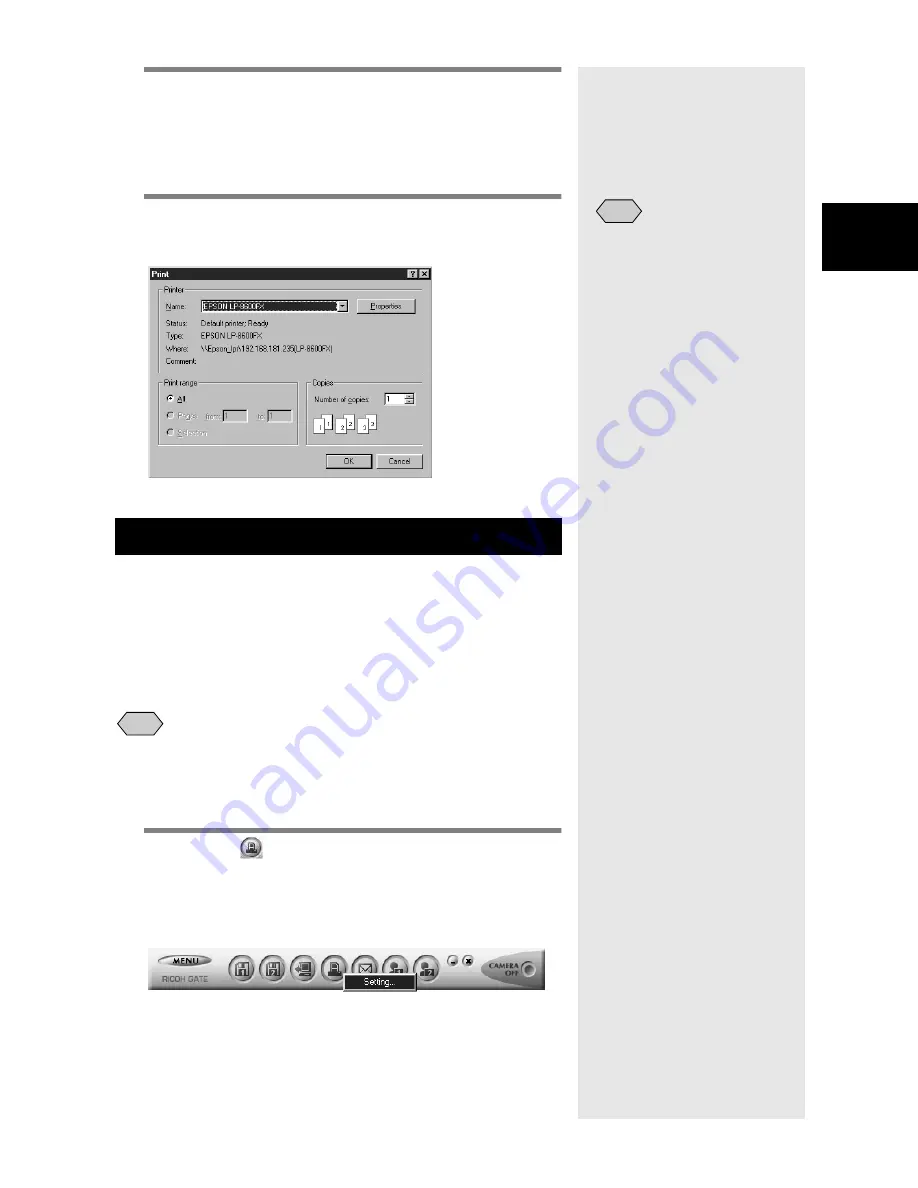
Check the type of printer you are using.
The name of the printer entered in [Set as Default]
under [Printer Name] will be displayed. If you are
using a different printer, select the appropriate printer.
4
Specify the number of prints and select
[OK].
Printing will start.
The index will be printed in accordance with the print settings
registered on the Index Print button.
When you make the index print settings, you can save the
various settings related to index printing, such as the number
of images printed on each page, whether to print the title,
shooting date and page number on the header, etc. This
function is useful for registering settings that you often use.
• You can change the index print settings even after index printing
has started.
m
m
m
m
See “Making an Index Print” (p.44).
1
Click on
in the RICOH Gate window
with the right mouse button and select
[Setting...].
m
m
m
m
See “Functions of the RICOH Gate Buttons” (p.25).
The [Index Print Setting] dialog will be displayed.
Changing the Print Settings
• By clicking on the
[Properties] button, you can
set the details relating to
your printer. Make the
necessary settings.
• For more information, refer
to the instruction manuals
for your PC and printer.
Note
Note
Summary of Contents for Caplio RICOH Gate for Windows
Page 20: ...18...


