25
3
Using RICOH Gate
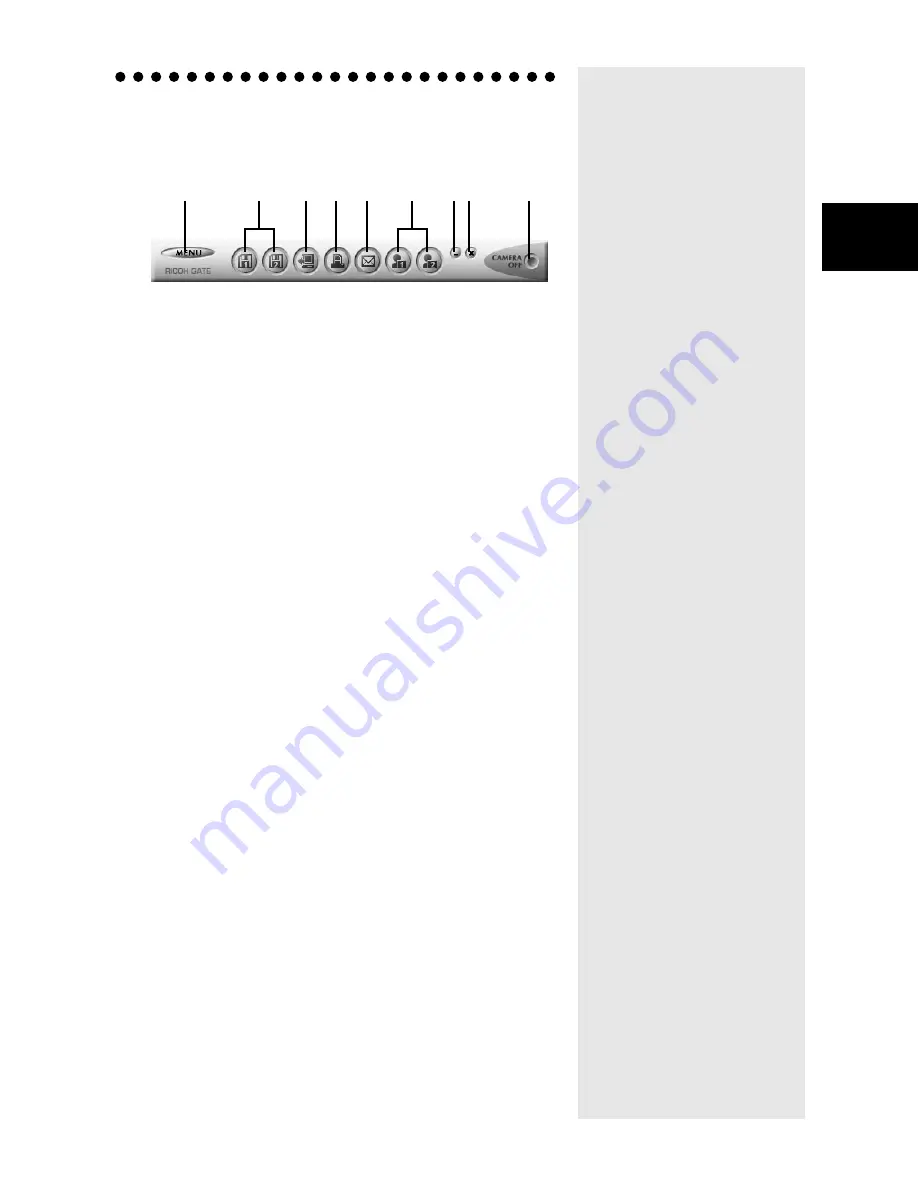
Functions of the RICOH Gate Buttons
The buttons on the RICOH Gate window have the following
functions.
1 MENU button
This button displays the menus for automatically saving
images, entering the e-mail settings, displaying the camera
information, etc.
m
m
m
m
See “Changing the Setting of the START Key” (p.34).
See “Changing the Mail Settings” (p.51).
See “Displaying and Setting Camera Information (Cam-
era Property)” (p.58).
2 Save 1 and Save 2 buttons
These buttons are for saving files in the camera on the PC to
which the camera is connected. Set the conditions for saving
the files, such as file format, destination, and processing after
saving.
m
m
m
m
See “Saving Data Using the Save Buttons” (p.27).
3 Upload button
The camera files saved in the PC are uploaded to the camera
media.
m
m
m
m
See “Uploading Using the Upload Button” (p.37).
4 Index Print button
This button is for making an index print of images in the PC.
Printing is based on the preset print settings, such as the
folder, page layout, type of image data to be printed, etc.
m
m
m
m
See “Making an Index Print” (p.44).
5 Send button
This button is for starting up the specified mail software and
sending a selected file as an attachment. Images are sent based
on the preset mail settings, such as the mail software, image
format, etc.
m
m
m
m
See “Sending Mail with Files Attached” (p.49).
6 Application 1 and Application 2 buttons
This button is for starting up the selected application
software.
m
m
m
m
See “Starting Up the Application” (p.57).
1
2
3
4
5
6
7 8
9
Summary of Contents for Caplio RICOH Gate for Windows
Page 20: ...18...


