36
• Settings related to saving the format, destination folder, etc. of still
picture files vary depending on the Save Settings registered on the
Save 1 and Save 2 buttons.
m
m
m
m
See “Changing the Save Button Settings” (p.28).
1
Check that the RICOH BASE is properly
connected to the PC.
m
m
m
m
See “Connecting the USB Cable” (p.19).
2
Check that the AC adapter is properly
connected to the RICOH BASE.
3
Place the camera on the RICOH BASE.
4
Press the START key
on the RICOH
BASE.
[PC connection] will be displayed on the camera’s
LCD monitor.
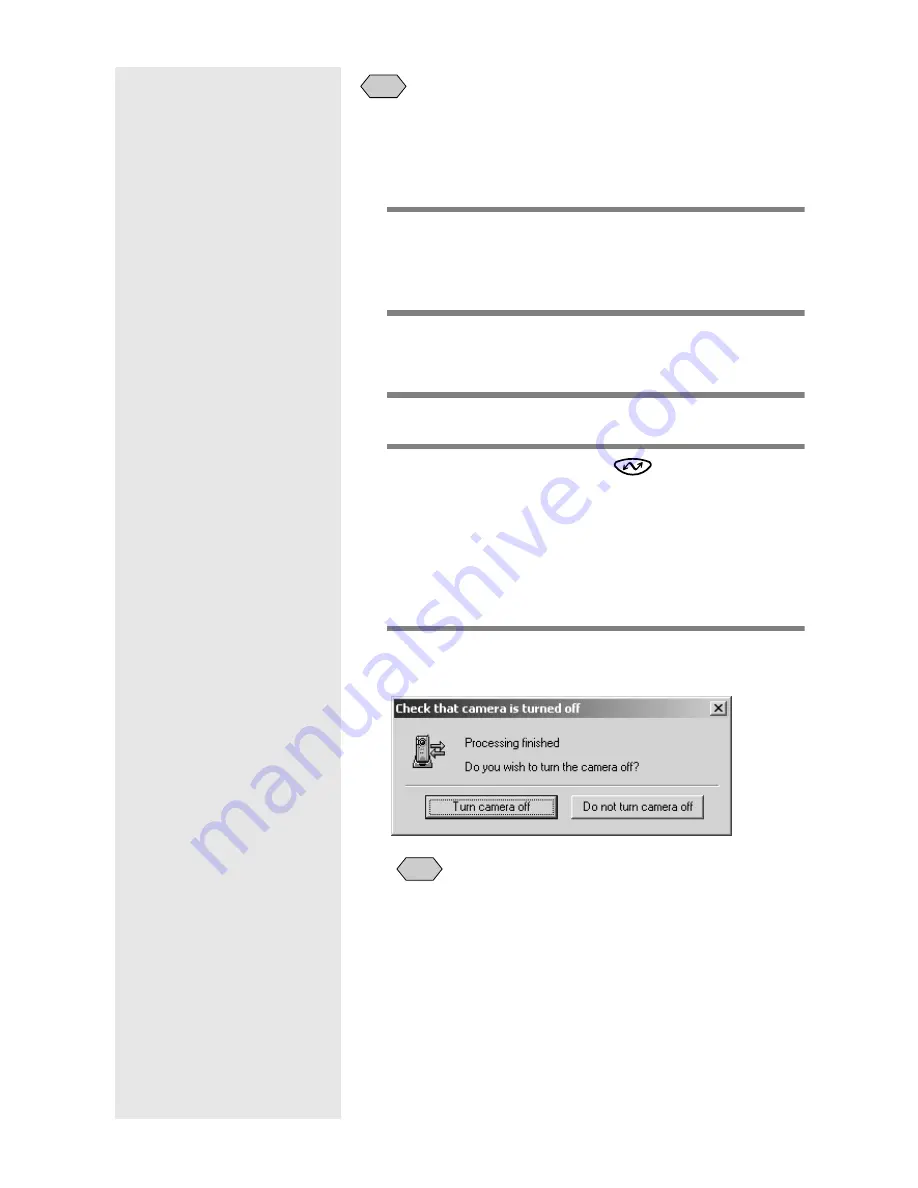
The data in the camera will be saved in the PC and the
confirmation message will be displayed.
5
Select [Turn camera off] or [Do not turn
camera off].
• Depending on the Save Settings of the Save 1 and Save 2
buttons specified in the [Auto Save Setting] of the START key,
the camera may be turned off without the confirmation
message being displayed.
m
m
m
m
See “Changing the Setting of the START Key” (p.34).
See “Changing the Save Button Settings” (p.28).
Note
Note
Summary of Contents for Caplio RICOH Gate for Windows
Page 20: ...18...


