Sending Scan File by E-mail
52
4
GGGG
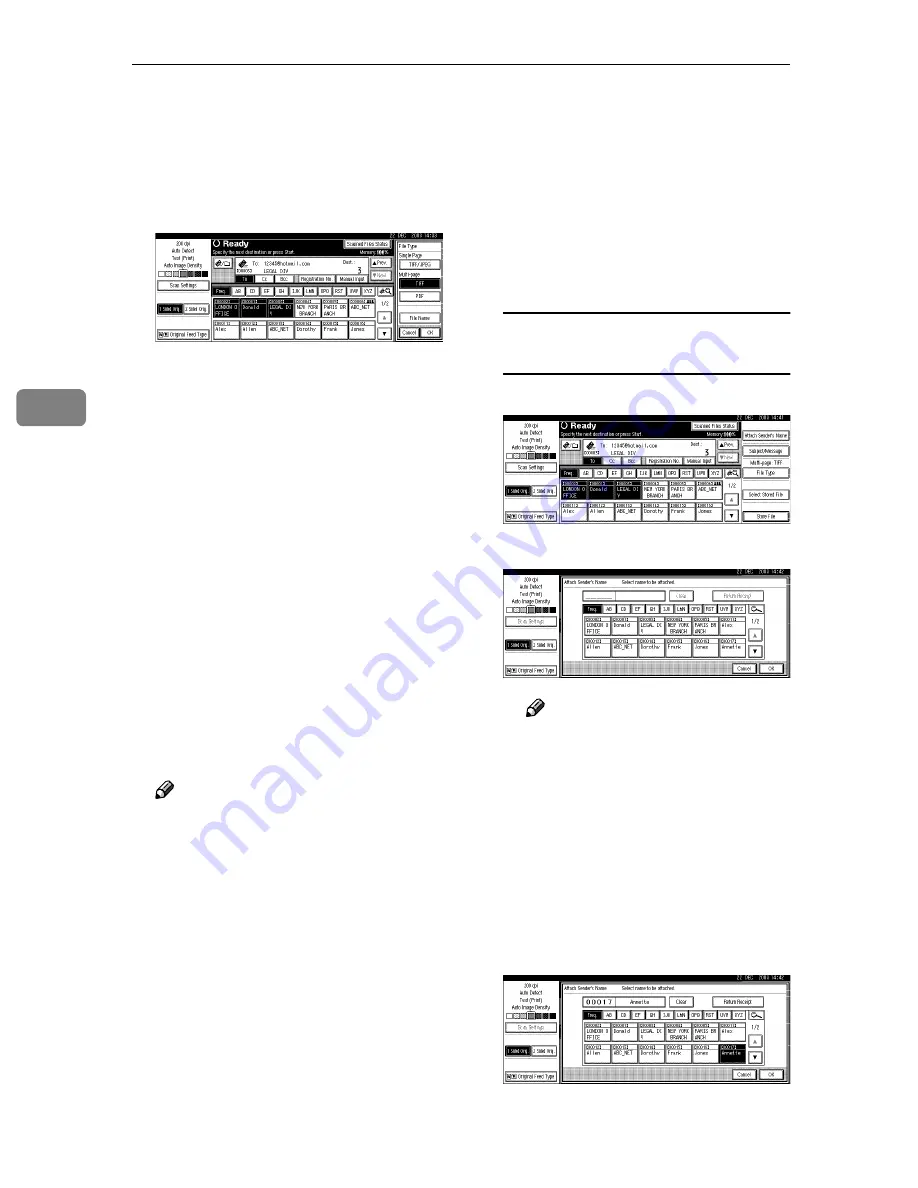
Select the file type if necessary.
A
Press
[
File Type
]
.
B
Select the file type of the file to
be attached to the e-mail from
the displayed types.
C
Press
[
OK
]
.
HHHH
Specify the file name of the file to
be sent if necessary.
A
Press
[
File Type
]
.
B
Press
[
File Name
]
.
The soft keyboard is displayed
for entering a file name.
C
Enter a file name.
D
Press
[
OK
]
twice.
IIII
Specify the e-mail sender.
To specify a sender, you can select
the sender from the list, enter the
five-digit registration number of
the sender with the number keys,
and search for the sender and se-
lecting it.
Note
❒
The operation of step
I
is un-
necessary when
[
Yes
]
is speci-
fied for
[
Sender's Name Default
]
in
[
Send Settings
]
of
[
Scanner Fea-
tures
]
. Proceed to step
J
.
❒
When a sender is selected, the
sender name is automatically
placed in the From field of the e-
mail so that the sender can be
identified when the e-mail is re-
ceived.
❒
To prevent misuse of a sender
name, we recommend you set
protection code for that sender
name.
❒
Be sure to select or enter a send-
er name. Otherwise Key Opera-
tor's E-mail Address is used as
the sender name. See
General
Settings Guide
.
When selecting a sender from the
list
A
Press
[
Attach Sender's Name
]
.
B
Select the sender.
Note
❒
When a protection code has
been set, a screen for entering
the protection code appears
after selecting the sender. En-
ter the protection code, and
then press
[
OK
]
. When the
protection code you entered
is correct, the sender name is
displayed.
C
For a reception confirmation e-
mail, press
[
Return Receipt
]
.


