Chapter 3: Installation
25
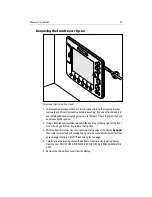
Removing the front cover clip-on
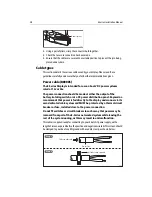
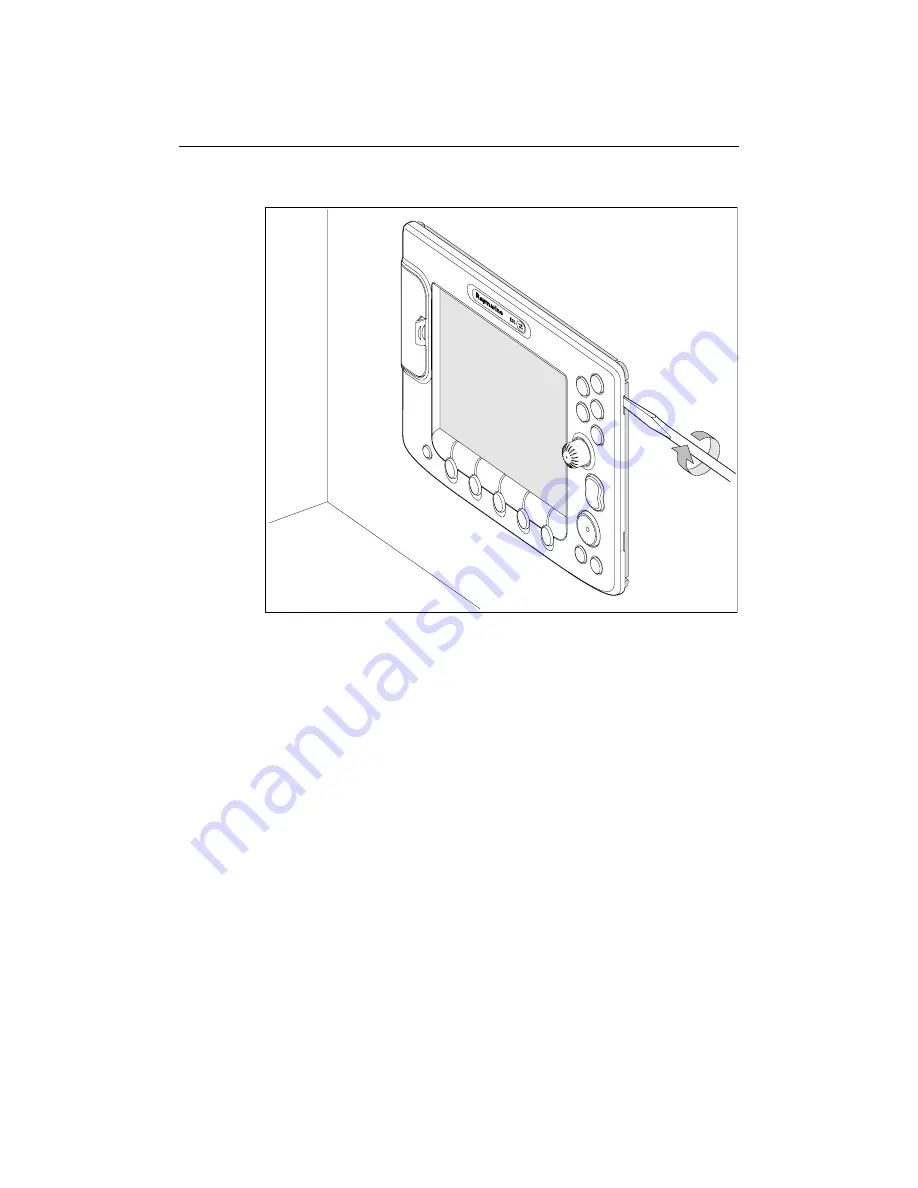
To remove the clip- on front cover:
1. To prevent damaging your dash or placing undue strain on the trunnion bracket,
remove the unit from its mounting before proceeding. If you have flush mounted
your Display and cannot readily gain access to the rear of the unit, protect the dash
and proceed with caution.
2. Using a flat-bladed screwdriver placed in the aperture at the top right of the front
cover clip-on, gently twist it to release the top clips.
3. Working from this corner, free the clips along the top edge of the display
by hand
,
then work towards the bottom edge. Taking care to ensure that the control buttons
pass through the clip-on. DO NOT lever along the top edge.
4. Carefully free the locating clips at the bottom of the clip-on by lowering it away
from the unit - DO NOT USE A SCREWDRIVER FOR THIS AS IT WILL DAMAGE THE
CLIPS.
5. Remove the clip-on front cover from the display.
D7214_1
Summary of Contents for E120W
Page 1: ...E Series Networked Display Installation Manual Document Number 87043_2 Date March 2006...
Page 6: ...iv E Series Networked Display Installation Manual...
Page 14: ...8 E Series Installation Manual...
Page 26: ...20 E Series Installation Manual...

