42
E-Series Installation Manual
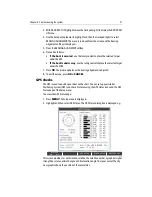
Positional accuracy is dependent upon these parameters; in particular, the azimuth
and elevation angles are used in a triangulation process to calculate your position.
Horizontal Dilution of Position (HDOP) is a measure of this accuracy; a higher figure
signifies a greater positional error. In ideal circumstances, the figure should be in the
region of 1.0.
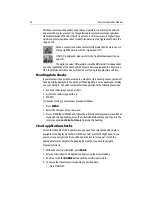
When a connection has been successfully made, the GPS status icon in
the top right-hand corner of the screen reads FIX.
If NO FIX is displayed, please refer to the Troubleshooting section on
page 49
.
The option to select differential or satellite differential fix is dependent
upon the capabilities of the attached GPS. If your boat is equipped with a Raymarine
GPS, the Differential GPS can be switched on or off using the appropriate soft key.
Heading data checks
If your display is connected to a compass, autopilot or fast heading sensor, your boat’s
heading will be displayed in the data bar. If heading data is not available your display
can use COG data. This will however affect the operation of the following functions:
• overlay a radar image over your chart.
• orientate a radar image north-up.
• MARPA.
To linearize (‘swing’) your compass proceed as follows:
1. Press
MENU
.
2. Select the Compass Setup sub-menu.
3. Press LINEARIZE COMPASS and follow the instructions displayed on screen. When
instructed to align heading, press the ALIGN HEADING soft key and then turn the
rotary control
one click at a time
to fine tune the heading.
Chart application checks
For full functionality of chart applications, you need to ensure that position data is
available at the display via SeaTalk, NMEA, SeaTalk
2
or SeaTalk High Speed. To use
your chart as a navigation aid you will need a chart card (see
page 12
) with the
appropriate level of detail for the geographic area that you wish to navigate.
Proceed as follows:
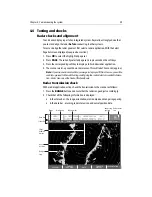
1. Without a chart card installed, press
PAGE
.
2. Select a full window chart application by pressing the associated key.
3. Zoom out with the
RANGE
button until the world map is visible.
4. To ensure that the display is responding to position data:
i. Press FIND SHIP.
D7453_1
Summary of Contents for E120W
Page 1: ...E Series Networked Display Installation Manual Document Number 87043_2 Date March 2006...
Page 6: ...iv E Series Networked Display Installation Manual...
Page 14: ...8 E Series Installation Manual...
Page 26: ...20 E Series Installation Manual...

