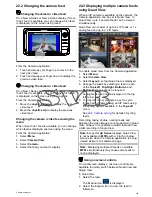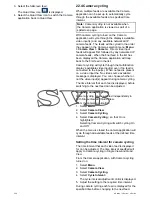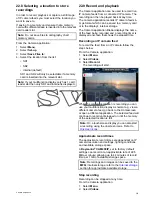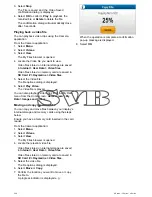
Note:
If you have the Disable Color Thermal Video
option selected in the camera's on-screen
Video
Setup
menu, only 2 color modes are available —
greyscale and red.
Changing the thermal camera color mode
With the thermal camera application displayed:
1. Select
Menu
.
2. Select
Image Options
.
3. Use the
Colour
menu item to switch between the
available color palettes, as appropriate.
Thermal camera reverse video
You can reverse the polarity of the video image to
change the appearance of objects on-screen.
The reverse video option (video polarity) switches the
thermal image from white-hot (or red-hot if the color
mode setting is active) to black-hot. The difference
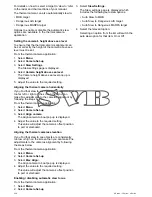
between white-hot and black-hot is shown below:
White-hot thermal image.
Black-hot thermal image.
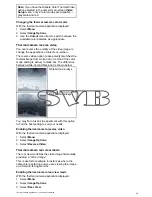
You may find it useful to experiment with this option
to find the best setting to suit your needs.
Enabling thermal camera reverse video
With the thermal camera application displayed:
1. Select
Menu
.
2. Select
Image Options
.
3. Select
Reverse Video
.
Thermal and visible-light operation
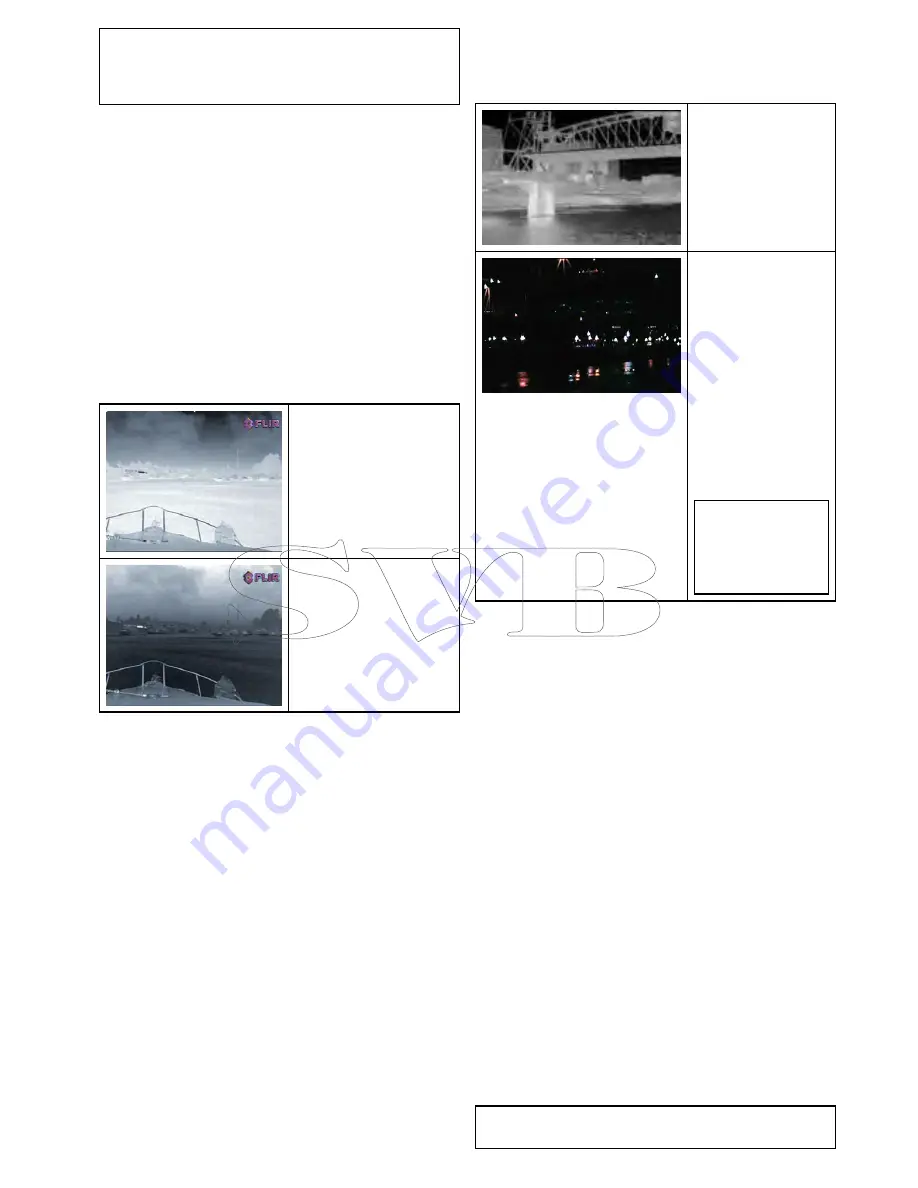
“Dual payload” thermal cameras are equipped with
2 cameras — a thermal imaging (infrared) camera
and a visible-light camera.
Thermal camera
—
provides night-time
imagery, based on
temperature differences
between objects.
Thermal imaging
produces a clear image
even in total darkness.
Visible-light camera
— provides black and
white (or greyscale)
imagery during the
day and in low-light
conditions. Helps to
improve navigational
abilities in low-light
conditions; for example
during twilight hours
when operating along
intercoastal waterways
and near harbor
entrances.
Note:
The T470SC
and T473SC have
a color camera and
continuous zoom
lens.
Switching between thermal and visible-light
camera lenses
With the thermal camera application displayed:
1. Select
Menu
.
2. Select
Image Options
.
3. Use the
Image Type
menu item to switch between
IR and Visible Light views, as appropriate.
Thermal camera rear view mode
The rear view mode flips the video image horizontally,
providing a “mirror image”.
This is useful for example in instances where the
camera is rear-facing and you are viewing the image
on a forward-facing monitor.
Enabling thermal camera rear view mode
With the thermal camera application displayed:
1. Select
Menu
.
2. Select
Image Options
.
3. Select
Rear View
.
Slew to Cue
Slew to cue is a feature which maintains a selected
position or object in the thermal cameras field of
view. Slew to Cue options are available in the chart
and radar applications as target context menu items.
Note:
Heading data must be available on the
system for Slew to Cue to work correctly.
Thermal camera application — Pan and tilt cameras
357
Summary of Contents for A series
Page 2: ......
Page 14: ...14 a Series c Series e Series...
Page 41: ...13 GPS receiver 14 Thermal camera 15 Wireless connection Planning the installation 41...
Page 48: ...48 a Series c Series e Series...
Page 80: ...80 a Series c Series e Series...
Page 118: ...118 a Series c Series e Series...
Page 184: ...184 a Series c Series e Series...
Page 188: ...188 a Series c Series e Series...
Page 206: ...206 a Series c Series e Series...
Page 228: ...228 a Series c Series e Series...
Page 290: ...290 a Series c Series e Series...
Page 310: ...310 a Series c Series e Series...
Page 340: ...340 a Series c Series e Series...
Page 374: ...374 a Series c Series e Series...
Page 422: ...422 a Series c Series e Series...
Page 436: ...436 a Series c Series e Series...
Page 462: ...462 a Series c Series e Series...
Page 463: ......
Page 464: ...www raymarine com...

