Preliminary
2-8
September 21, 1999
BENCHMARK
T A P E
S Y S T E M S
5. Attach the anti-static strap to your wrist. Clip the other end of the strap to a bare metal
surface on a computer’s chassis.
Be careful not to touch any power source with the
wrist strap clip.
Wear the wrist strap during the entire installation process.
6. With the drive still in the shipping box, reach under and around the drive, carefully lift it
out of the shipping, and place it on the work surface, top facing up. Do not stand the
drive on either end.
7. Carefully remove the drive from the anti-static bag.
2.4.3 Configuration
Configuring your DLT1 internal drive is fast and easy. You only need to select a unique
SCSI ID and decide if your drive needs to be terminated. The following sections explain how
to configure your drive.
2.4.3.1
Setting the SCSI ID
Regardless of the number of SCSI devices attached to the server or workstation that is to be
the host for your DLT1 internal drive, each must have a unique SCSI ID. Check the SCSI
IDs on all other SCSI devices on the selected server or workstation, including the SCSI host
adapter, and select an unused SCSI ID for your DLT1 internal drive. The factory default
SCSI ID is 5. If the factory default SCSI ID is not being used, you do not need to change the
drive’s SCSI ID.
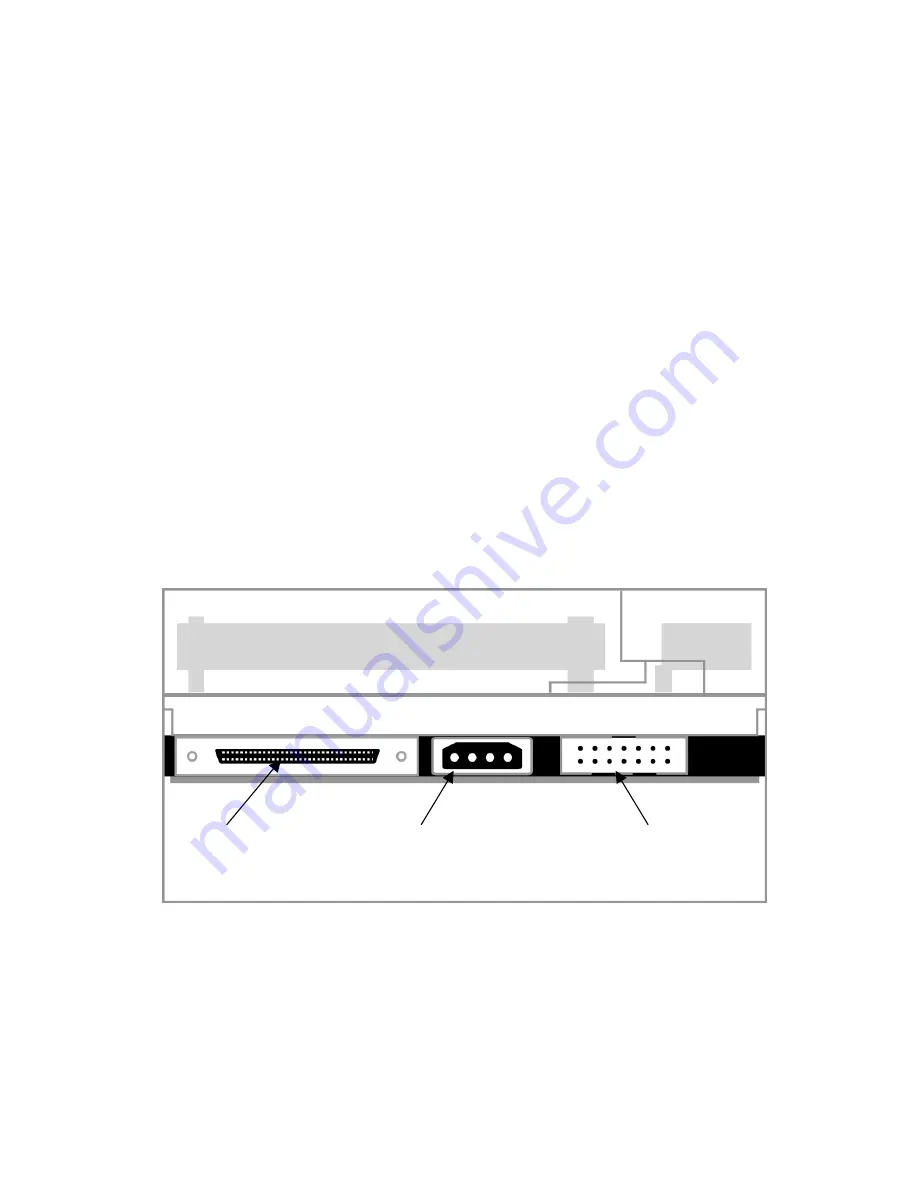
Locate the SCSI ID jumpers on the rear panel of the drive as shown in Figure 2-5.
Figure 2-5: SCSI ID Jumper Block Location
SCSI ID Jumpers
SCSI-2 Connector
Power Connector


