511026 Rev. 07-01-19
33
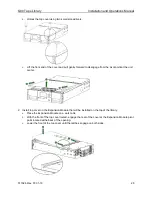
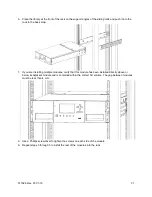
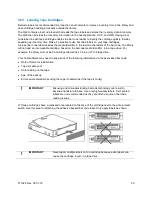
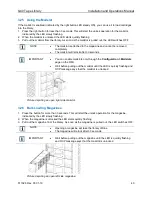
3.14 Installing Tape Drives
1.
Locate an appropriate vacant drive bay on the back of the library.
2.
To assist in aligning the drive, only remove the drive bay covers for one drive at a time. Remove the
face plate covering the drive bay by removing the screws holding it in place. Remove one drive bay
cover to install one half-height tape drive.
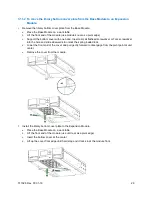
3.
Holding the tape drive by the handle and supporting it from the bottom, slide the tape drive along the
alignment rails into the drive bay until it is flush with the back of the library.
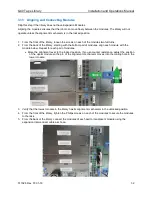
4.
Tighten the blue captive screws with your fingers to secure the tape drive to the chassis. If the
thumbscrews cannot be tightened, verify that the tape drive is aligned properly.
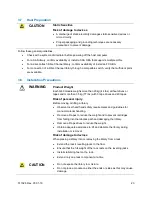
CAUTION
All drive bays without tape drives installed must have drive bay
covers installed.
MECHANICAL
HAZARD
Danger
Risk of hand pinching. Keep hands clear during operation.
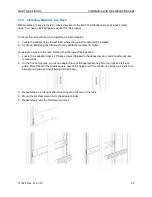
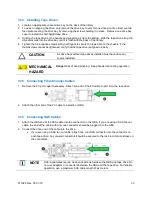
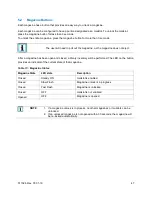
3.15 Connecting Fibre Channel Cables
1.
Remove the FC port caps if necessary. Attach one end of the FC cable to port A on the tape drive.
2.
Attach the other end of the FC cable to a switch or HBA.
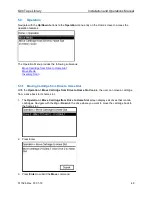
3.16 Connecting SAS Cables
1.
Attach the HBA end of the SAS cable into the connector on the HBA. If you are using a SAS fan out
cable, the end of the cable with only one connector should be plugged into the HBA.
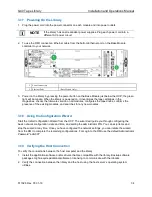
2.
Connect the drive end of the cable into the drive.
•
If you are using a SAS fan out cable, attach one mini-SAS connector into the connector on
each tape drive. Any unused connectors should be secured to the rack to minimize stress on
the connectors.
NOTE
SAS signal rates require clean connections between the HBA and tape drive. Do
not use adapters or converters between the HBA and the tape drive. For reliable
operation, use a maximum SAS cable length of six meters.


