55
CD Burning
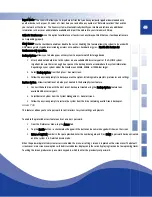
Use Qsonix to burn a CD-R from your library, saved playlists or even your current Now Playing list.
Qsonix gives the ability to burn full-quality audio CD’s using any stored playlists, the Now Playing Queue or an entire album with
just a few button presses. The system automatically handles all conversion and burning using the built-in CD-Recorder drive. You
can easily rearrange track order and make custom mix discs from your Qsonix library. You can also make backup copies of any CD
that has already been loaded into your Qsonix with one-button press from the Album menu. This feature is great for making
backups to prevent damage to your original CD’s.
Burning a CD from a Playlist
1.
From the
Main
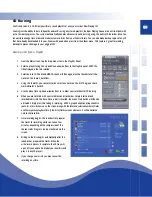
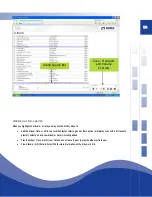
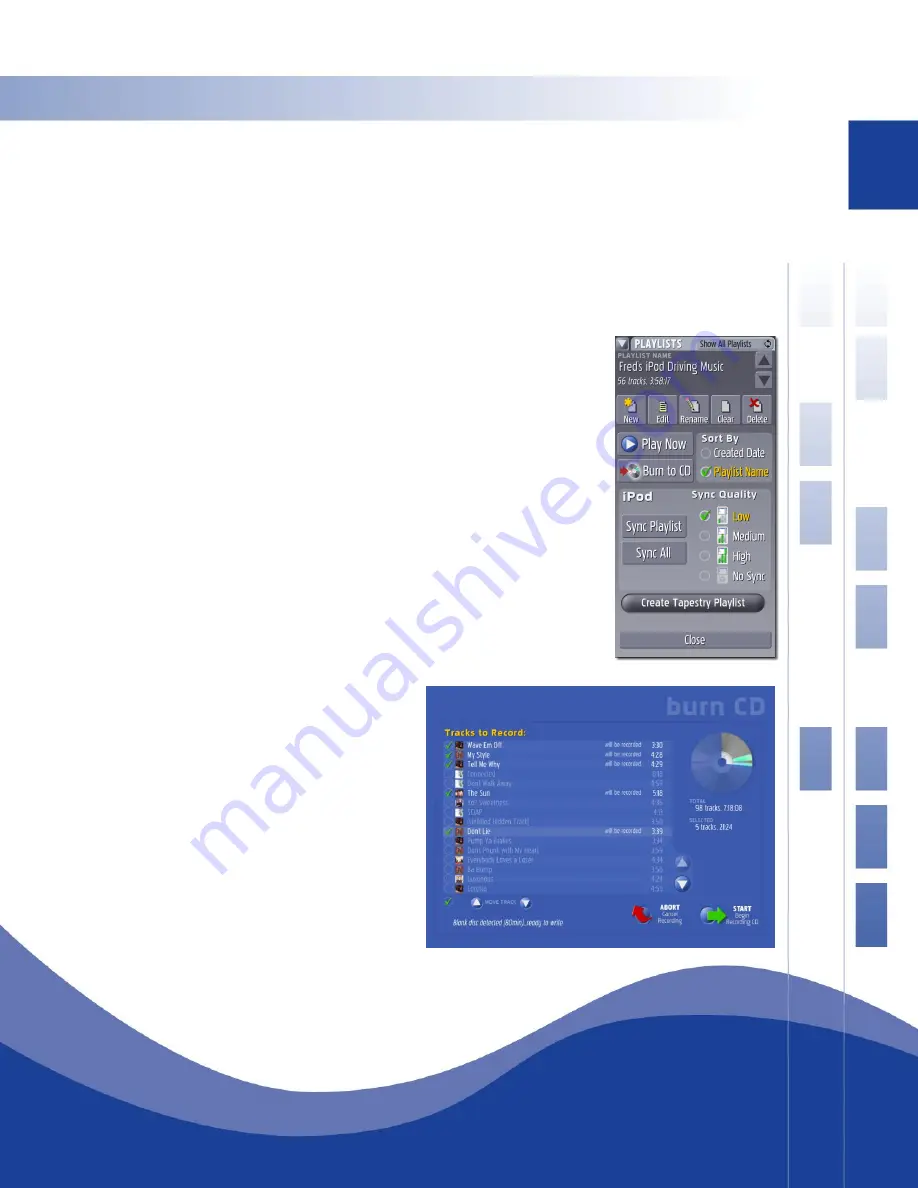
screen, tap the drop-menu icon in the
Playlists
Panel.
2.
Select a playlist using the
Up
and
Down
arrow buttons in the
Playlists
panel.
NOTE- The
title displayed is the title selected.
3.
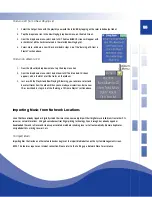
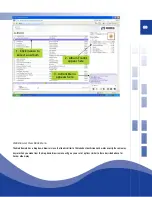
Select
Burn to CD
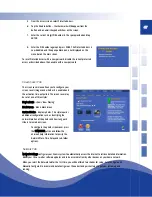
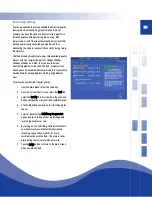
. The blue BURN CD screen will then appear with a checklist of all the
tracks on the chosen (durations.)
4.
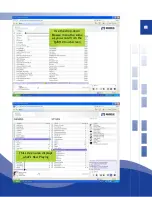
Using the checklist, you can select or de-select any tracks on the list. The green check
mark indicates a track CD.
5.
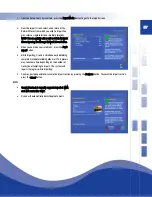
Use the
Move Track Up/Down
arrow buttons to re-order your selections for CD burning.
6.
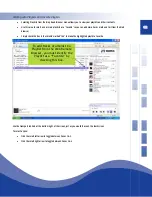
When you are satisfied with your selections and track order, simply insert a blank
recordable disc into the drive. Once a disc is inserted, the Green
Start
button will then be
activated. Simply press this to begin recording.
NOTE- A graphic depiction of required disk
space for a list will show up on the screen, along with the total and selected number of tracks
and the respective playback time. If the list of tracks exceeds disk space, it will be indicated
next to the track title.
7.
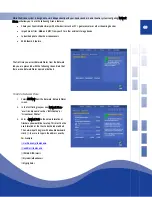
Once recording begins, the Jukebox first prepares
the tracks for recording which can take a few
minutes, depending on the compression of the
chosen tracks. Progress can be monitored via the
screen.
8.
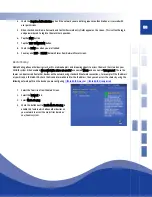
Writing to the disc begins automatically after the
Jukebox has prepared the tracks. When the
write/record process is complete, the CD tray will
open. All you need to do is label your new disc and
play it in any CD player!
9.
If you change your mind, you may cancel the
recording any time.
Summary of Contents for QJB110
Page 1: ...1...

