48
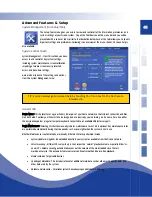
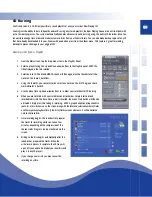
To Auto Configure your network, simply tap the Auto
Configure button and your Qsonix system will do all the work.
If you choose to configure the system manually, read the following steps first, gather the information required for manual
configuration (indicated in bold italic in the steps), then follow the steps to complete configuration.
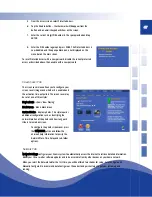
1.
Using the keypad on the touch screen, enter the IP
address you would like to assign to your Qsonix
system..
2.
Enter the Default Gateway for your network in the
space provided.
3.
Enter the Subnet Mask for your network information
in the space provided.
4.
Enter the Primary DNS information in the space
provided.
5.
Enter the Secondary DNS information in the space
provided.
6.
When all the above information has been entered,
choose Accept or Cancel.
The system will attempt to connect to the internet and will
indicate whether your configuration is successful.
Setup up your QSONIX on your home network
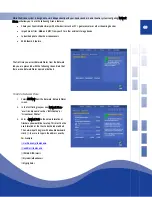
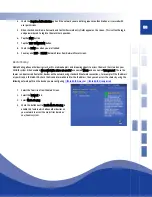
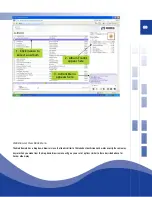
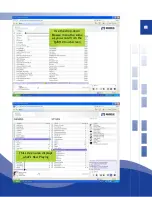
Using Network Places
Some of the Qsonix system functions allow you to use media and other resources that are located on other devices on your
network, such as music and picture files on stored your PC or other server. Network places is where you set references to other
network locations and devices on your network.
Summary of Contents for QJB110
Page 1: ...1...


